| Time to finally mount the sucker:
 e did read over the Tuffy modifications email a few times until we had a general understanding of how we needed to make the console fit, but we decided to wing it during the actual install. Our version blended the mod instructions into our own cacophony of steps that made J's console fit perfectly. e did read over the Tuffy modifications email a few times until we had a general understanding of how we needed to make the console fit, but we decided to wing it during the actual install. Our version blended the mod instructions into our own cacophony of steps that made J's console fit perfectly.
|
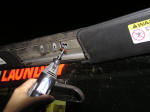
His kit actually came with a special bracket (the aforementioned part #103: F-Loop Mounting Bracket) to adapt onto his footman loop, but we wanted the console front flush against the windshield surround so we knew it wasn't going anywhere. So we began by removing the extra plastic windshield surround that the '03+ have, and then drilled the riveted footman loop off. We would remount it later to the console in the rear where holes were already provided. This would enable the bikini top to still have a center place to strap to.
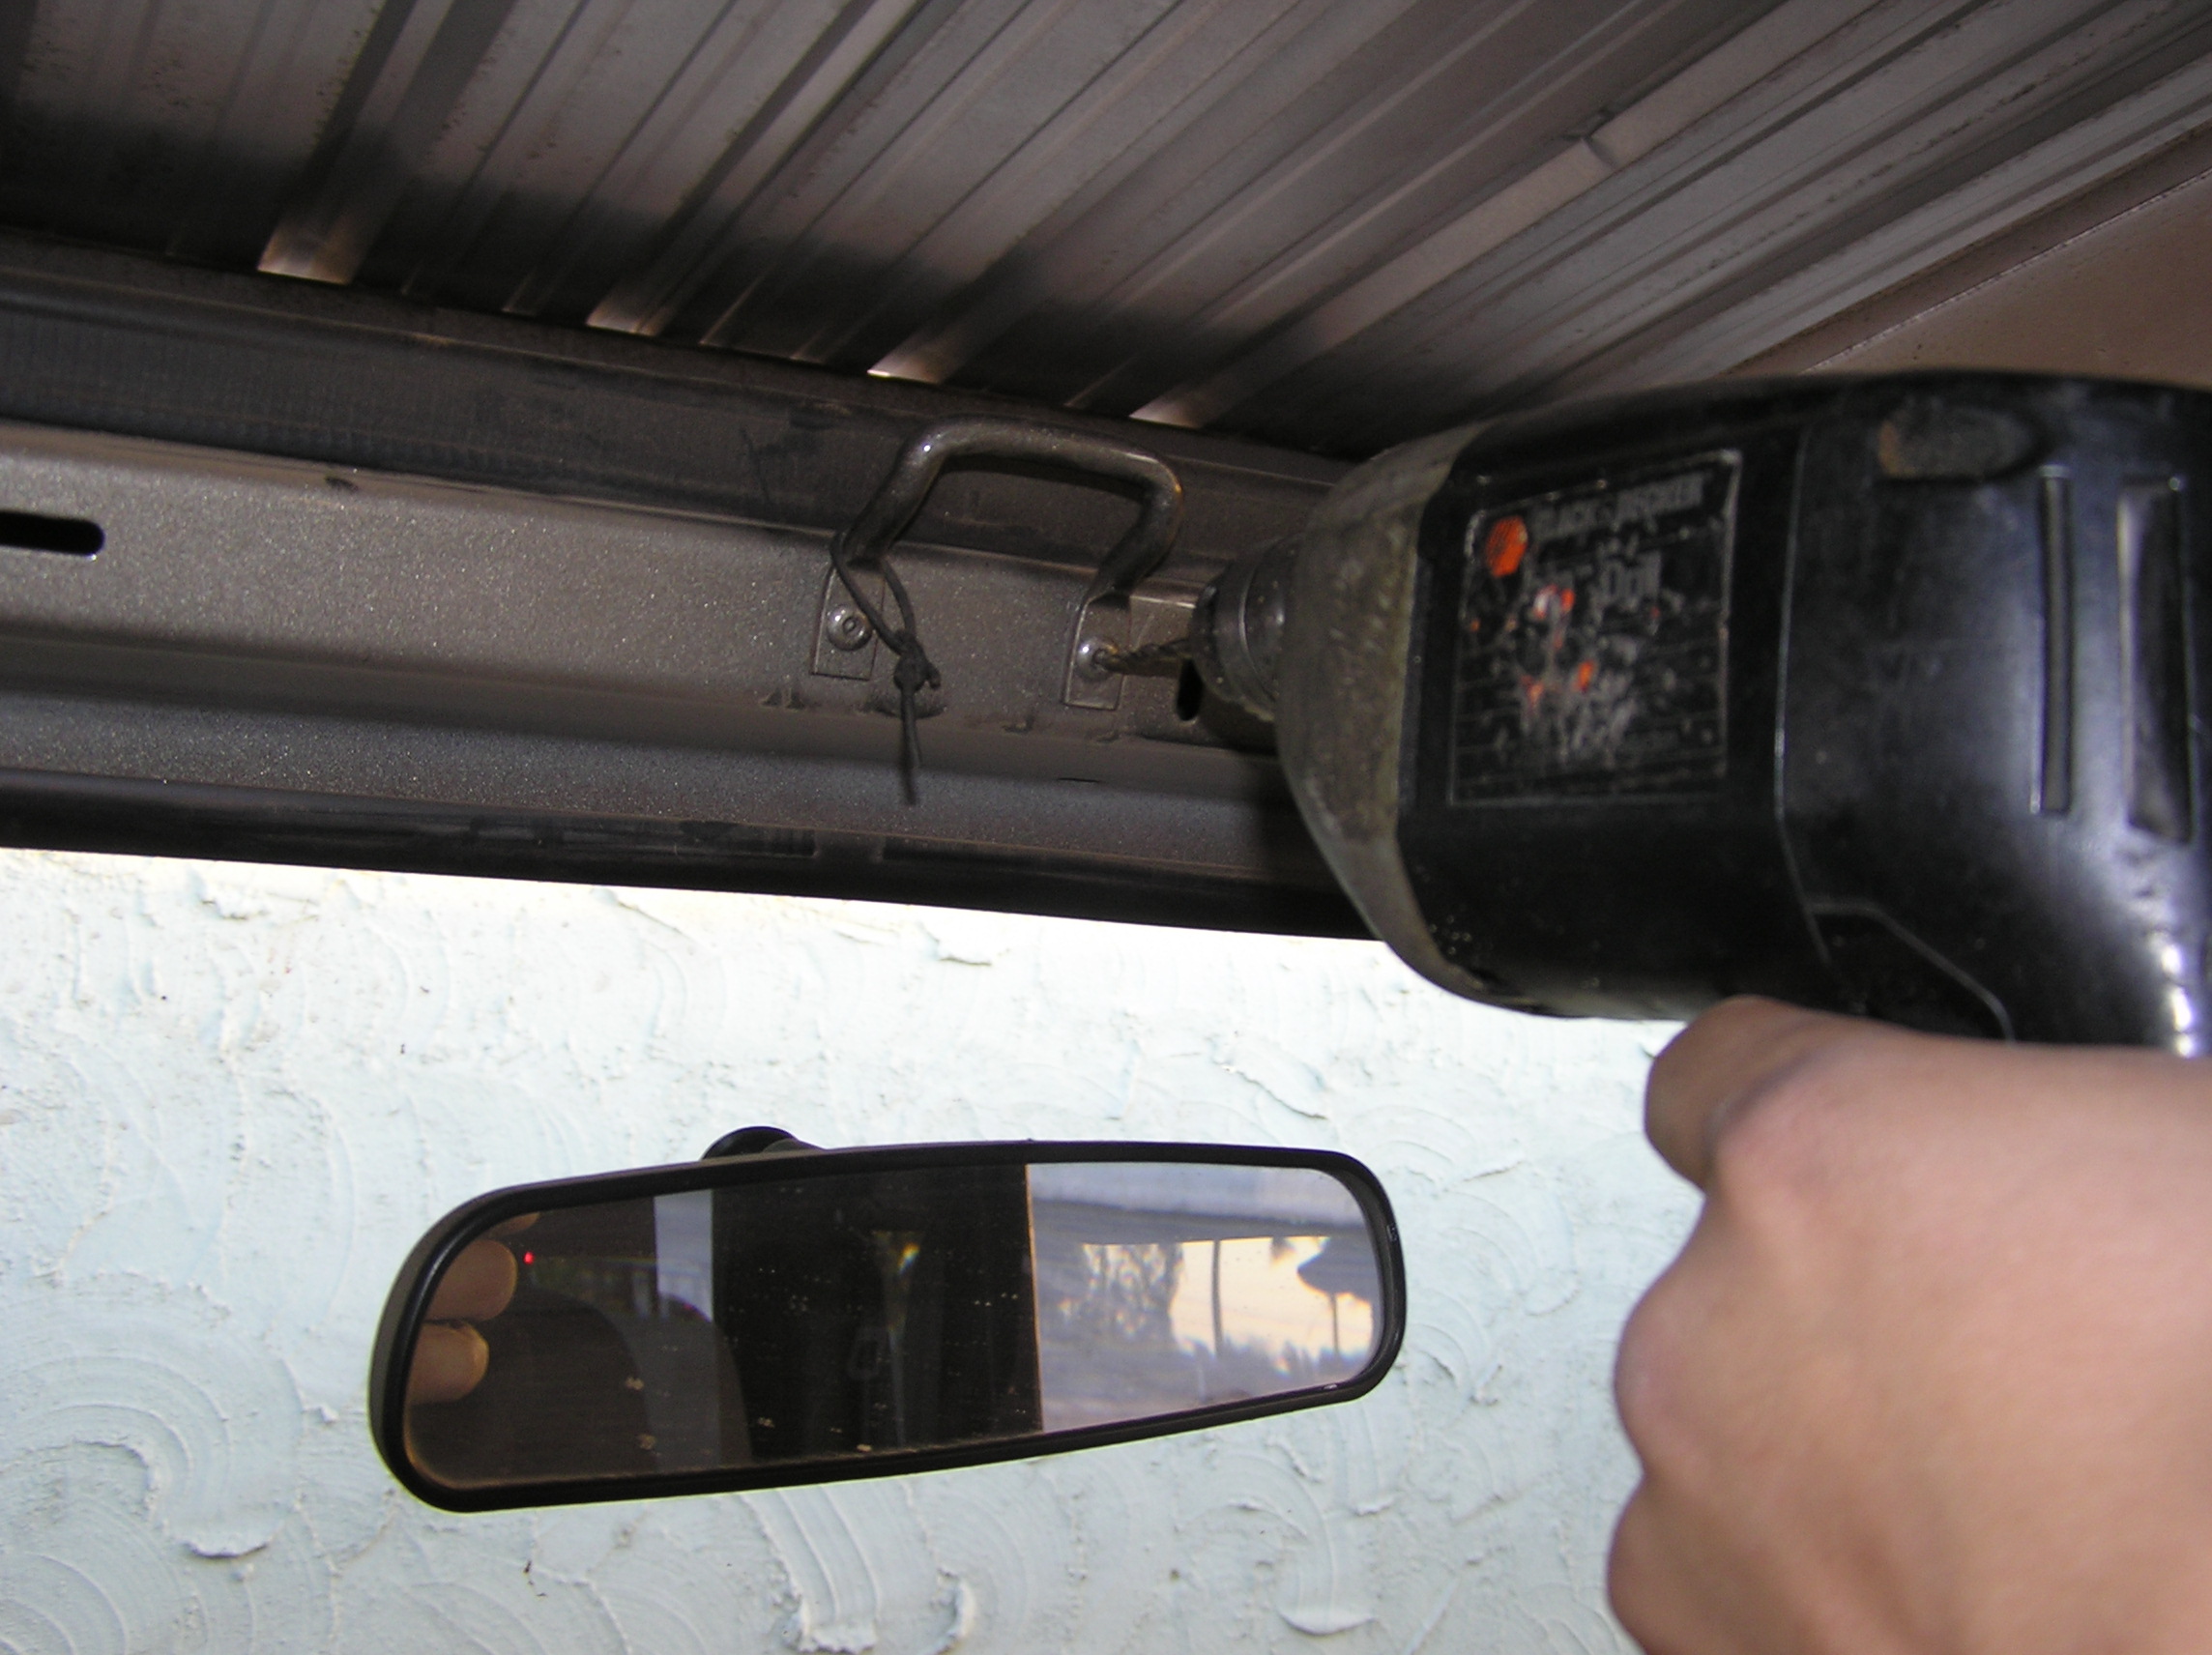
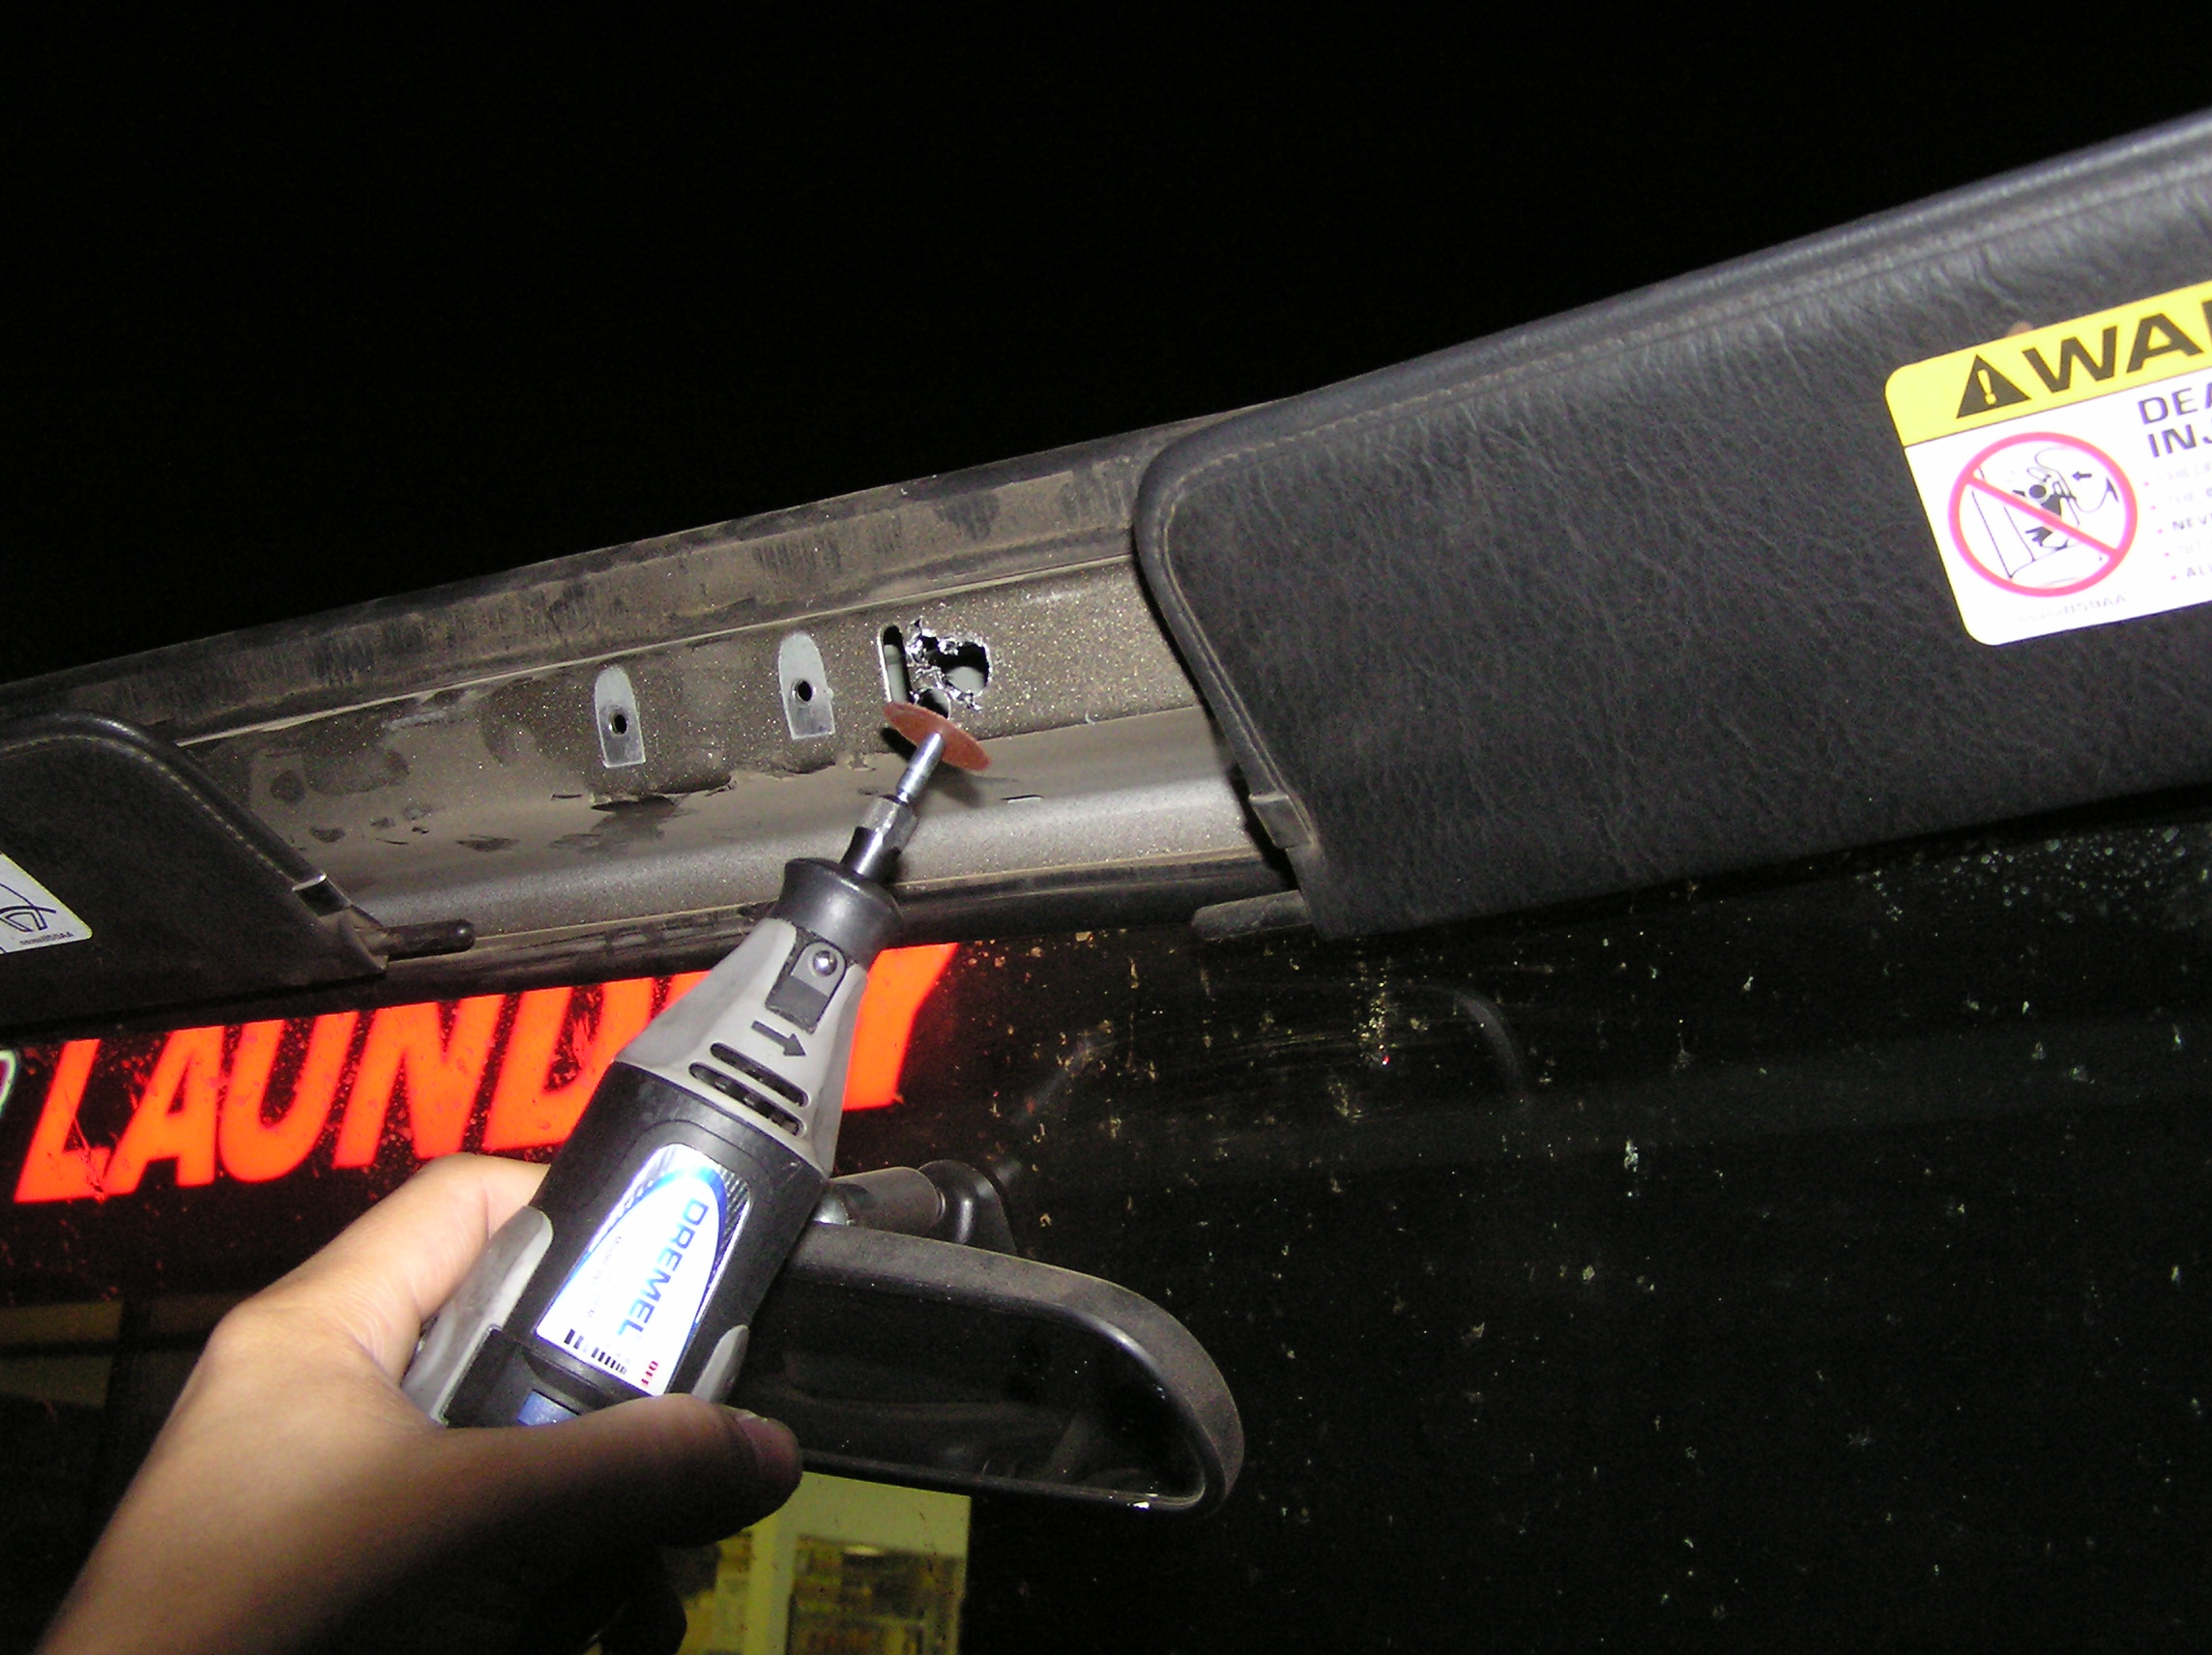
So now that we had the loop off, we enlarged the rivet holes to fit our own hardware. Instead of using a pressed-in nut, we went a different route. On the windshield frame to the right of the footman holes is a unused slot next to an unused hole. We decided to triangle it out large enough for a finger with a Dremmel and then insert bolts backwards through the footman holes and into the console where we could just nut them off. |
|
[By the way, the reason you can see a "Laundry" sign in the background of the photo is that we did the install at my condo. So we did most of the install out in the parking lot, using my inverter and Jared's cigarette lighter for the power tools. Since the Dremmel is quite loud we went down the street to a nearby parking lot to make our cuts.] |
|
Before we could mount the front, we needed to address the rear. Again we tinkered with the install instructions and decided to use the included U-bolts, even though they are technically to small for the newer Wrangler's larger roll bars (mostly because of the added padding).
We unzipped the bar cover to expose the hardened foam underneath, marked where the U-bolts would go, then removed the foam to make a few simple cuts. With a small hacksaw, we cut slits out of the foam essentially turning it into 3 separate pieces. We then placed the pieces back on the bar and wrapped the central parts (the outer two are held by a snap) them with some electrical tape to keep them in place until we got the fabric back over them. |
[Photo slideshow — images not available]
|
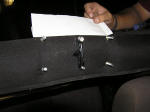 |
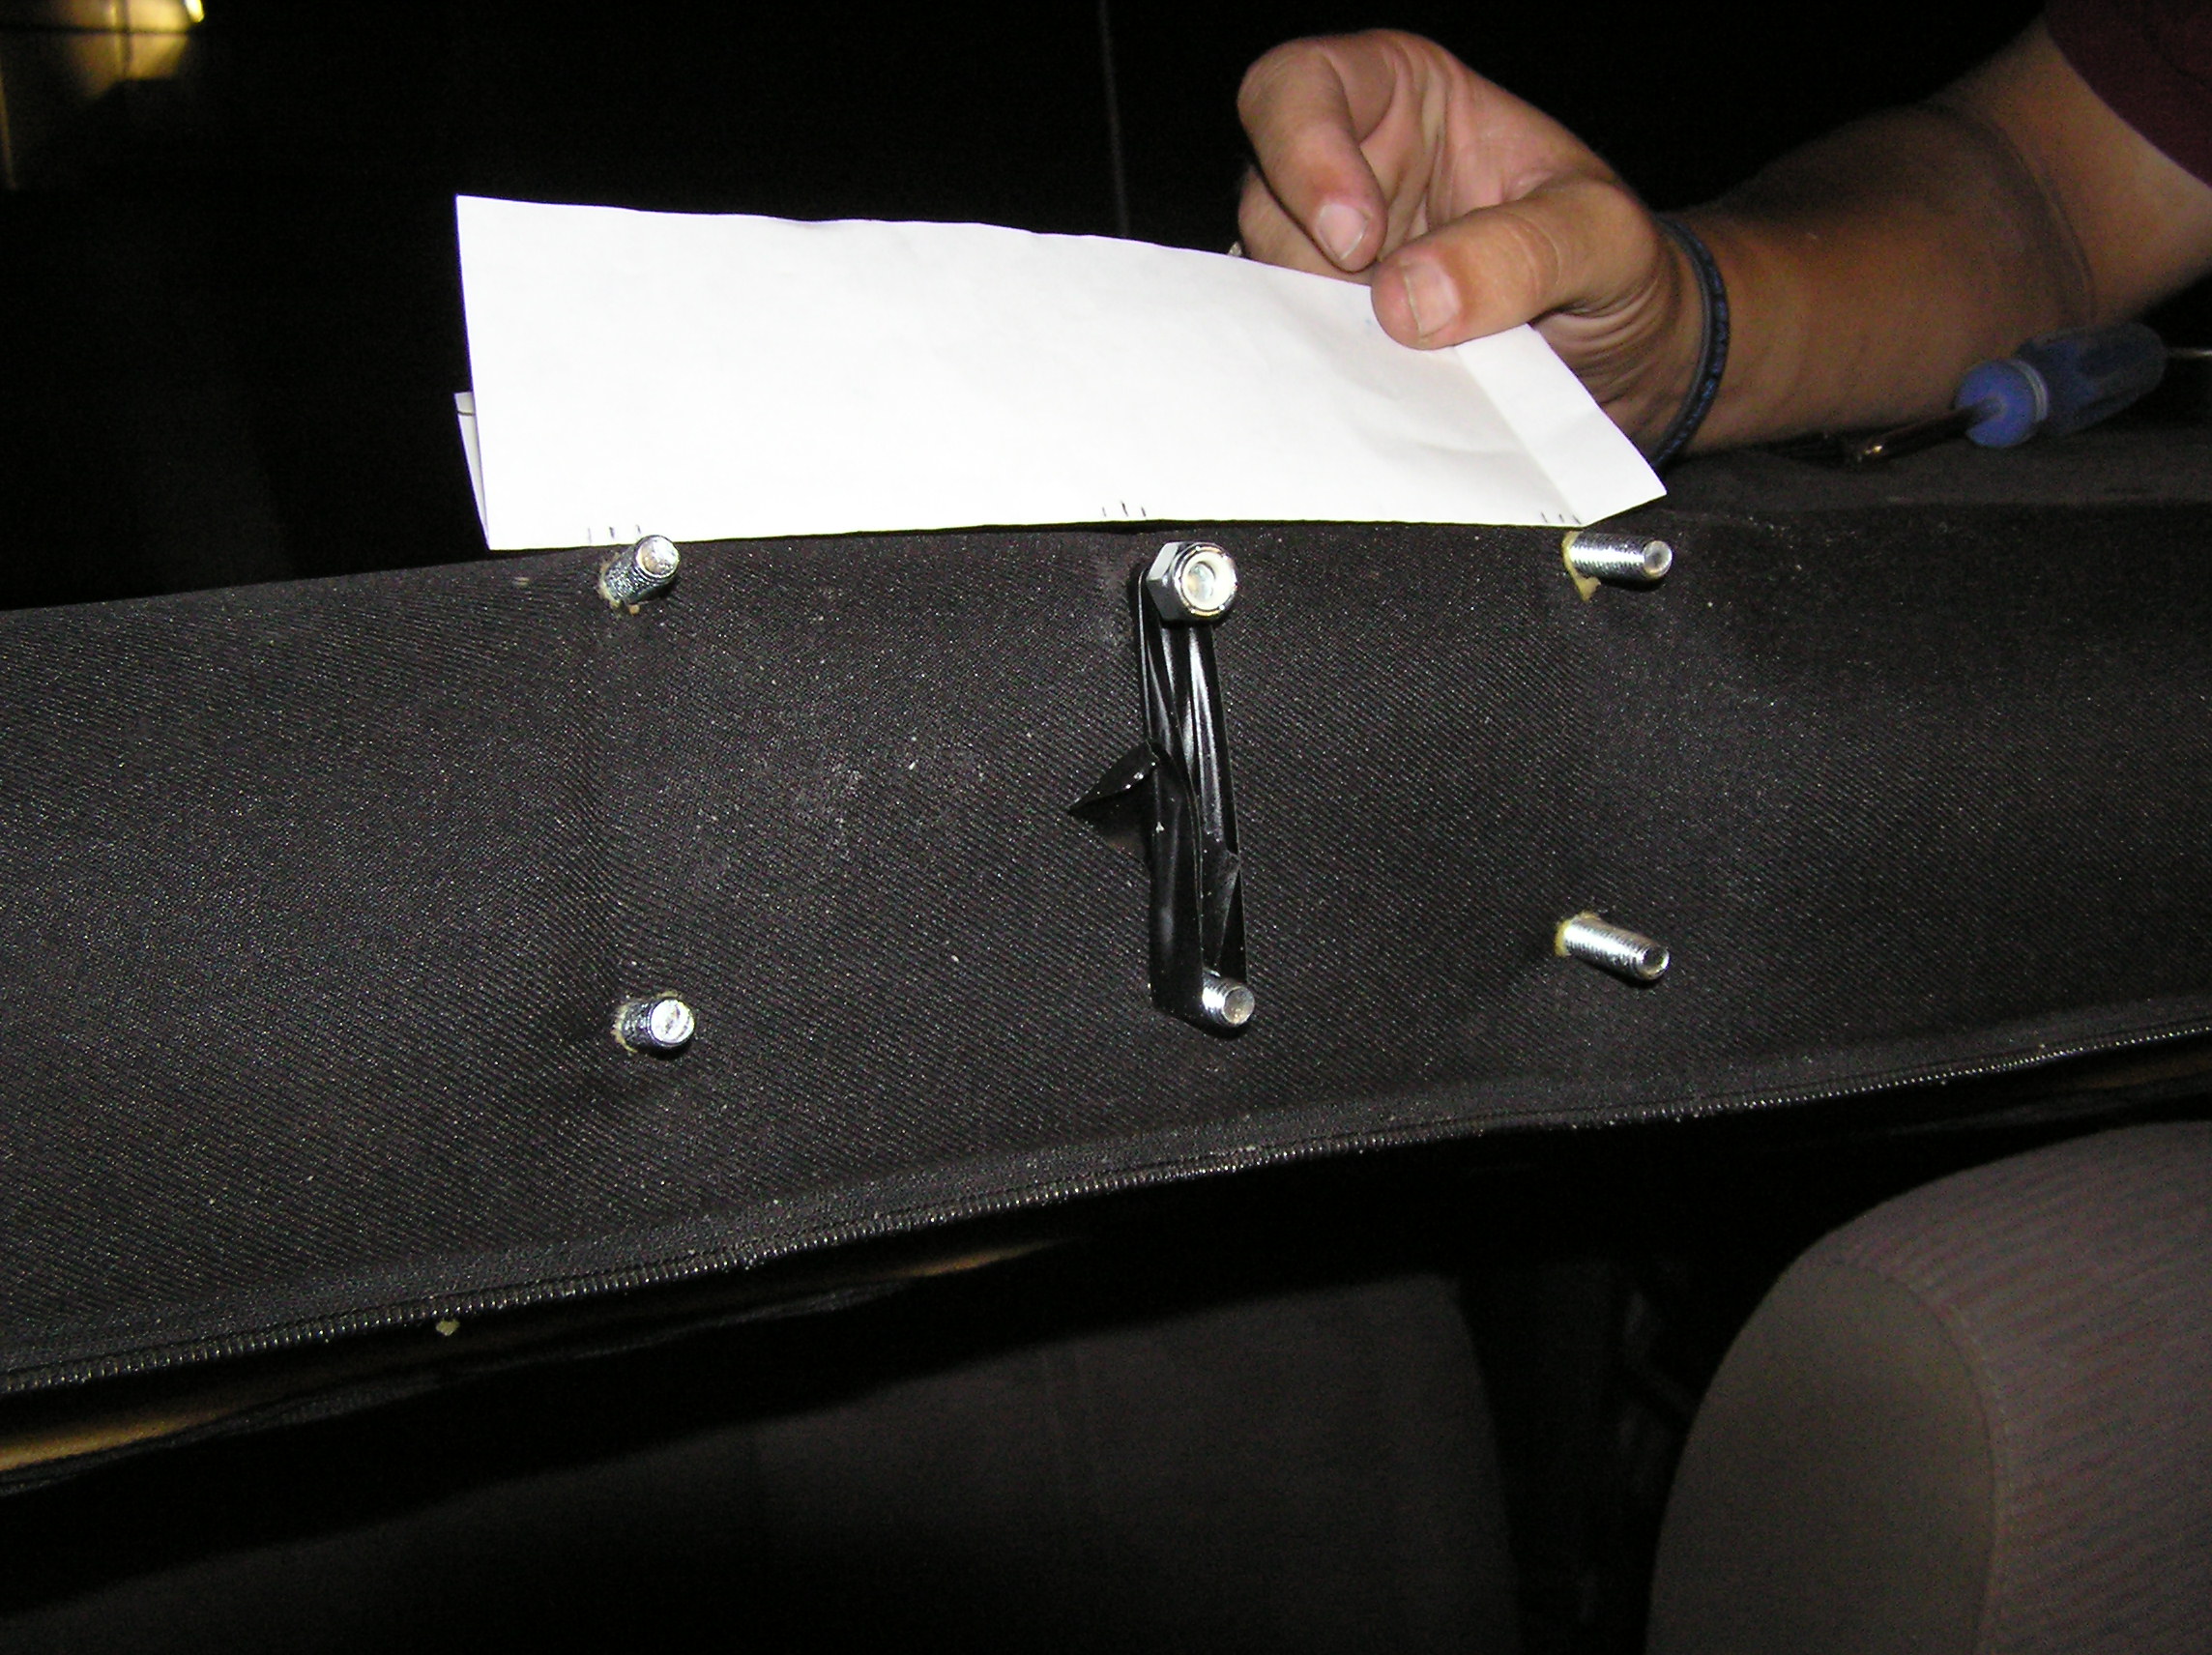
Before zipping up the fabric, we just poked holes with a blade in the in the appropriate spots for the U-bolts again using our pictured template as a guide. Then we lined up the U-bolts in the foam slits, and inserted the ends through our fabric holes. As you can see, e-tape came in handy again to keep the bolts in place while we were moving everything around to match them up to the console mounts. |
|
Because the console actually had a slide feature designed into it to accommodate different Jeep styles, we needed to mount the front first. |

 
|