Read-Only Archive โ€” 68,067 posts ยท 4,889 threads ยท 2,978 members ยท preserved from 2006โ€“2015
Yellowsub's Tube Fender Project
#1
Been working for a while on getting some new fenders under the Highline, great Corncob Pie. It's been a little challenging doing a One-Off on them but with Geoff's super skills it's looking good. I got the steel for sheepy cheapy and marked the layout all bys myselfins. Since we still drive it daily, it's been interesting putting it back together (sometimes with bungies) each time for the stripey roadlins.

attachment

I will post more pictures later :)
#2
YOu get the plate cut yet?
#3
Longarmjpxj wrote:YOu get the plate cut yet?


Not yet...now that my race is over I will finish up the templets this week and have you check them before I have them laser cut the steel.
#4
I will post an official write-up with pics in the next couple of weeks...although I did like the Kennith-speak in the magical post done for me that started this thread :)=)
#5
been 18 days... Post or BAN... up to you.
#6
Ok so I've officially been called out :red|...yes I tend to be a procrastinator and not the best at remembering to take pictures, but I will attempt to document my gradual progress with the pictures I have.

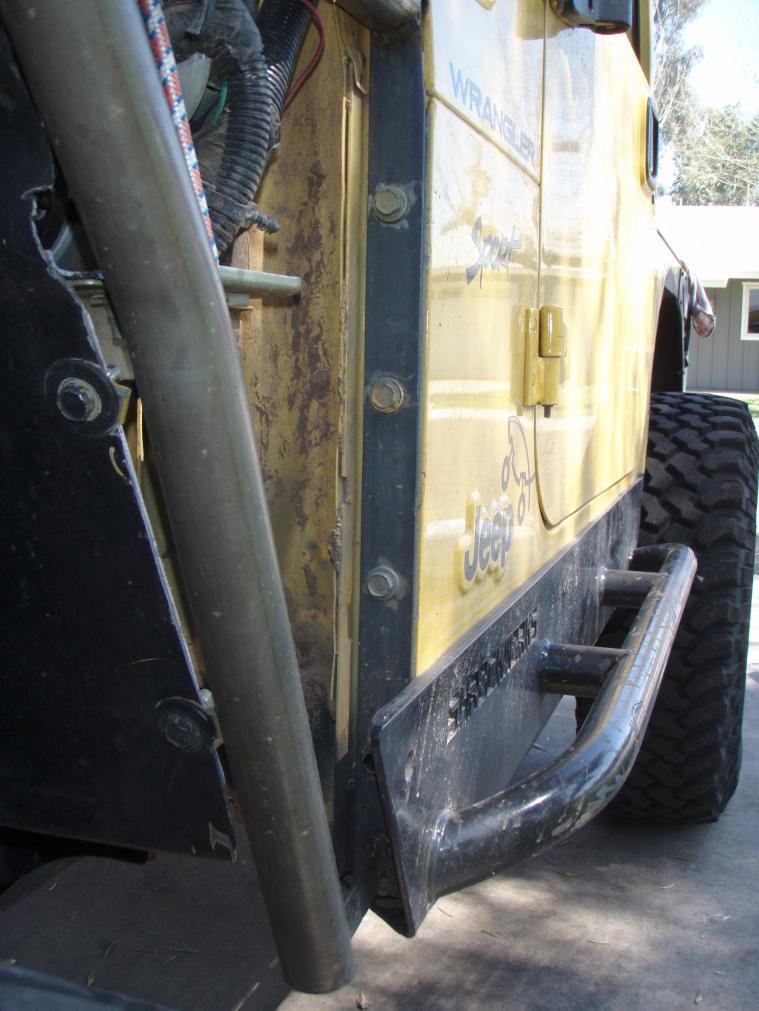
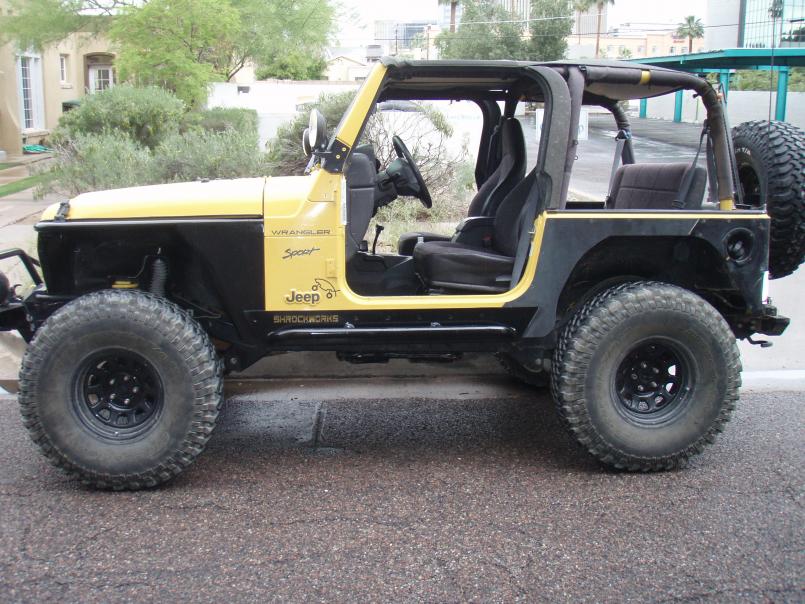
First, a little explanation: I've always liked the looks of the tube fenders. They look more aggressive (more exposed tire), create more tire clearance, and add some protection. Also ever since removing our snorkel the hole in the fender panel has bothered us. You may be thinking, "snorkel in the desert? whose bright idea was that?". Ok so I didn't know much about wheeling back then and we actually sold it for a profit so theres that.

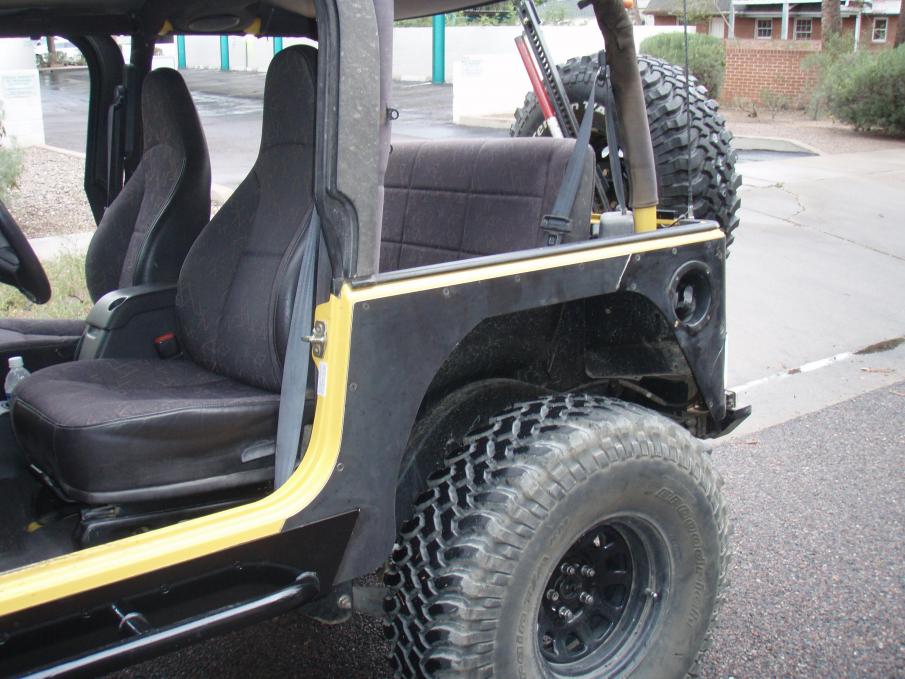
The final straws that made me start this project were a fender bender in a parking lot that literally kinked the front passenger side fender and tearing a rear fender flare out on the trails.

Having done the highline conversion http://www.higherground4x4.com/2/diy-high-line-hood-mod-for-cheap our options were a little limited. I liked the poison spyder fenders but they didn't make them for a highline and quite frankly I couldn't afford the almost $500 price tag. After pricing out the material at less than $50 I thought it might be something I could do myself with the right help

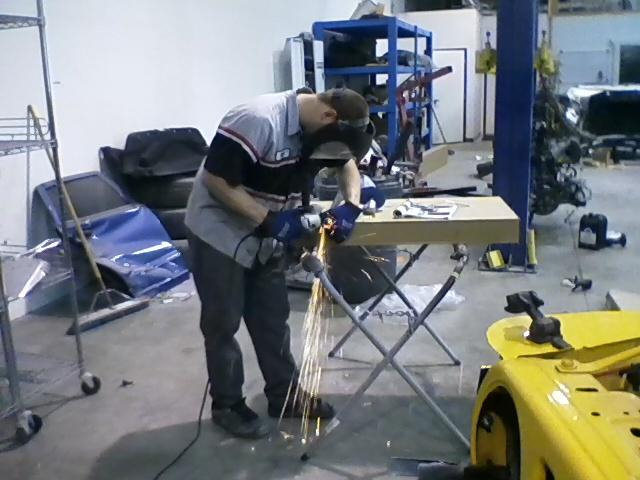
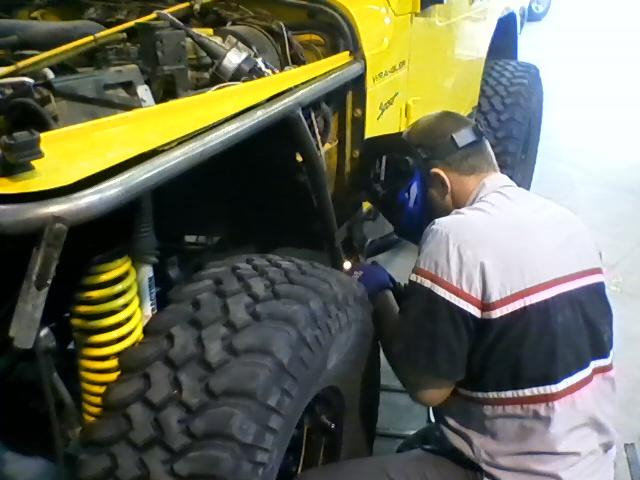
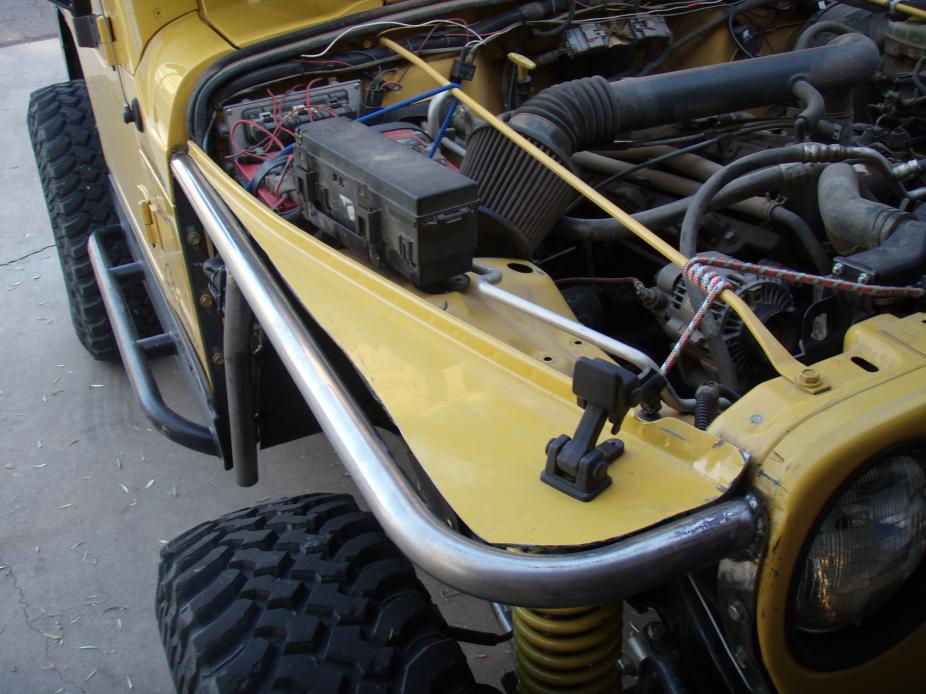
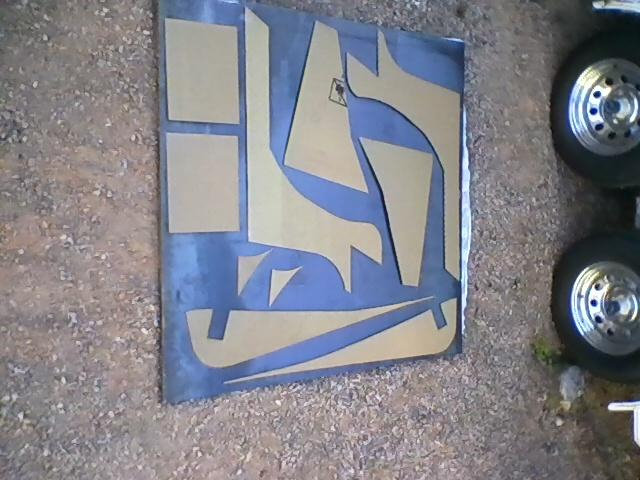
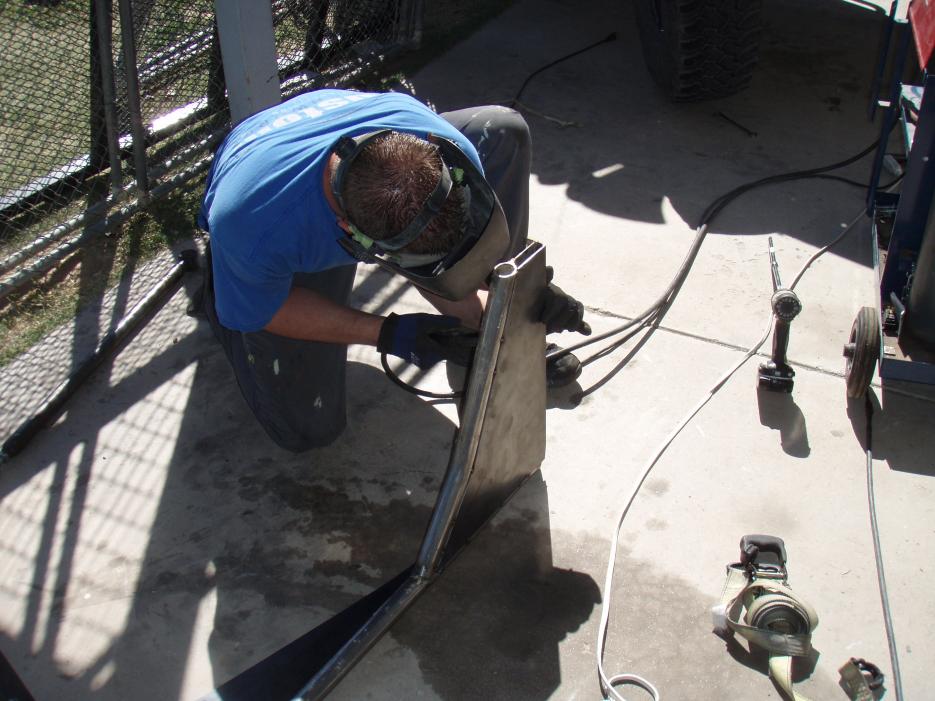
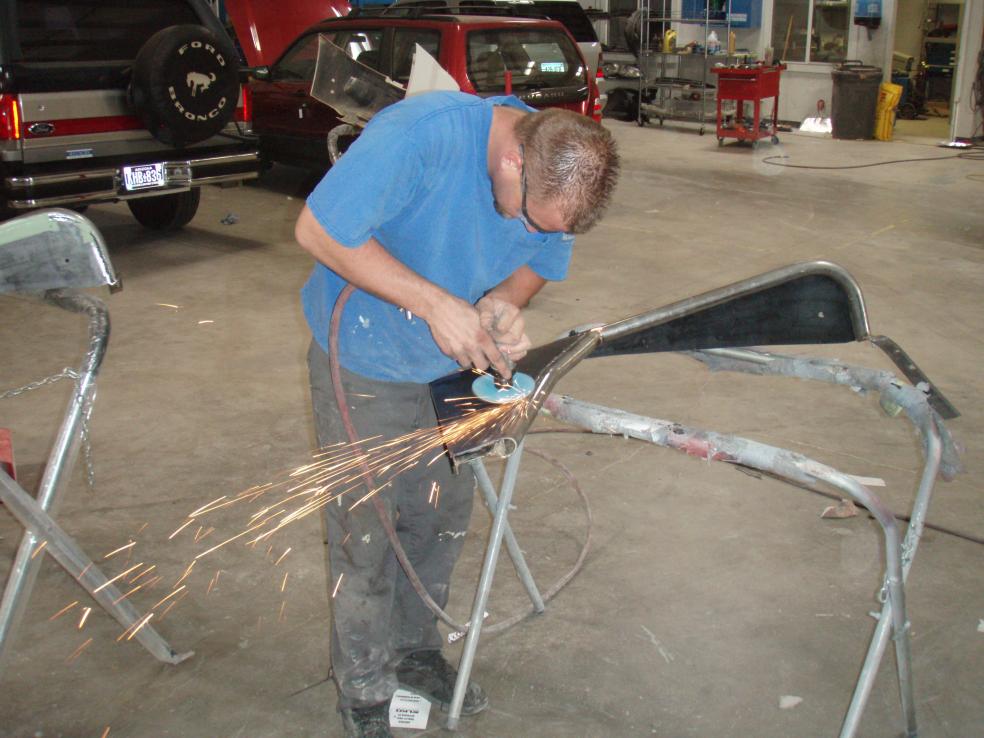
One day after work the cutting wheel seemed to be calling to me so I gave the yellowsub flat fenders as a first step to the tubes. Unfortunately it was a little spur of the moment so I didn't have a camera and didn't think to use my phone to take pictures. I still had some of the pieces I cut off so I mocked up some pictures after the fact as you will see.

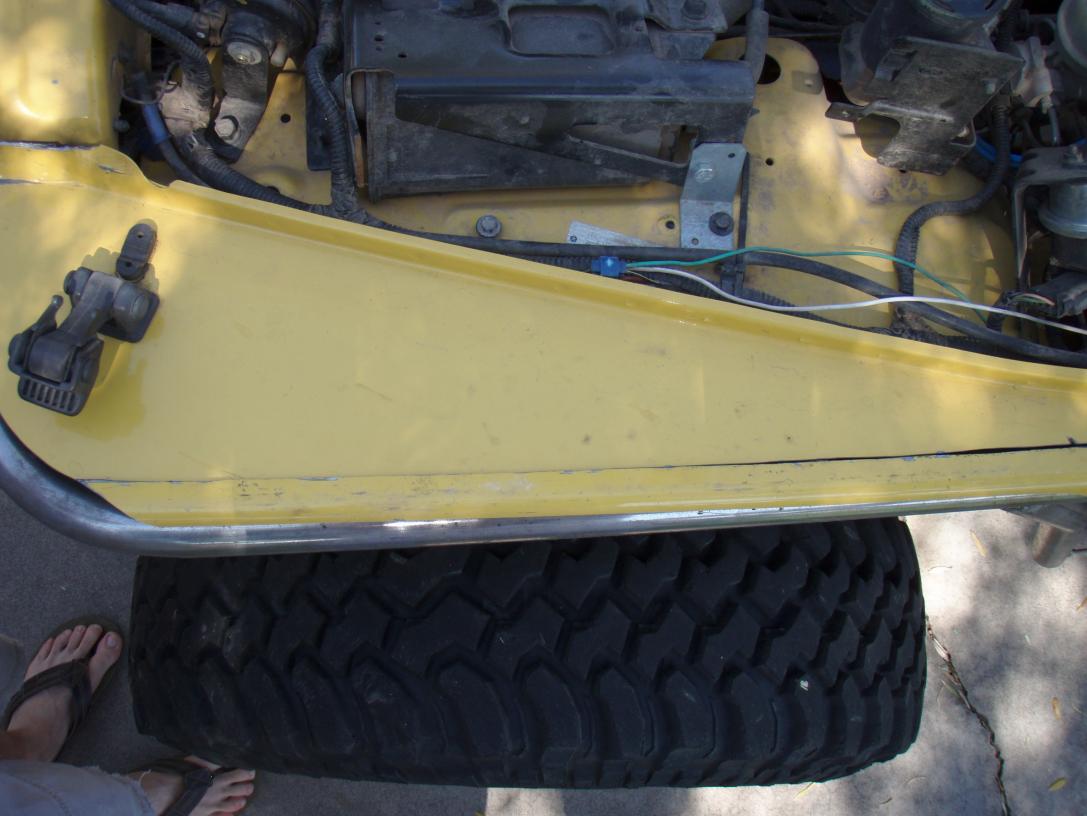
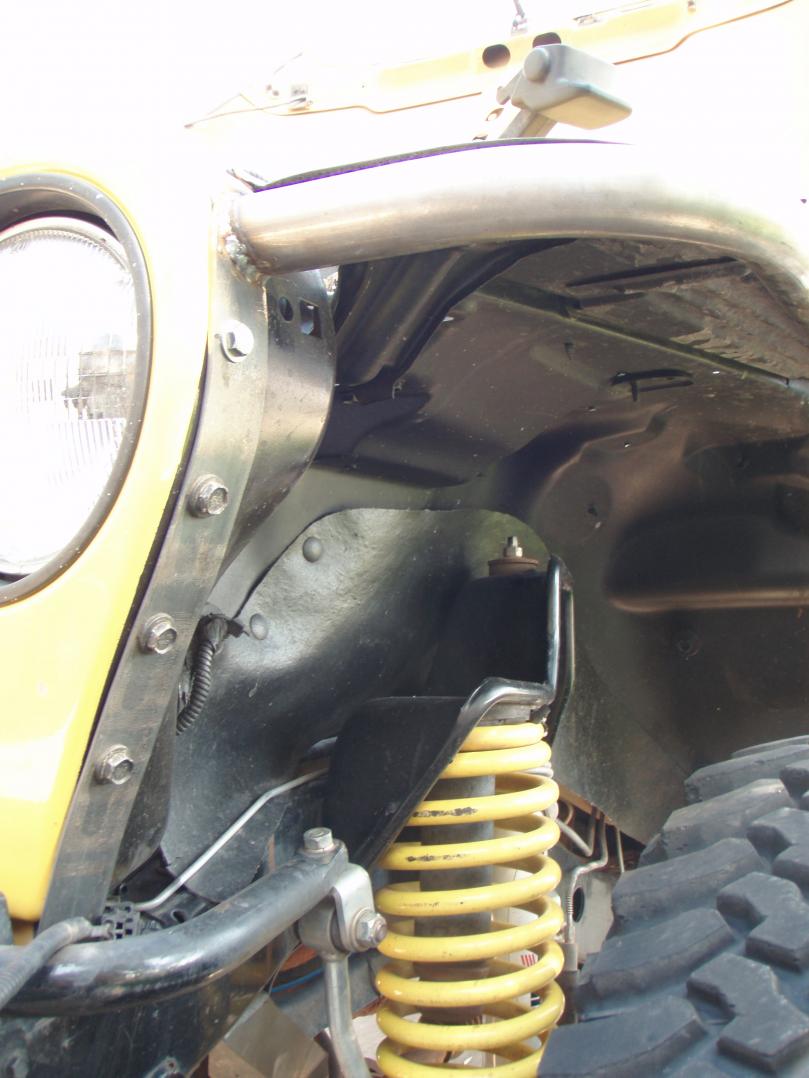
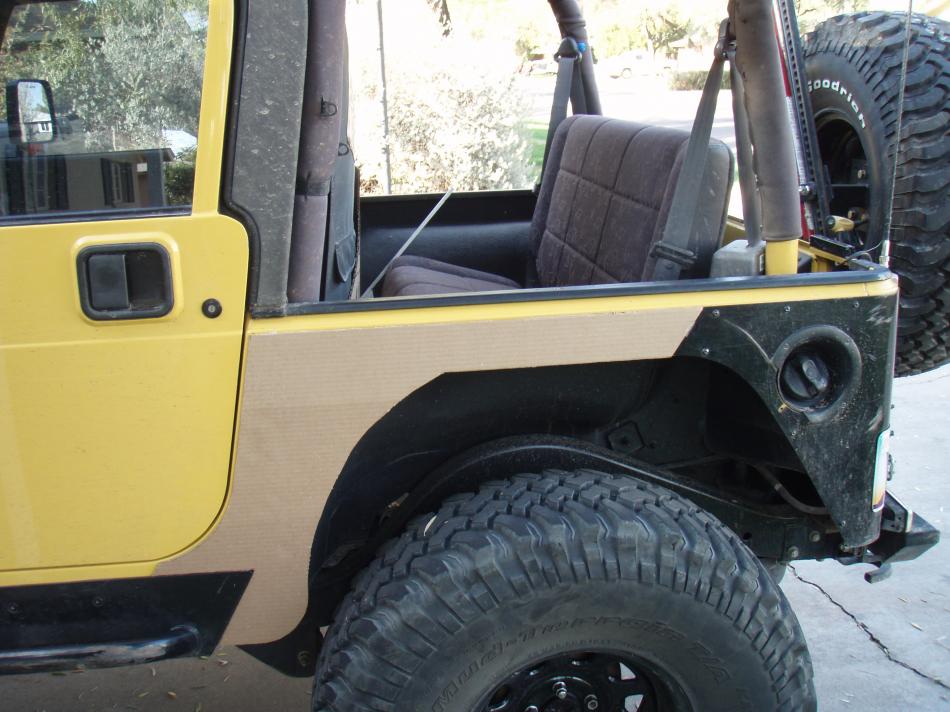
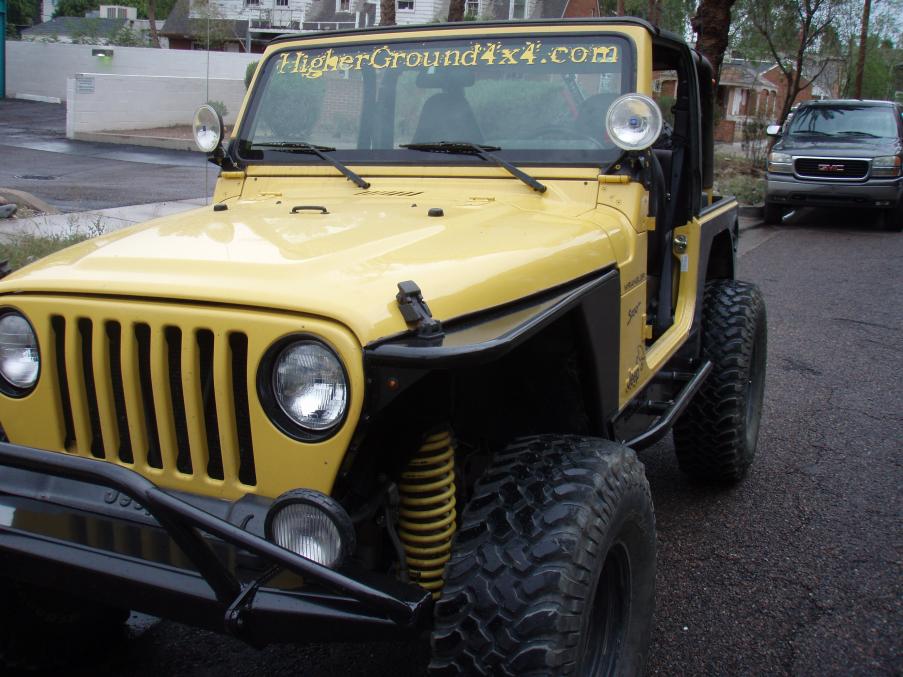
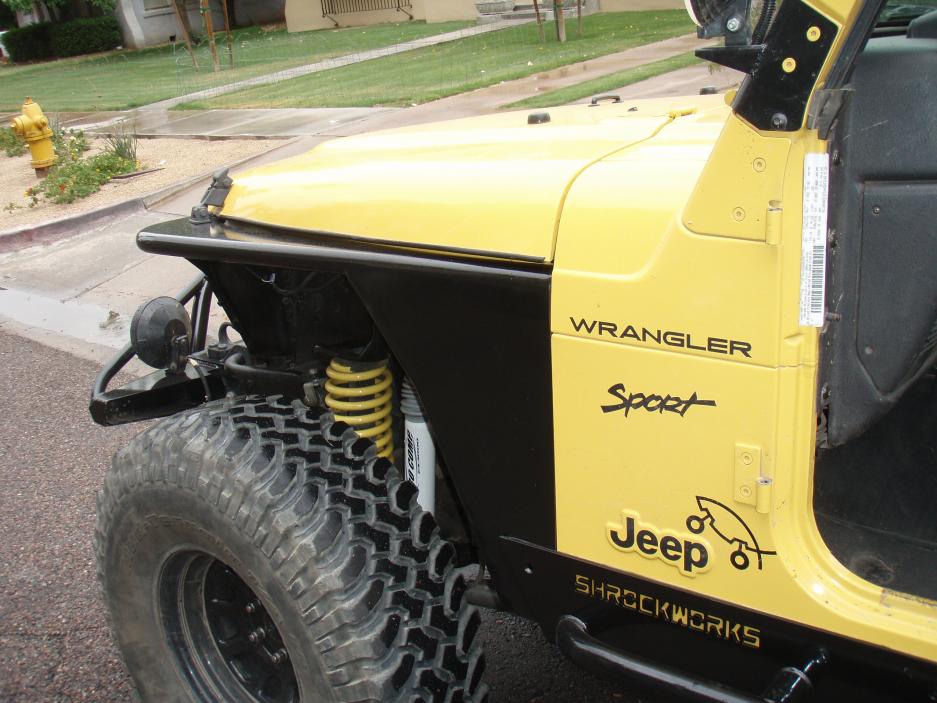
This will have to serve as a before picture

attachment

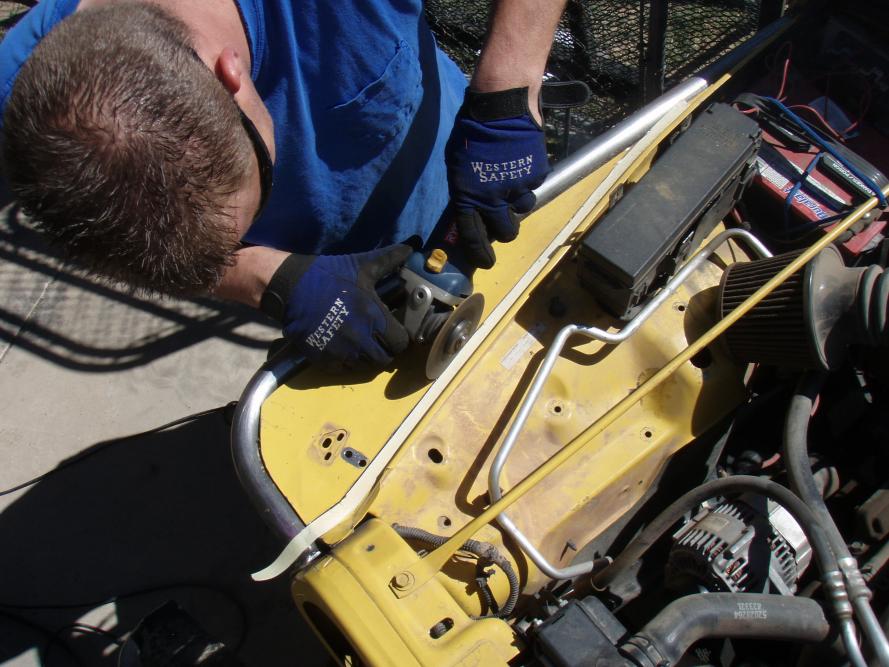
This is the only good picture I have of the flat fender step


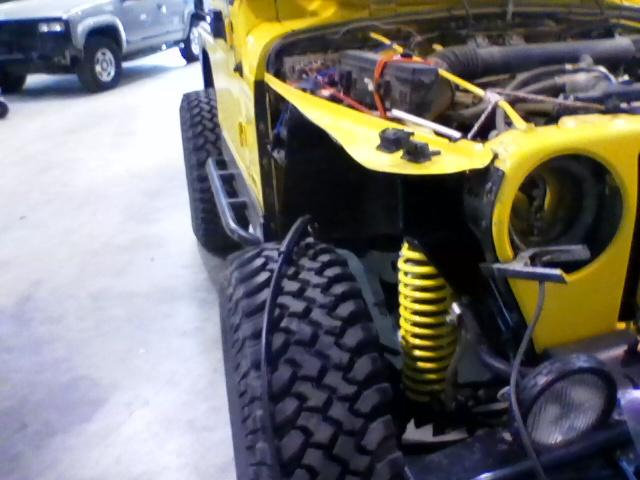
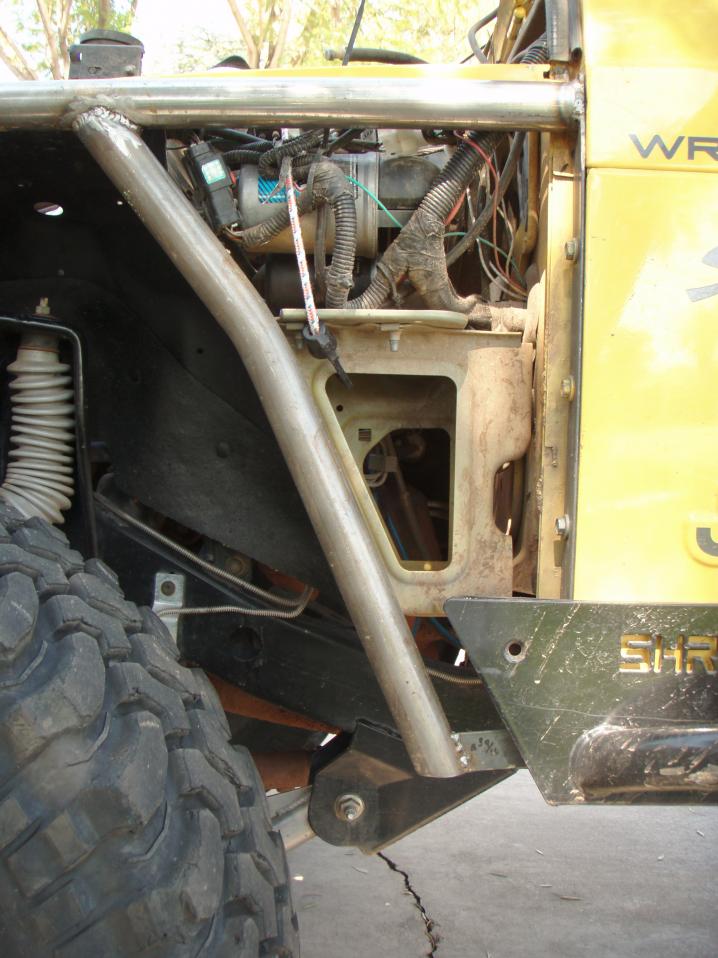
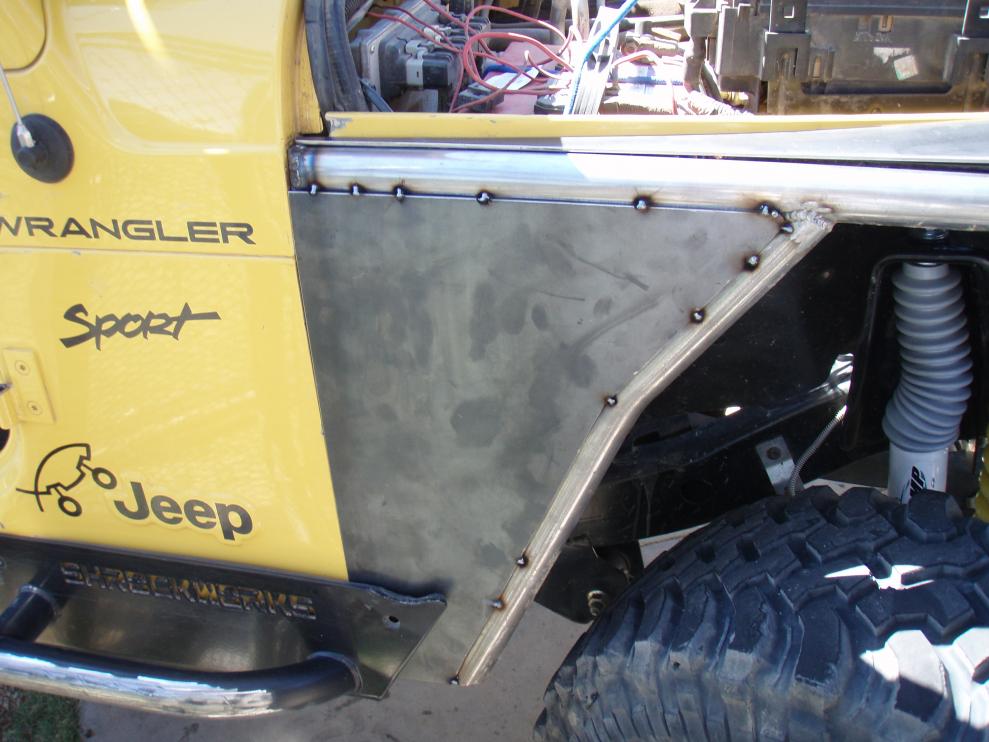
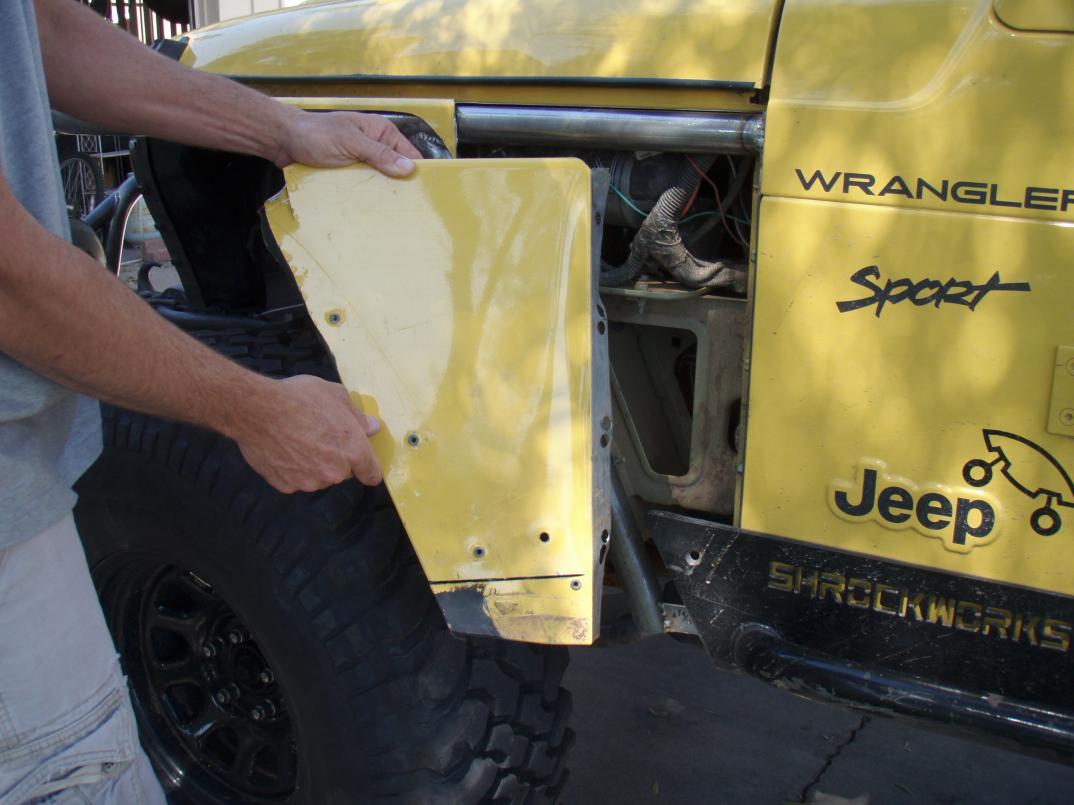
Removed bolts from firewall and cut away panel

attachment

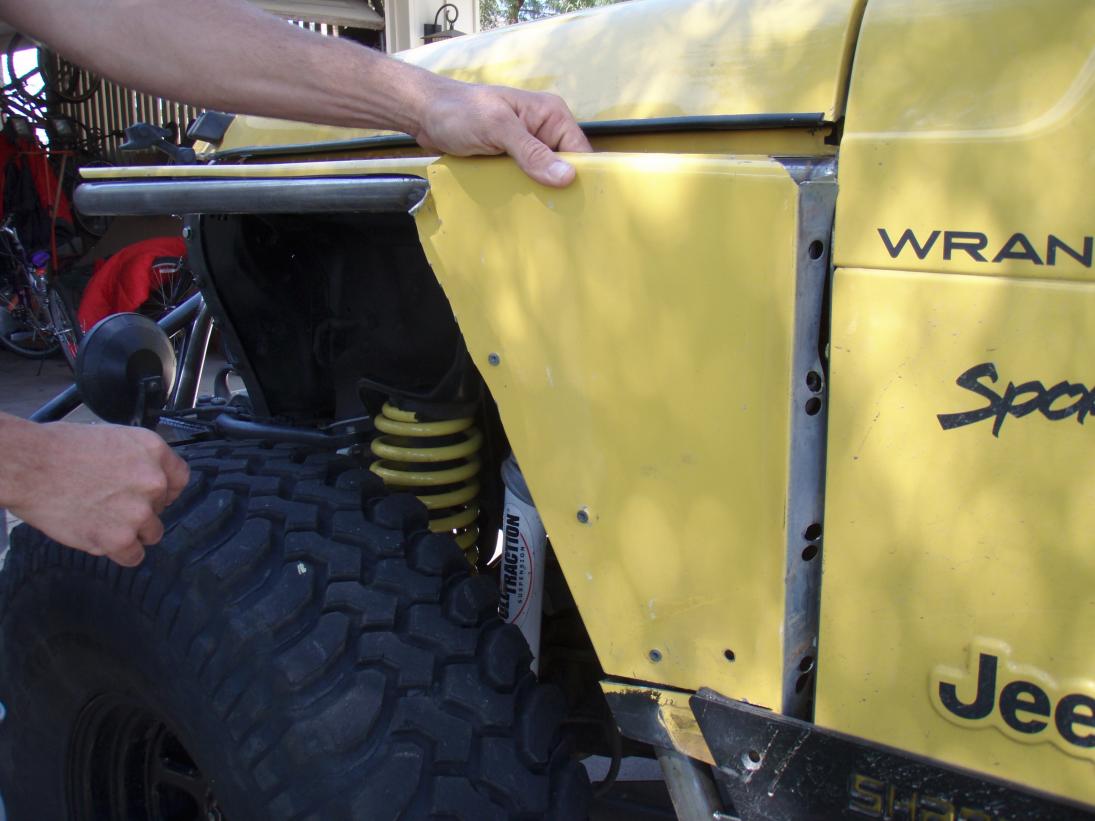
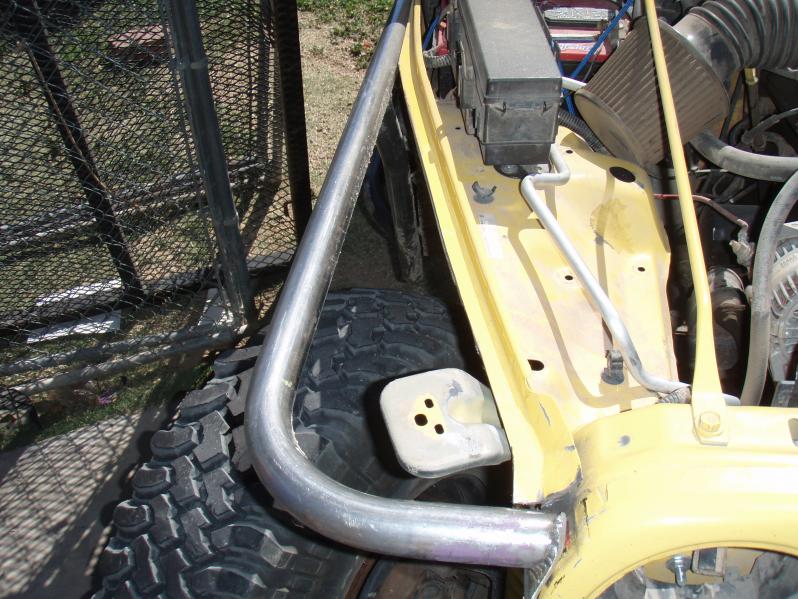
remove panel and throw away (after documenting with pictures)
attachment

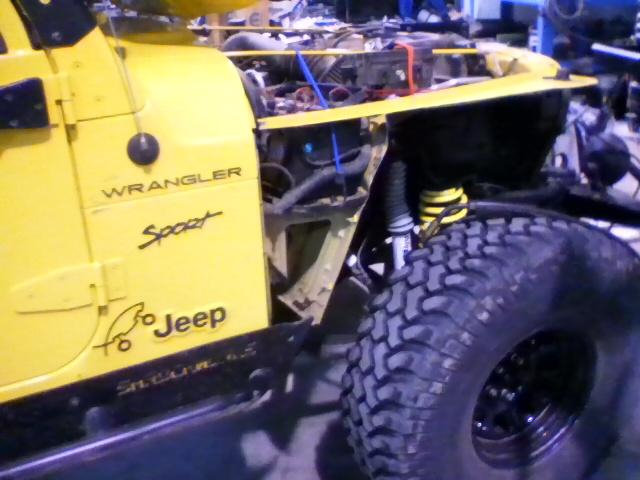
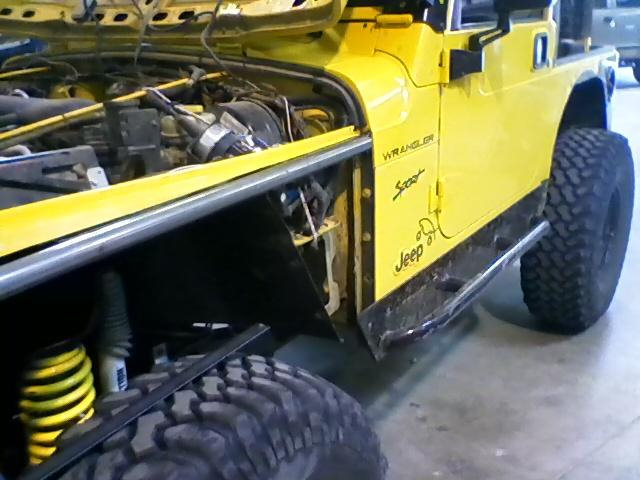
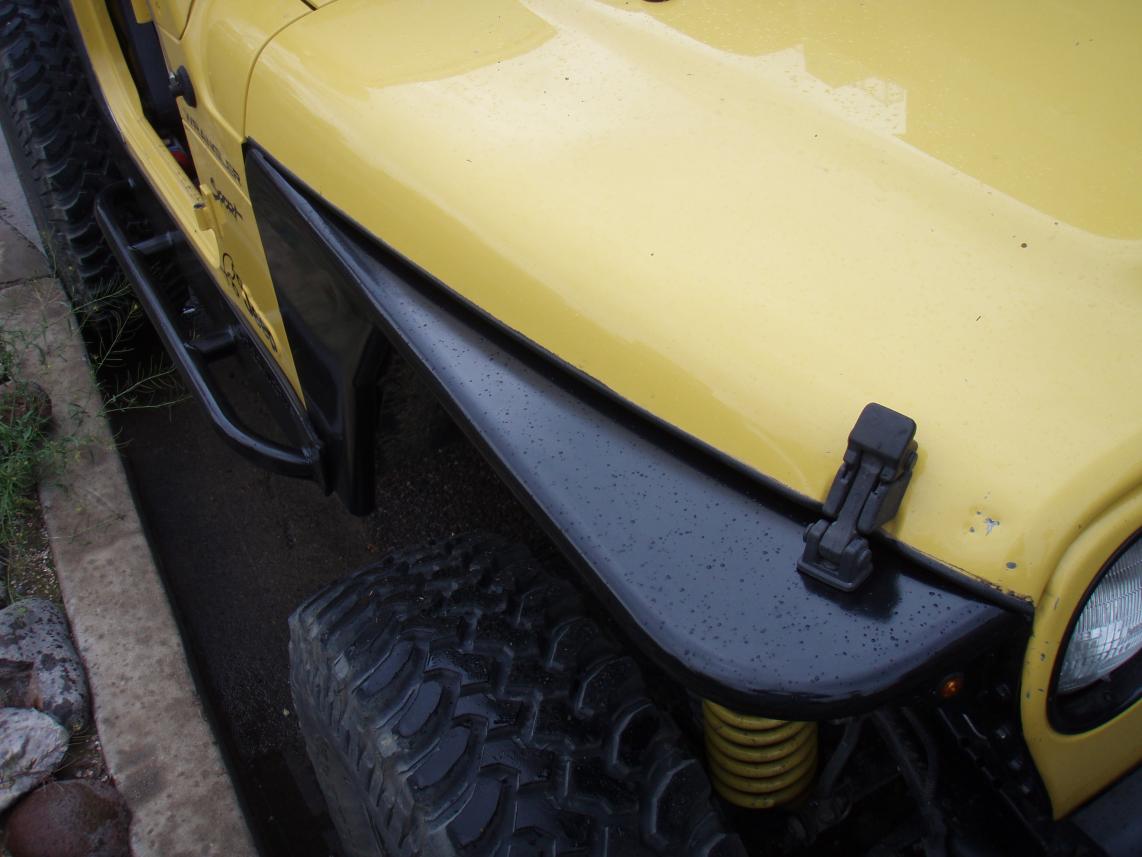
Cut the flat fender 1" back from rolled factory edge to allow placement of tubes
attachment
#7
After cutting everything out of the way, I wrapping some bungies around the battery tray and the passenger side tray(with ARB compressor) as a precaution so I could continue using it as my daily driver while finishing the project. I picked up the tube and a 4'X4' sheet of 11 gauge steel plate at Industrial Metal Supply in Tempe. Finding all the supplies in their remnants section saved a good bit of $. I then took it to Geoff (The Doctor) for bending, cutting, and welding

This is what it looks like with everything out of the way

attachment

Yes I drove around like this minus the missing headlight

attachment

Before cutting the bent tubes to size and welding them up I had to cut a steel strap to attach along the fire wall and around the headlight for the tubes to be welded to. Getting the strap to conform to the shape around the headlight was a little tricky. I used a vice to put pressure where I wanted it to bend. The key is to go slow so as not to kink the metal but get a gradual, smooth bend. Once I had the straps fitted, I drilled holes in them for the bolts and bolted them on

Bolted strap along firewall (used 11 gauge 1 1/4)

attachment

Bolted strap along headlight (used 11 gauge 1 1/2)

attachment

#8
Lookin sharp
#9
Geoff was nice enough to bend the tubes for me, cut them to size and weld them to the straps at the fire wall and around the headlights

The Dr. hard at work cutting the bent tubes to size
attachment

welding the tubes to the straps
attachment

the top tube installed
attachment

the fender well tube installed...a 15 degree bend/kink cuz I like the way it looks
attachment

view from the top...just under a 90 degree bend on the top tube
attachment
#10
The next step was to cut out the steel plate pieces from the 4'X4' sheet of steel. I made cardboard templates to make sure I cut the steel just right

getting the tub line just right took several adjustments
attachment

attachment

Oh yea I decided to extend my existing trail corners all the way to the doors too
attachment

traced templates onto the steel, had them rough cut out with plasma cutter, then went to work with grinder to get the lines perfect...only went through 4 cutting wheels
attachment
#11
Once the metal pieces were ready to go, it was back to Geoff for some more cutting and welding

committed to completing the fenders we were ready to cut away the rest of the flat fender with the hood latch...left 3/4"
attachment

made sure to leave the hood latch support bracket
attachment

tacked the metal pieces into place before removing the fenders
attachment

put a solid weld around all metal pieces
attachment

grinding down all the visible welds before a little bondo
attachment
#12
Once bondoed (sp?) and primed I took them to my shop and painted them and installed the 3/4" led directional signals. Also buffed out my sliders and bumper and threw a fresh coat of paint on those while I was at it

the finished product
attachment

attachment

attachment

attachment

attachment
#13
Good deal on the pics. :cool)
Install looks great.
Paint that inner hood lip and you need a sticker or something on the black front fender sides
#14
I still need to weld and buff out the seam on the trail corners but here are a few pictures of them so far


attachment

attachment

I also used flush head bolts to attach the trail corner extensions so I had to counter sink the holes on the existing trail corners to match. Went to Copper State for all my nuts and bolts...they have everything and are way cheaper than Home Depot.

Guess that's it for now I will post up final pics of the trail corners after I paint them hopefully before the TM run
#15
that is awesome, team Yellowsub.

Great work Dr. Geoff.

(I will NOT make bumble bee references... I will NOT make bumble bee references. I drive a station wagon and cannot make fun of framed vehicles... I drive a station wagoan and cannot....)

I do like the slight angle on the side pieces. Nice touch...
#16
Lookin good boss. Jeep has come a very long way in the last year or so.

Now it's time to chop that bumper to open up the tire coverage more.
#17
Can I say, Hubba hubba
Great job!
#18
Dozzer wrote:Now it's time to chop that bumper to open up the tire coverage more.


Yeah that is on the eventual list
#19
Quadfire wrote:Can I say, Hubba hubba
Great job!


You know... X2.
#20
alanzona wrote:

(I will NOT make bumble bee references... I will NOT make bumble bee references. I drive a station wagon and cannot make fun of framed vehicles... I drive a station wagoan and cannot....)


all it needs is a rear stinger

:)=)