|
|
|||||||||||||
|
|
|||||||||||||
|
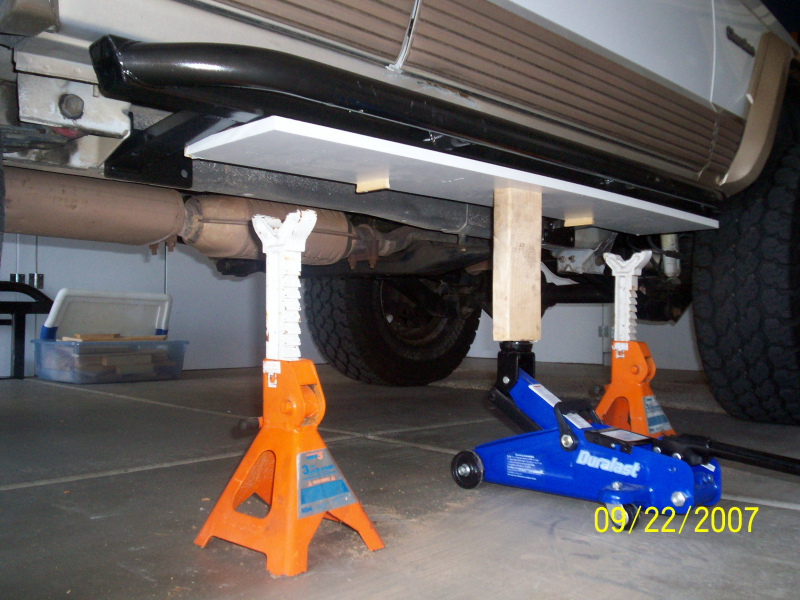
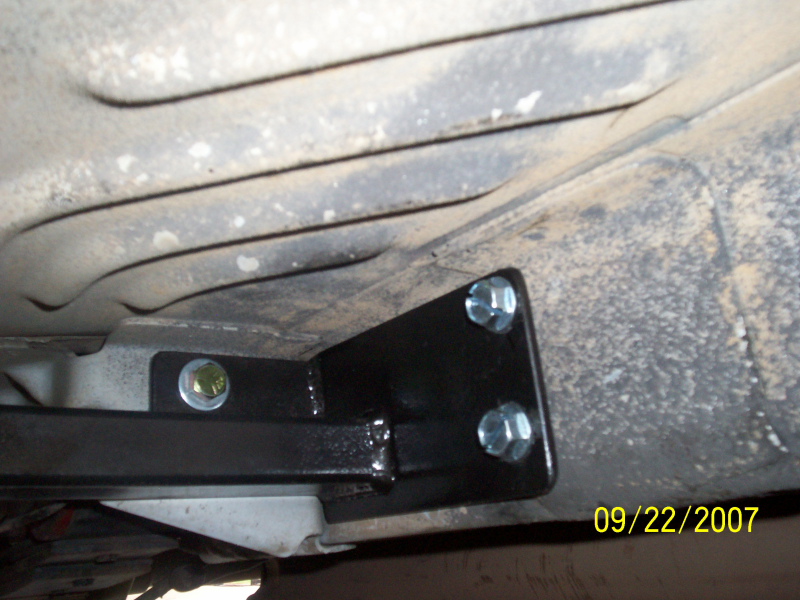
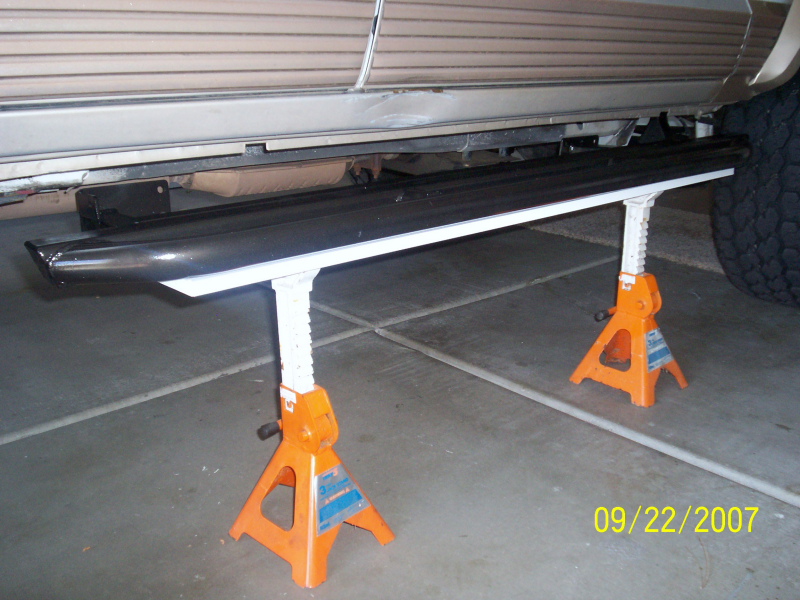
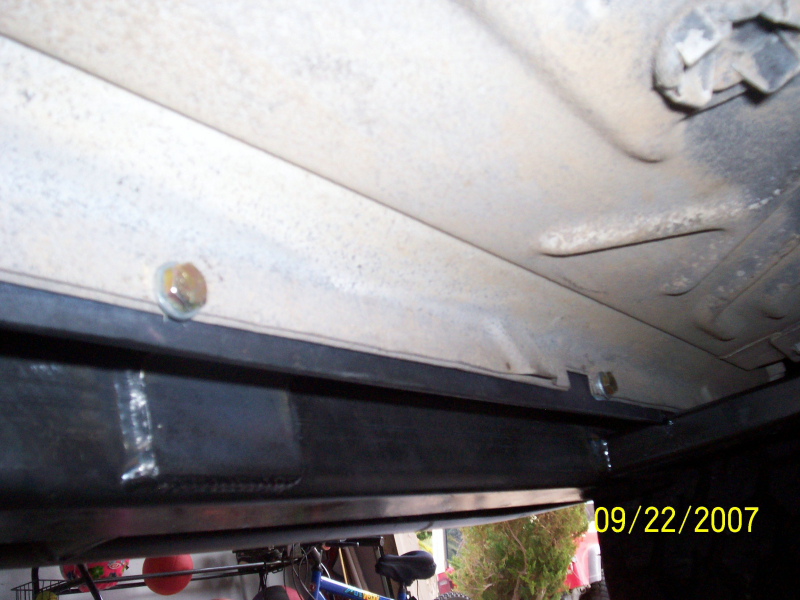
So to begin, I pulled my XJ onto a flat surface. (Trust me, you want to do this on a flat surface for alignment and jack purposes). If you don�t have garage space, then just park sideways across your driveway to try and make the surface you are working on level. It will help with alignment and also keep your sliders from falling when you are jacking them into position. I was blessed with a garage. After pulling into the garage, it was time to align the sliders and mark my holes for pre-drilling. You will need your jack, a board that runs the distance of your rock sliders, and (as I discovered) another piece of wood to raise the entire piece into position. With a lifted vehicle, most jacks won�t raise far enough to put the slider into position. You then want to place jack stands in place, incase your jack slides or you don�t have the slider balance properly and you need to drop it quickly. When you are lying underneath the vehicle marking your holes, you�ll appreciate the piece of mind! With this particular rock slider, part of why I choose it was the multiple mounting points on the rear, so you want to ensure that that rear �L� mounts are snugly in position. (TIP: now when I did the right side, I marked all my holes with it in positions, then I lowered the entire assembly, drilled all 7 holes, then put my slider back in place and started bolting. Well� I was off on some of my front holes and had to re-drill, so when I did the left side, I marked the rear brackets carefully and drilled them first, beginning with the one on the rear shock mount. This is the hardest to align, for both drill and angle reasons. Once I had the hole drilled and the bolt through on the rear shock mount, it held the entire slider in positions and I just marked and drilled the holes in the frame with the slider in position. This saved over 20 minutes when installing the left side!) With the slider fully bolted on, I then discovered another issue� I couldn�t get to the OUTSIDE holes to mount the slider to the body trim� the slider was nice and solid with the frame, but had gaps where it connected with the lip of the body since it wasn�t mounted solidly to the outer lip� so the entire thing came off again, sat on jack stands, and I marked and drilled the body lip holes. So, the right side took an hour and half (mostly learning and redoing time), the left side took only thirty minutes! Here is the drilling/bolting sequence for success:
| |
 | |
 | |
 | |
|
|
|