|
|
|||||||||||||
|
|
|||||||||||||
|
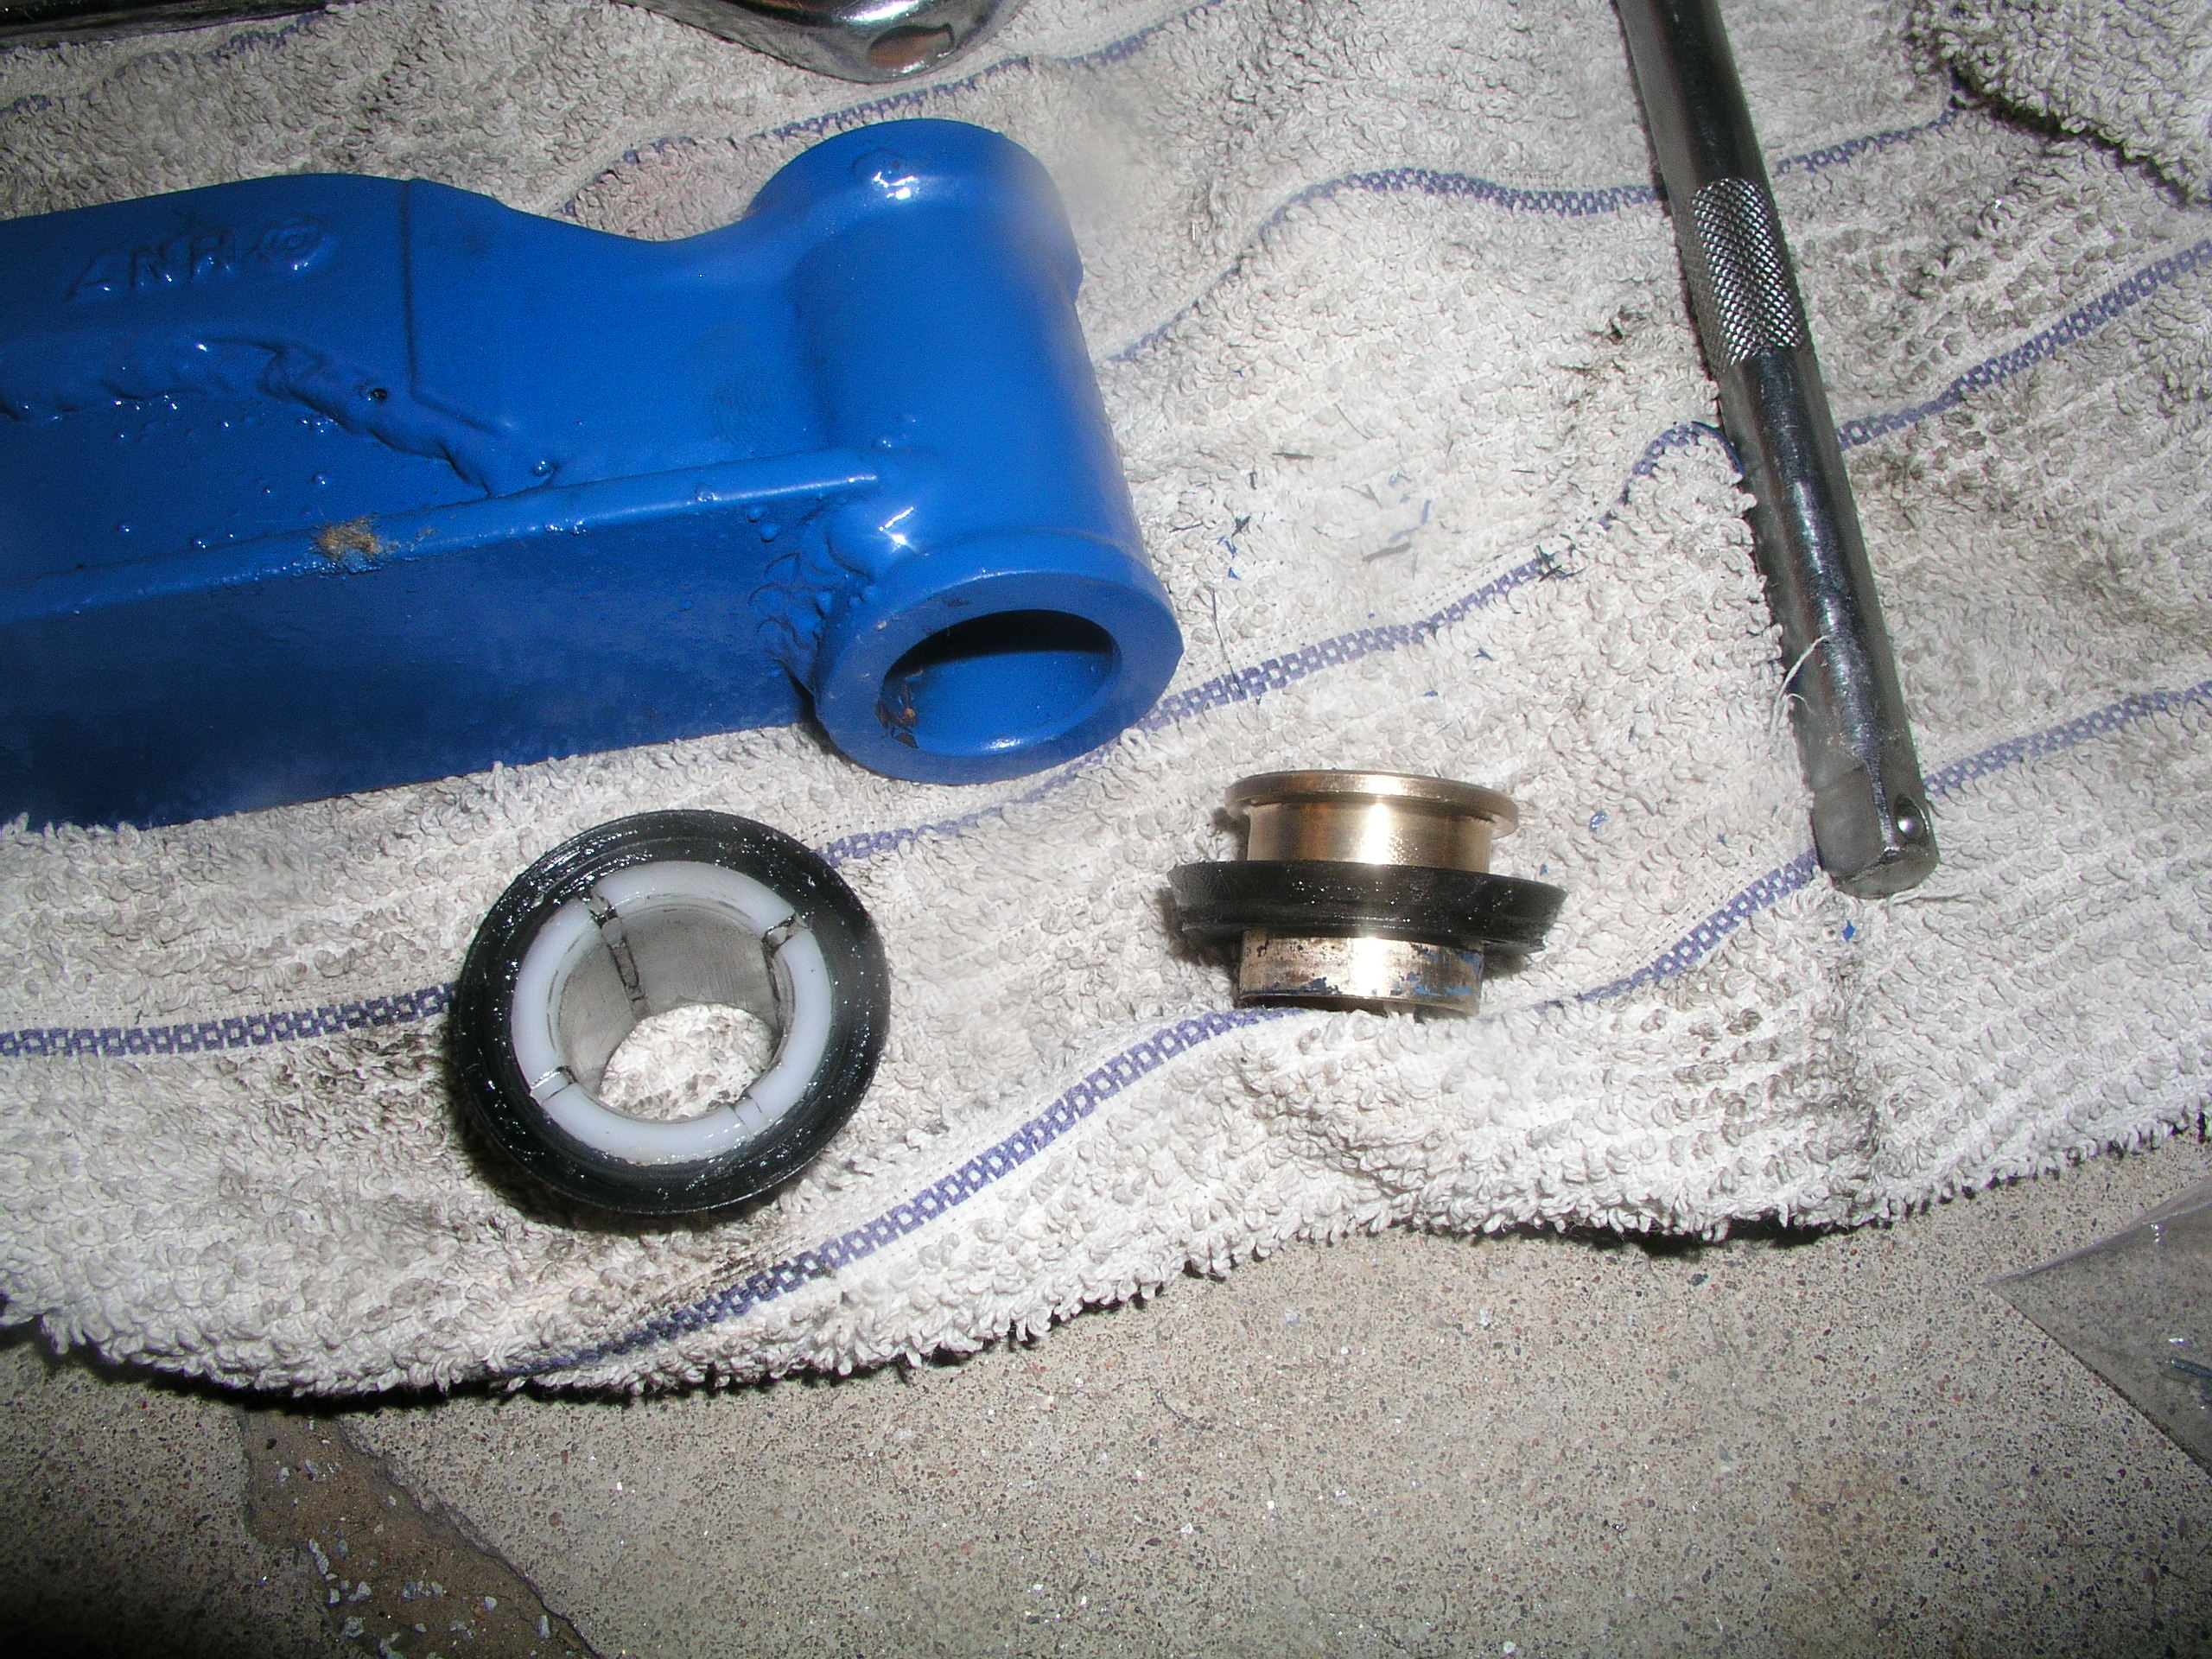
Ok, so the seemingly secretly ordered parts finally made it to my door, so I scheduled the install to coincide with my body lifting. The parts were clearly beefier than what was currently on my X. While the Calmini kit came with just about every steering component you could replace, L&P offers 3 stages of their lift. I decided on Stage 2 which came with a revamped Centerlink, Idler Arm and Idler Arm Brace. Stage 3 adds a stronger Pitman Arm but from what I read many other Xterra owners determined the stock one nearly indestructible as it was. I also added their bronze bushings to my order to replace the stock plastic ones that sat in the Idler Arm ends. This is a fairly simple install, but as I've found before, sometimes calculating the time involved in the removal of steering components can be anybody's guess. Love those factory pressed tapered ends. Well you can just take a look at the new parts you got and pretty much figure out yourself what needs to be done. In my case it was to give the new parts a quick shot of cheapo Depot blue paint to match my Calmini suspension. What's the point of buying expensive parts if no one can tell what you've added right? : )
| |
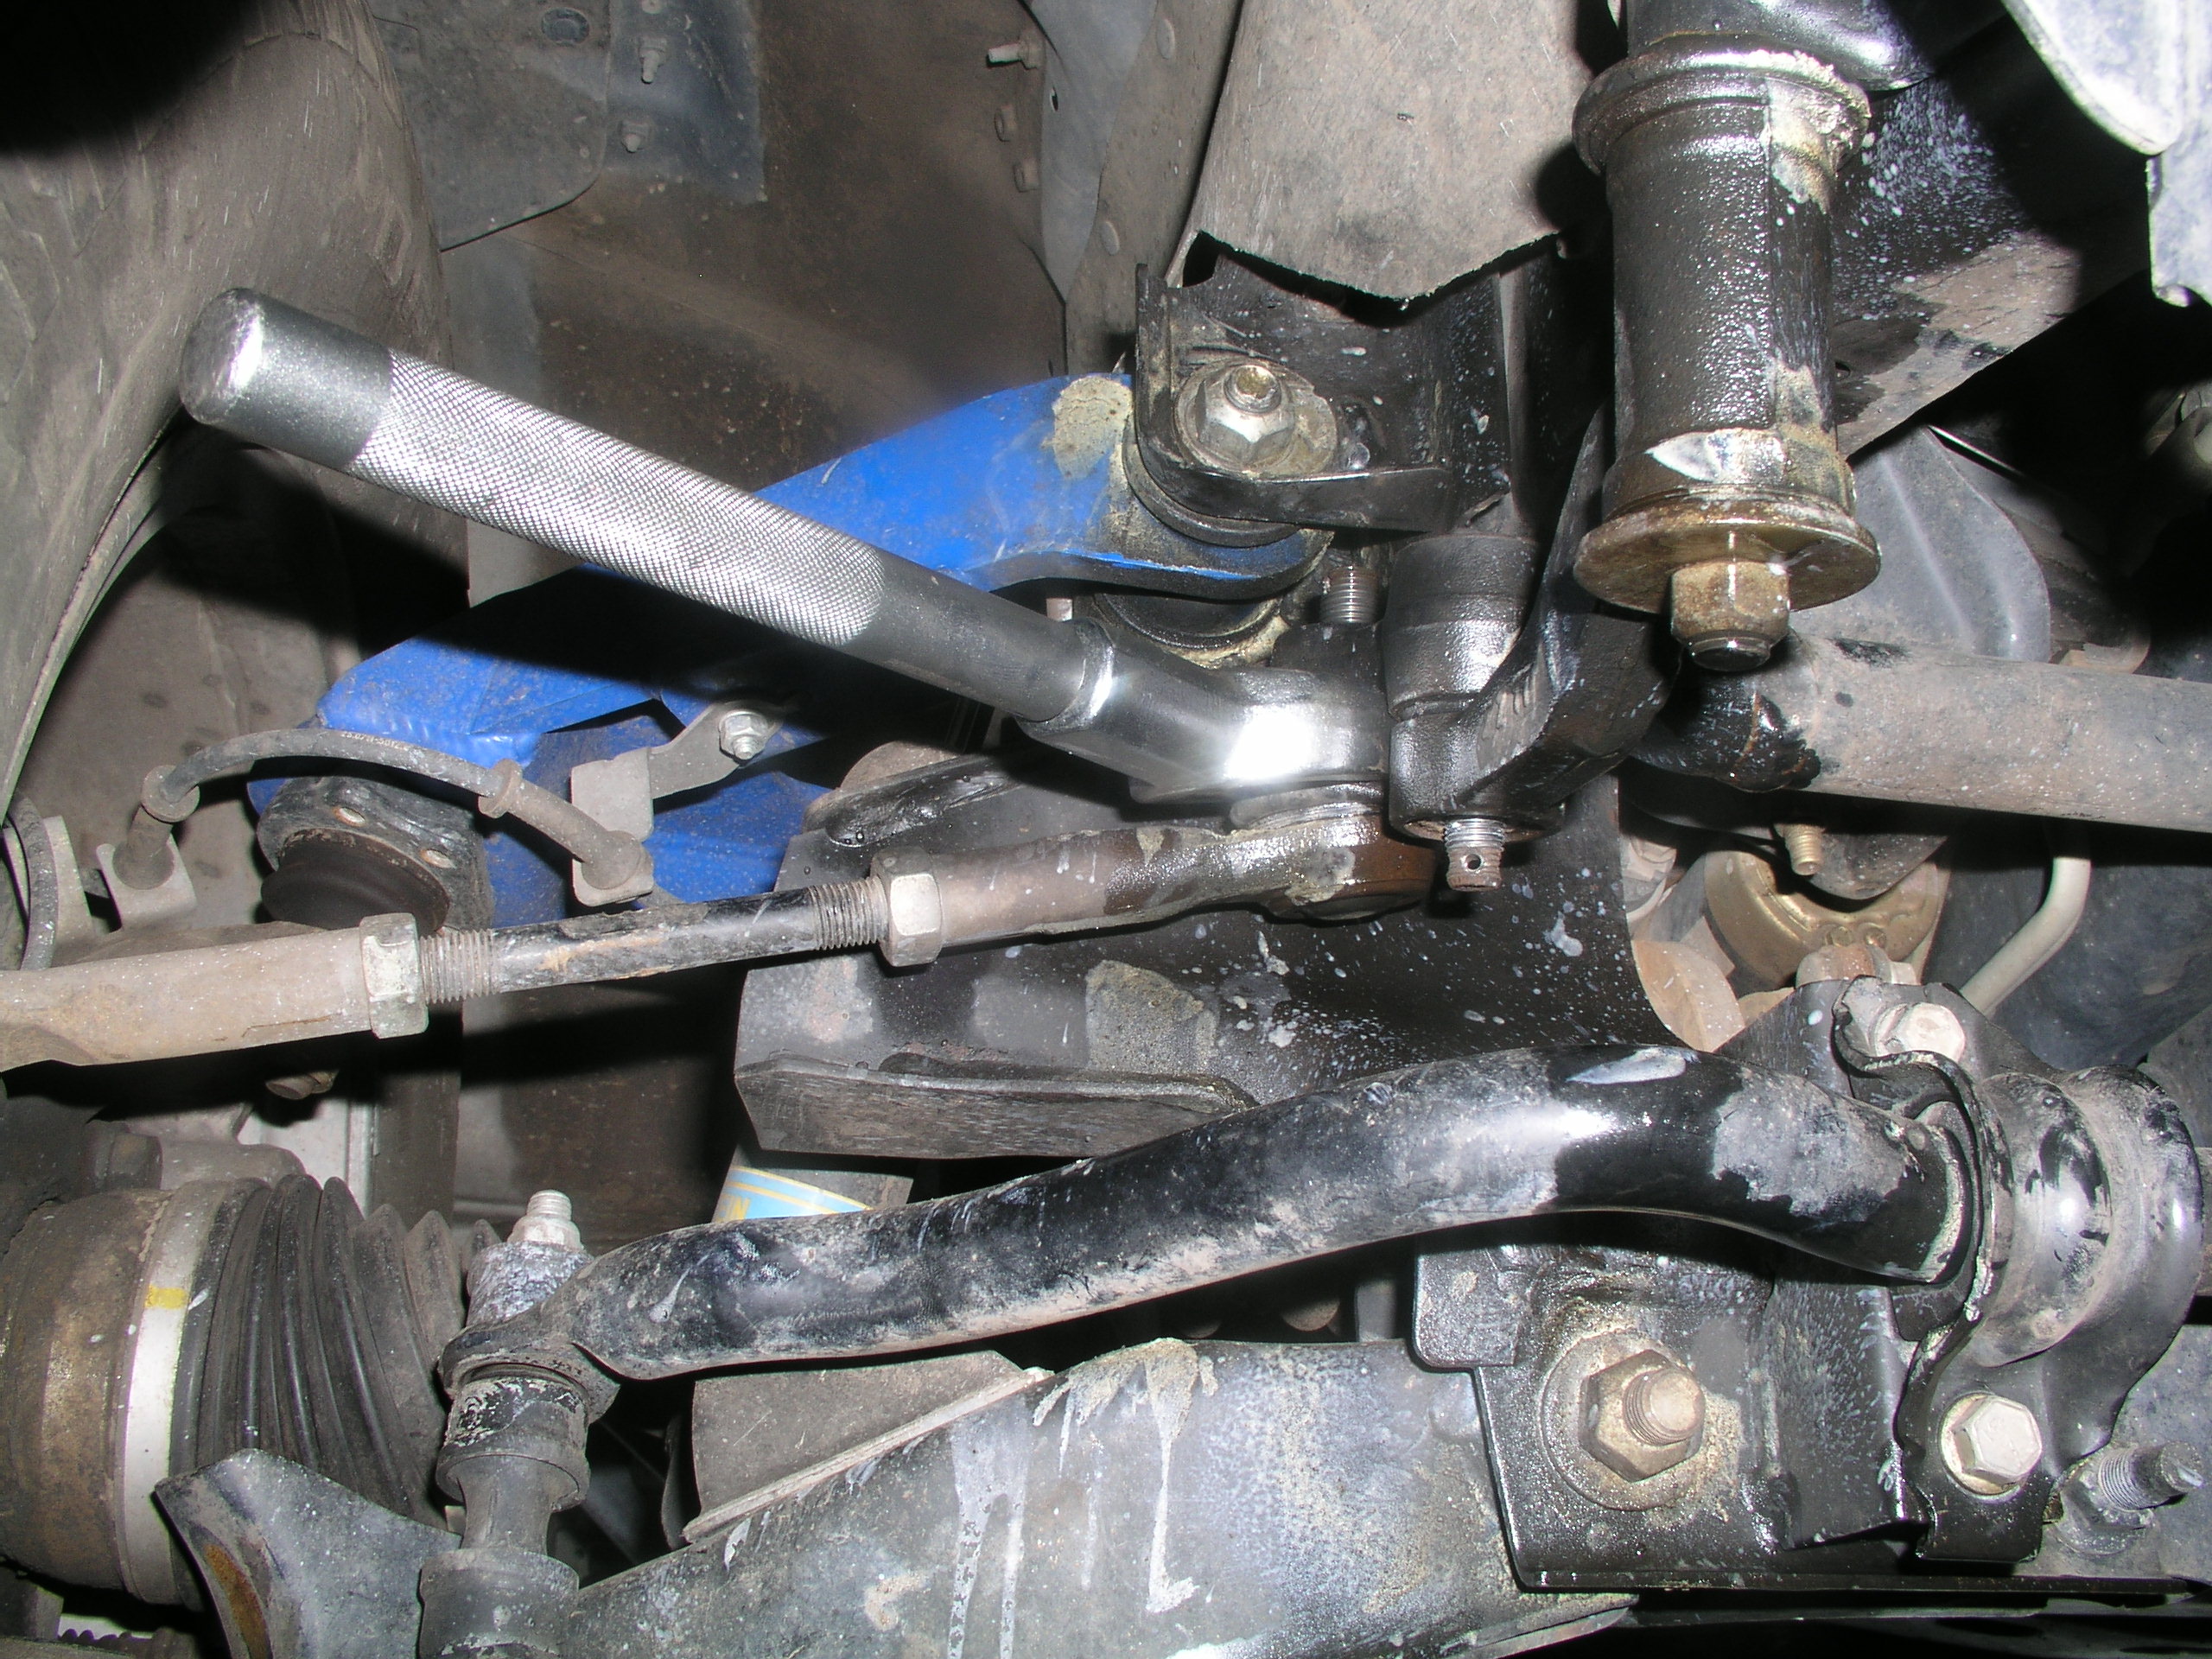 |
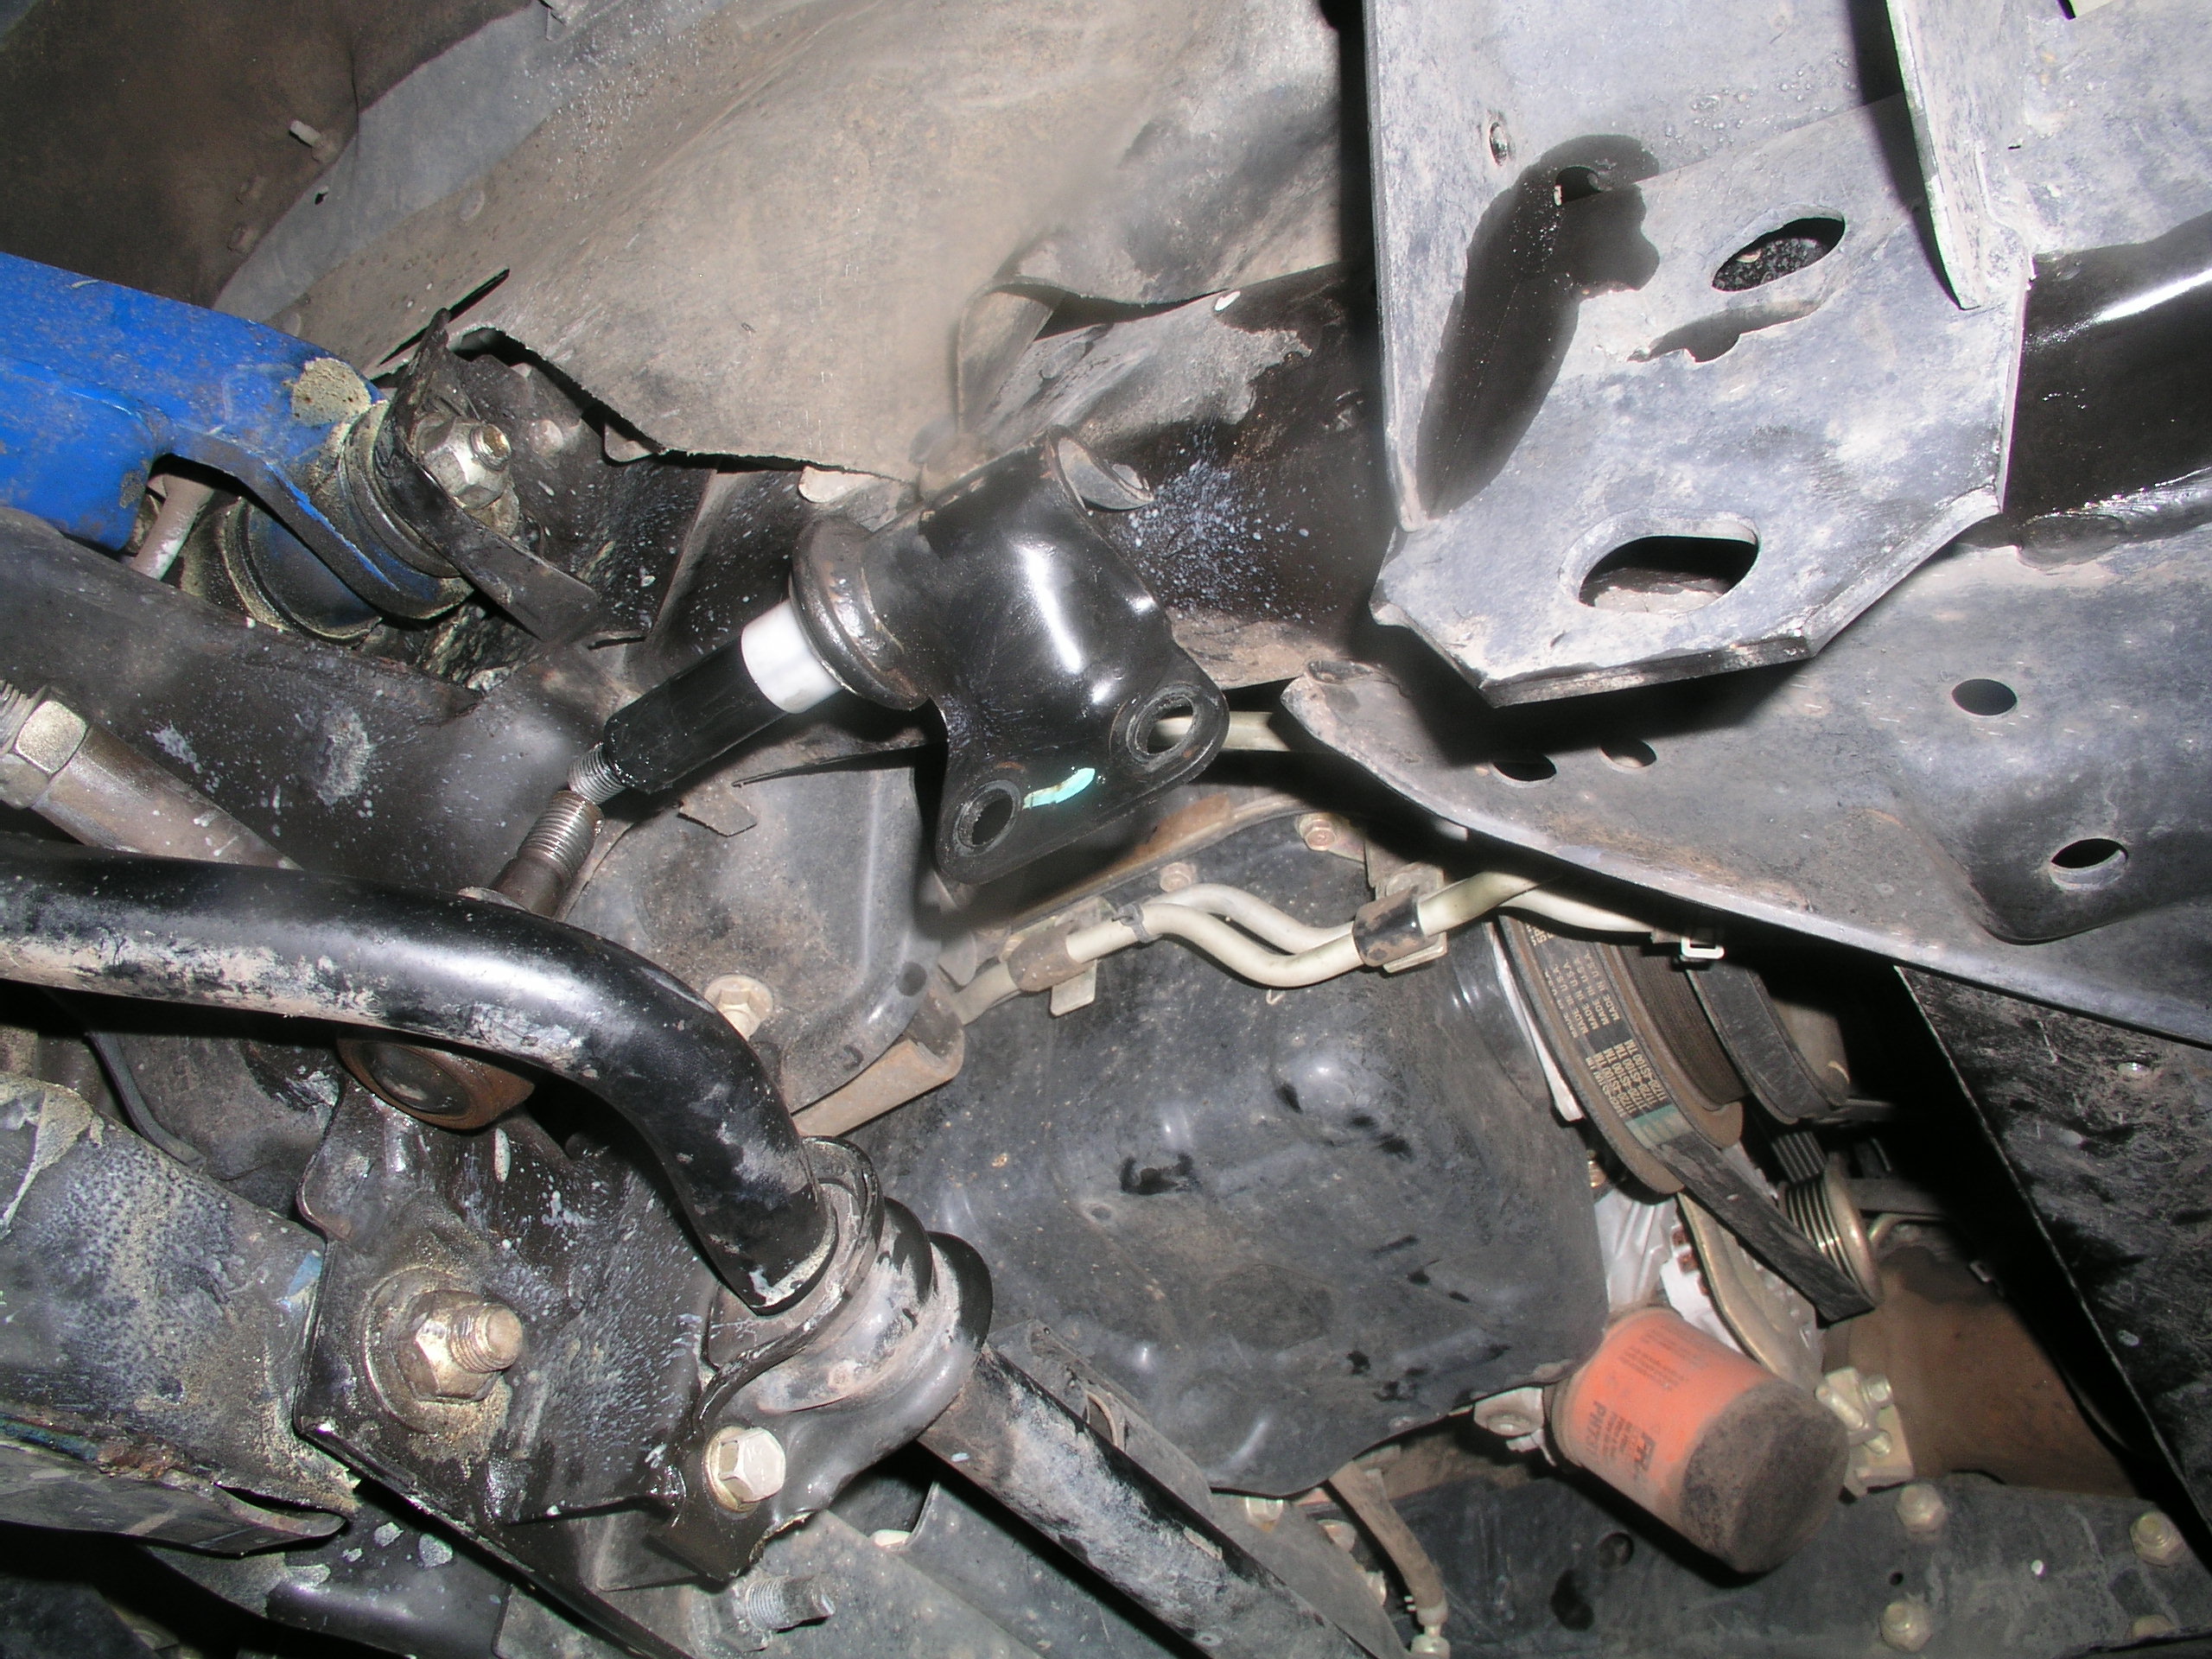
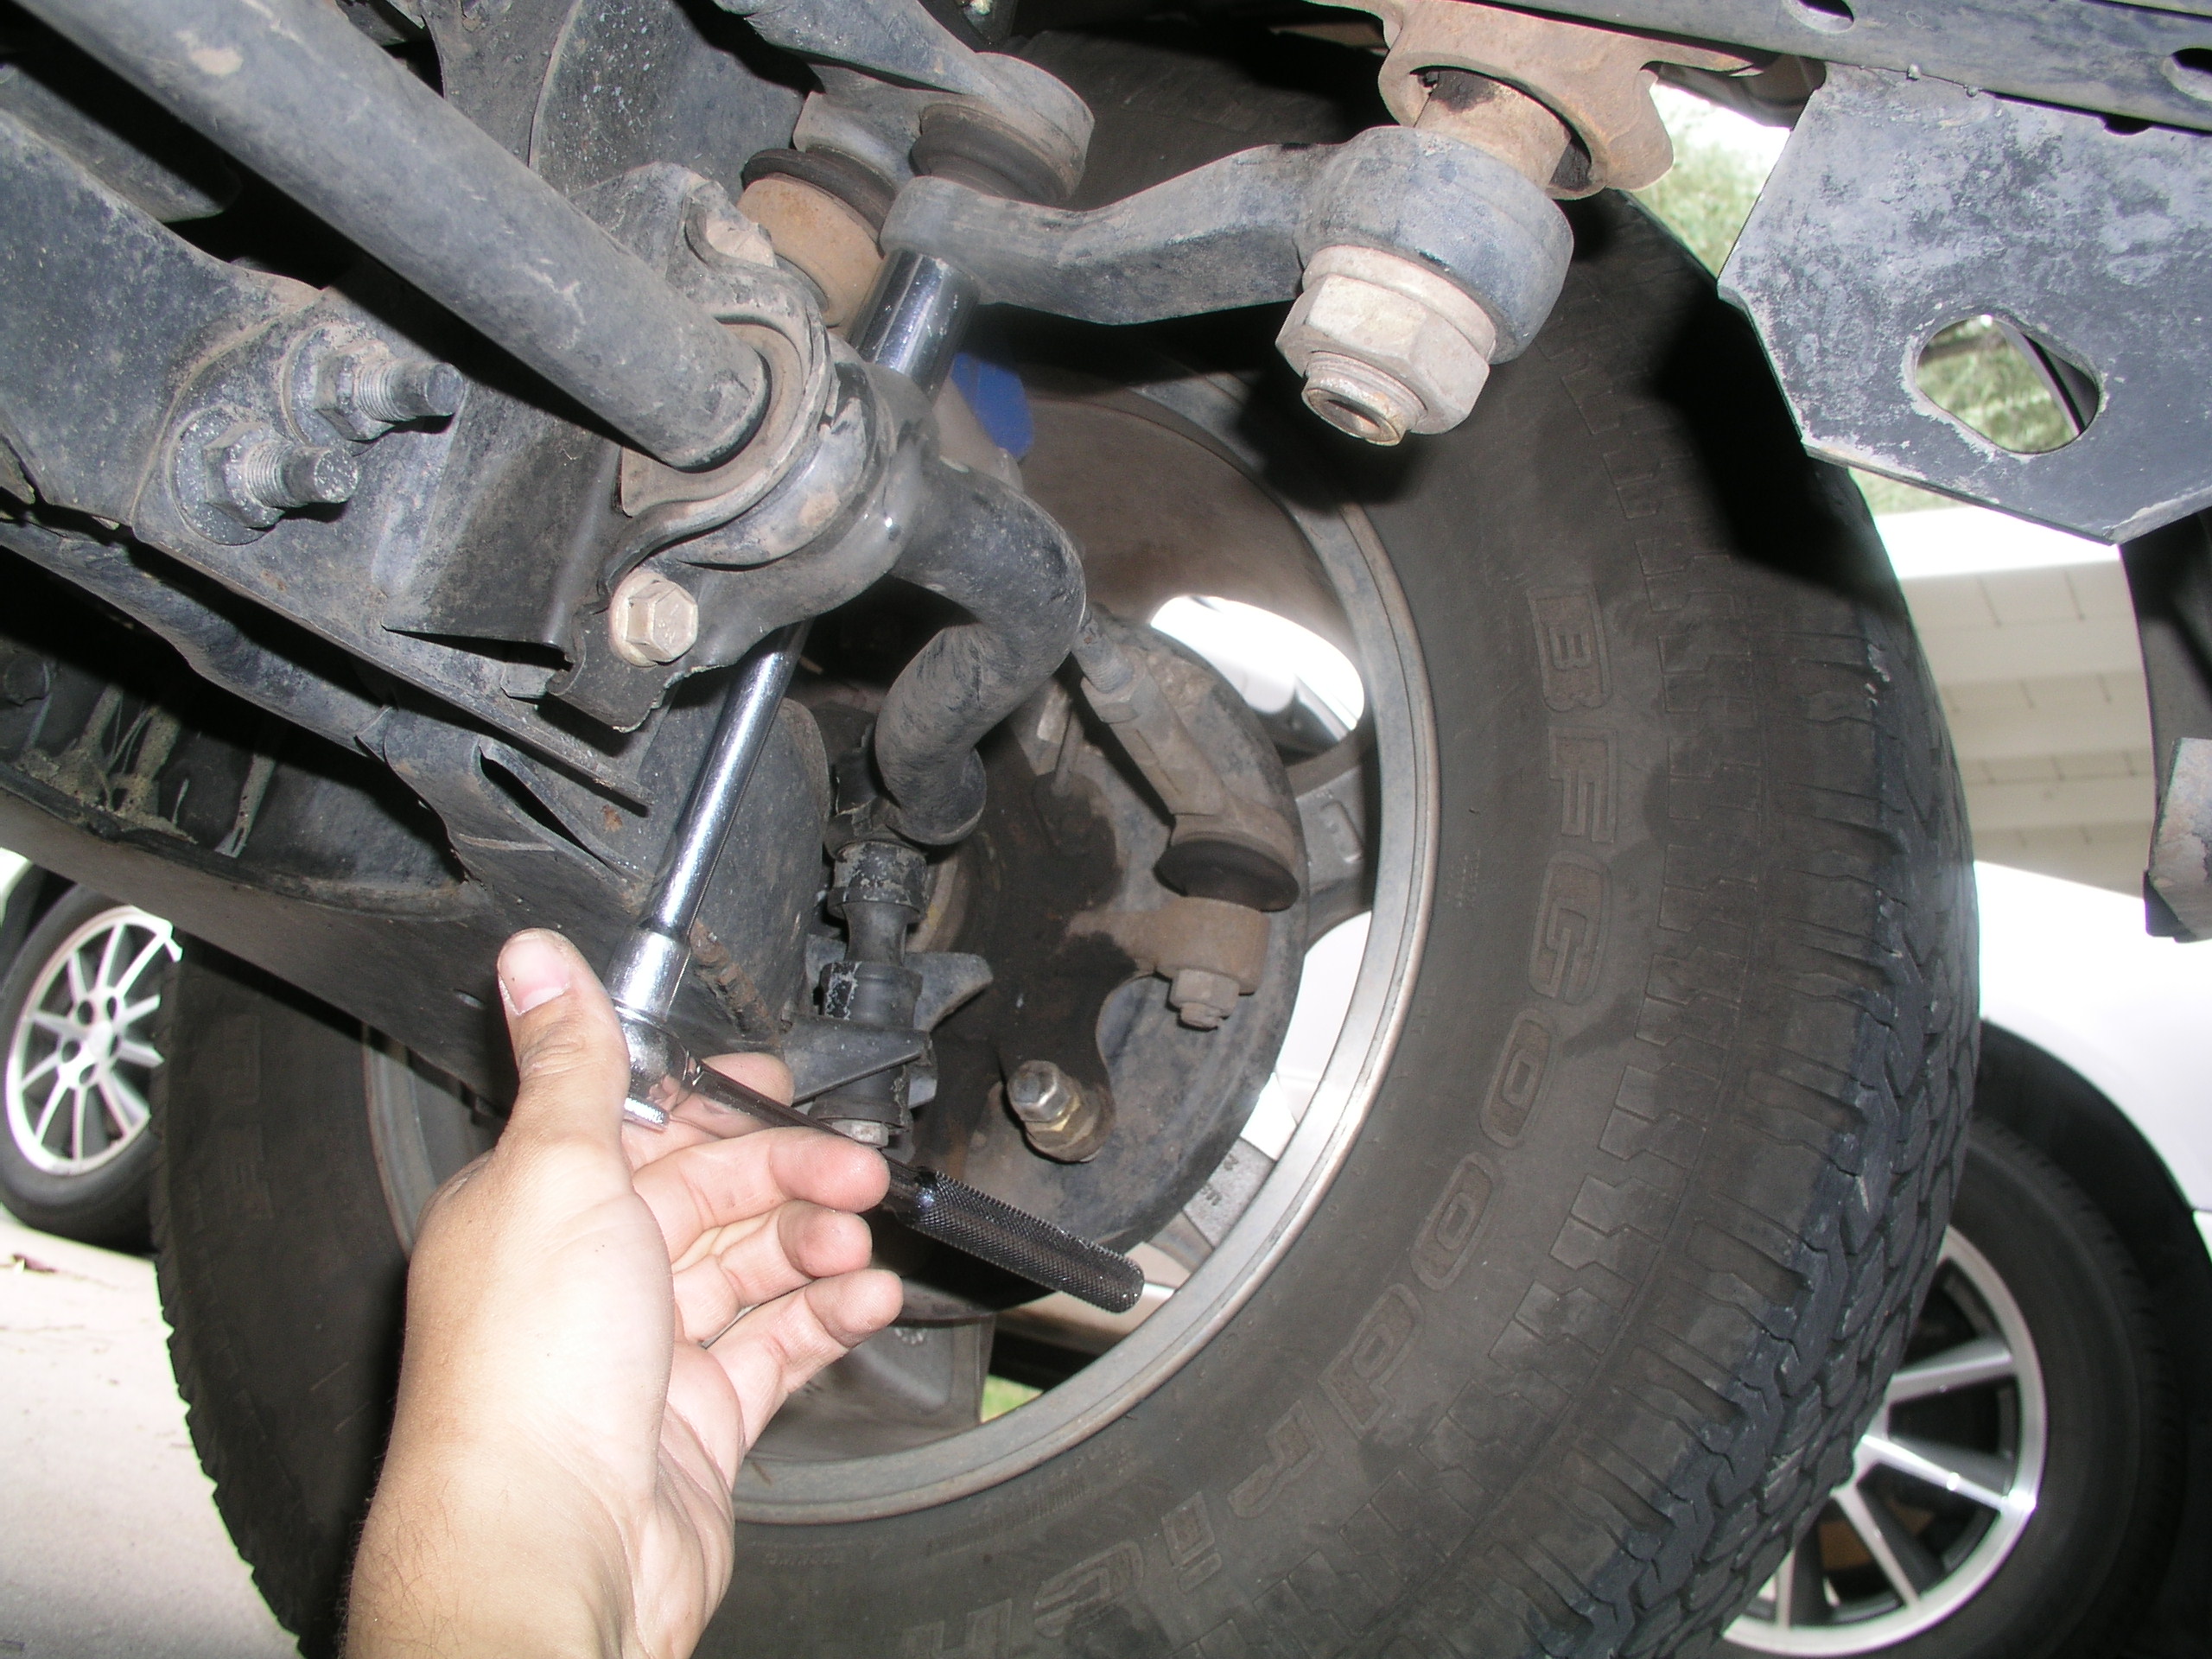
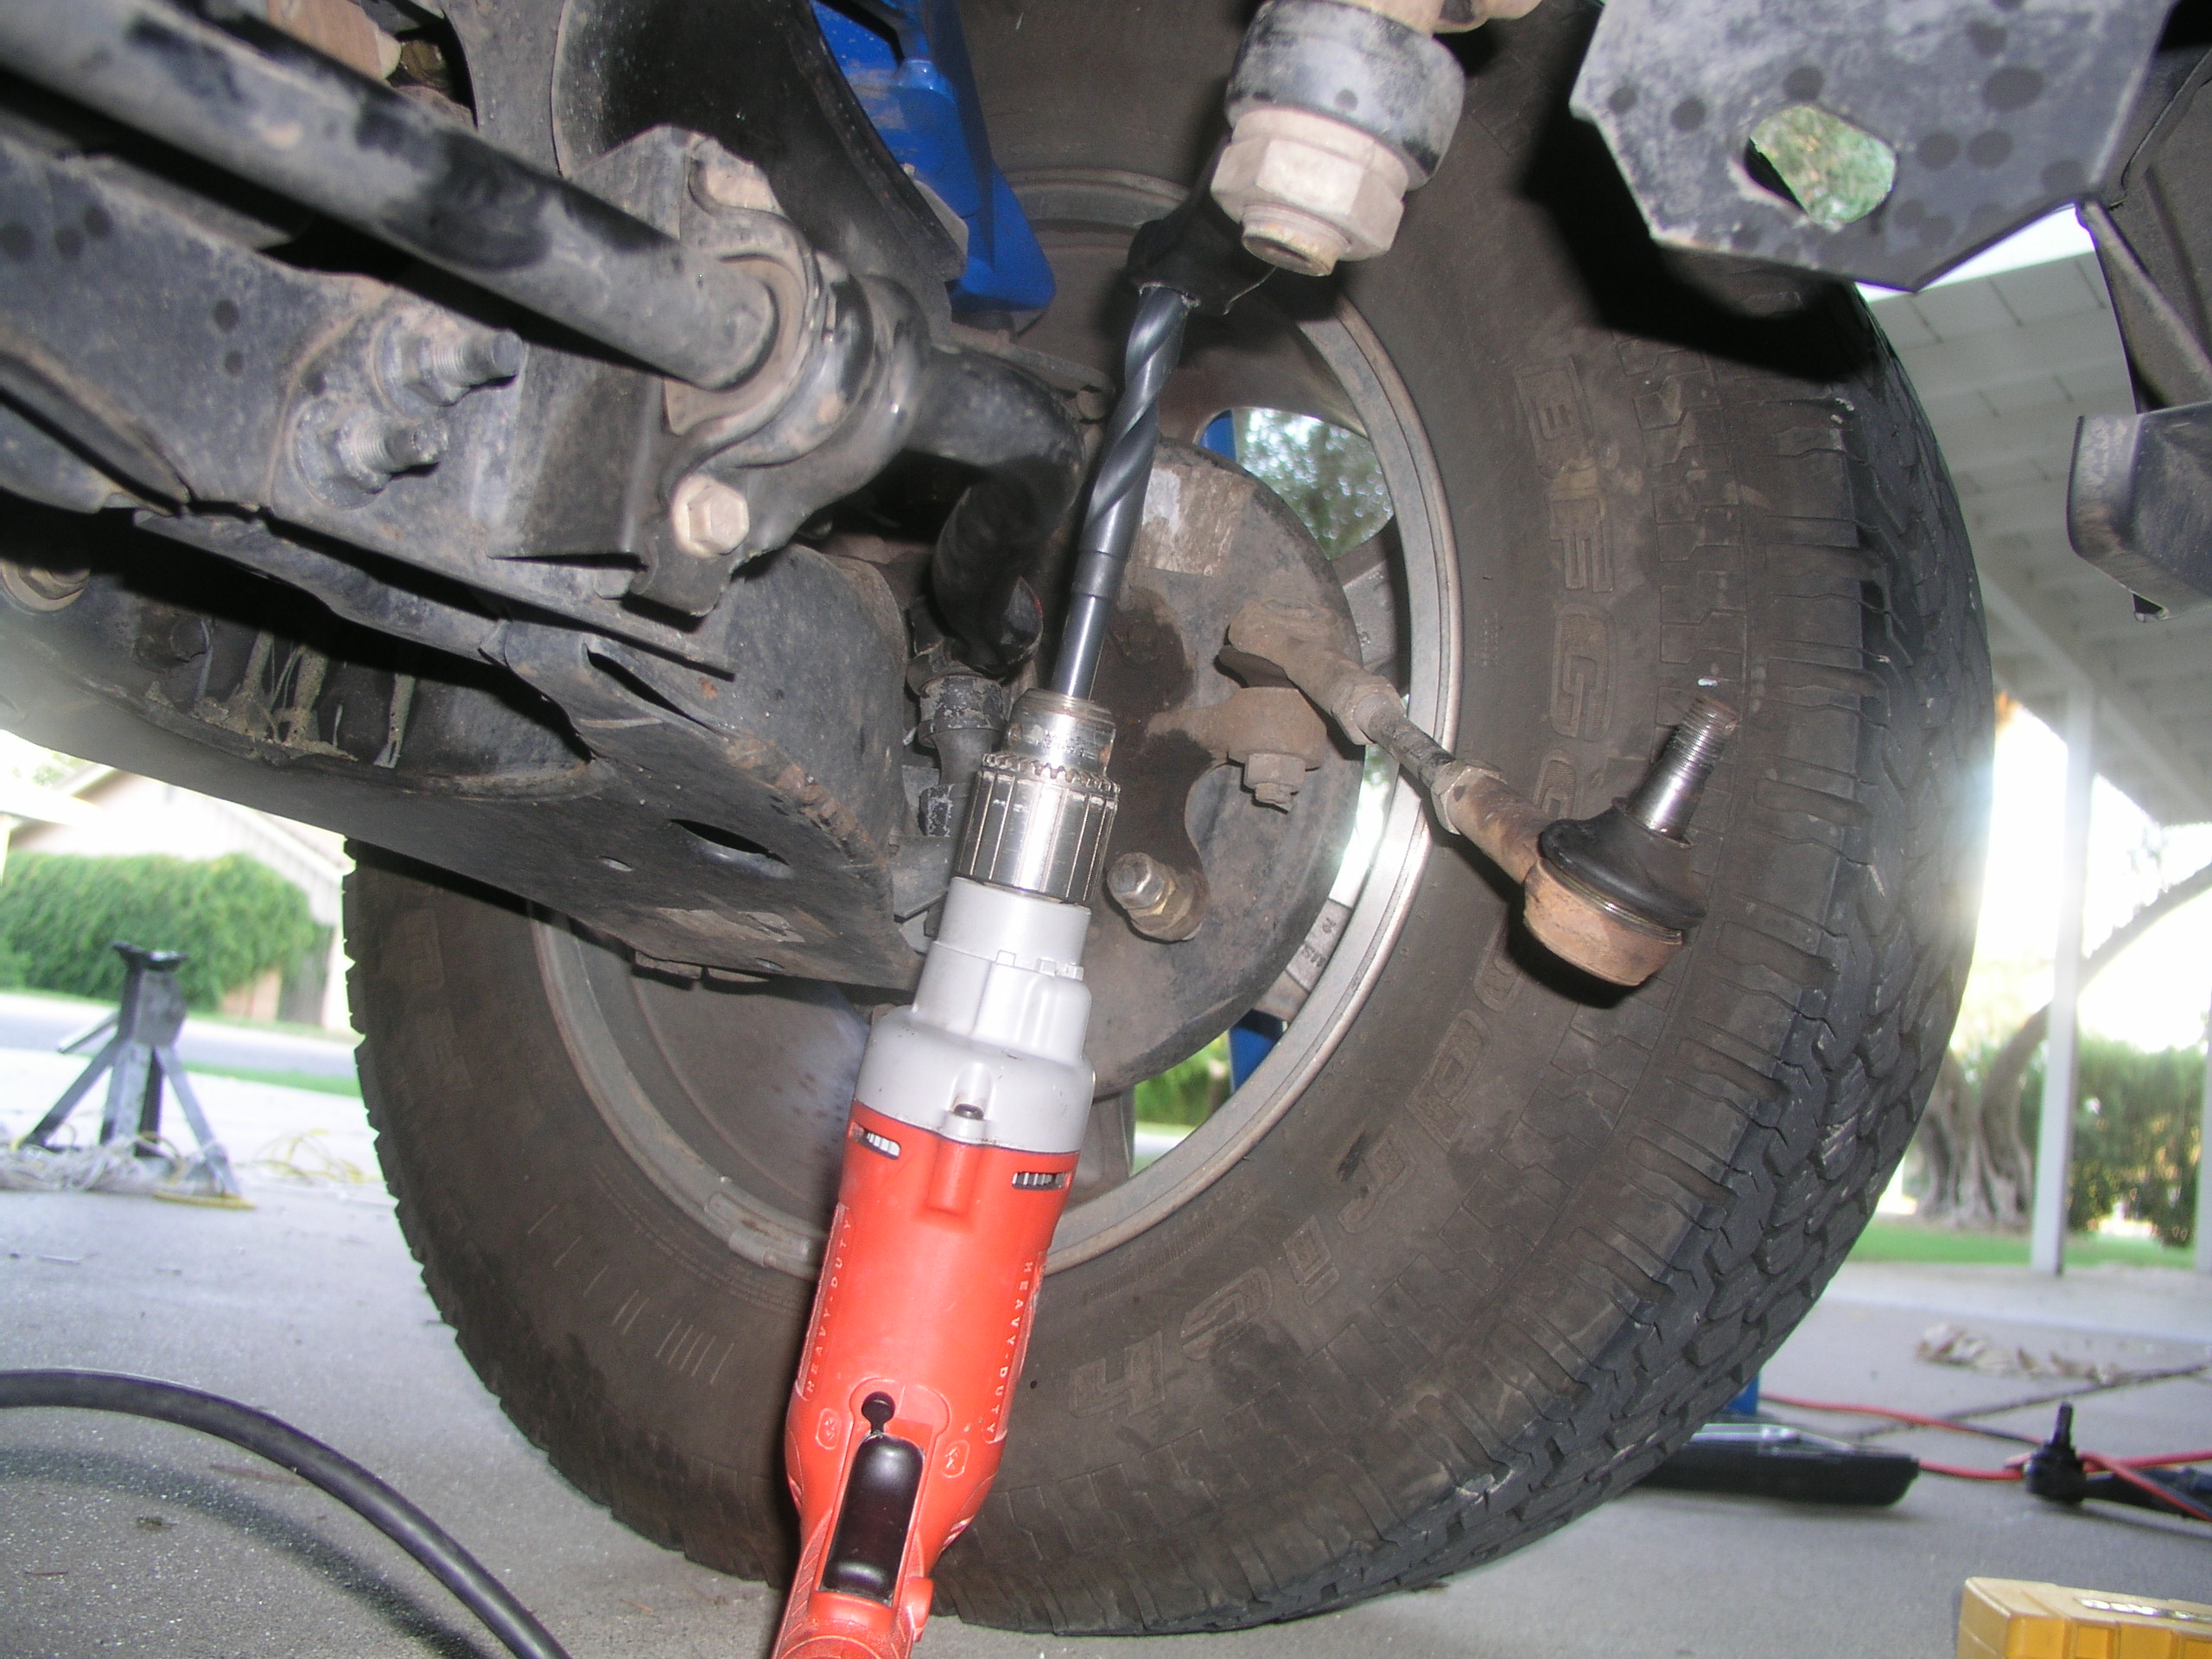
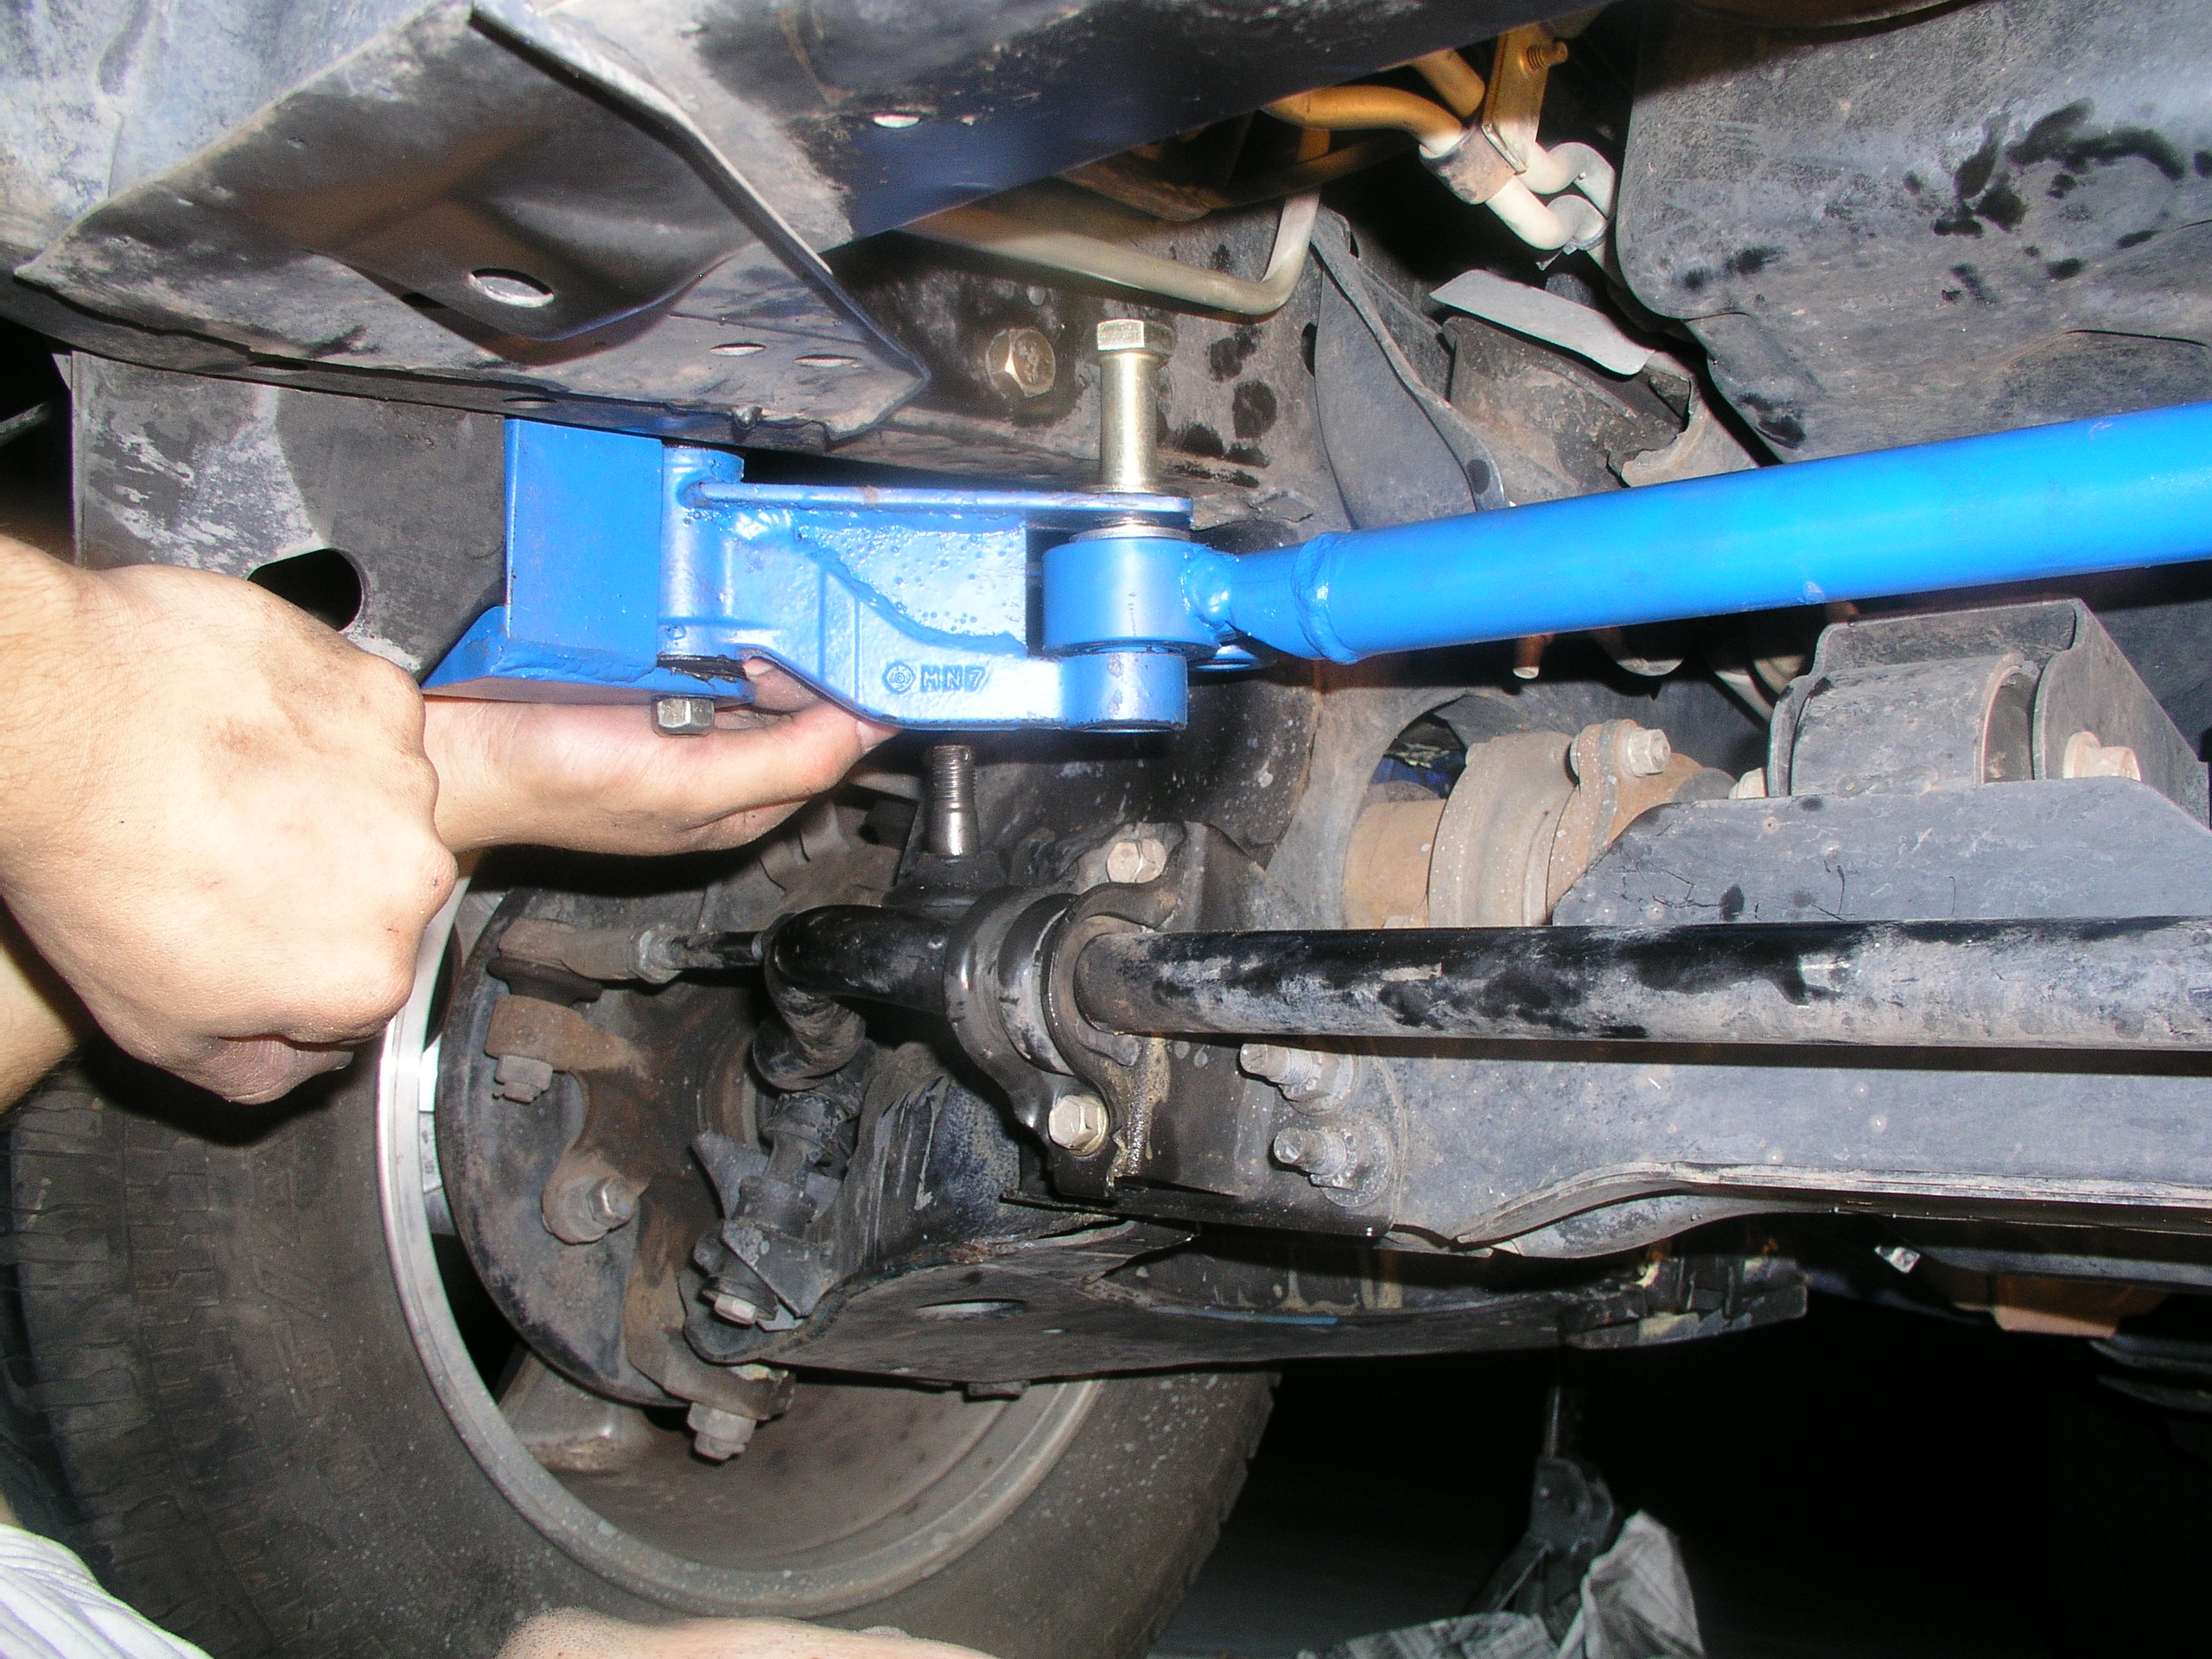
While the paint dried, I removed the stock skid to get access to the steering. The old centerlink was the next thing to remove and I already had my trusty pickle fork in hand. After removing the cotter pins and castle bolts off the Tie Rod Ends (TRE), I positioned my fork and focused my pent up anger from my work week and went to town with the hammer. Now it is quite important that you don't fork-up (for lack of a better term) the grease boot on the TRE or the threaded ends since you'll be reusing those. After spraying the tapers a few times with Liquid Wrench and finding the best position for direct hits and leverage against the seemingly welded on ends, I was finally successful in wacking them...(where's that thesaurus at?)...away from each other. Then you can try your hand at the centerlink tapers that attach to the Idler and Pitman arm. I ended up leaving the Idler Arm and the Centerlink together since I would have to replace the a IA with the provided new one and the old one can slide off it's pin with the removal of the lower bolt (plus that end decided to be the bear of the job, so I just shipped the whole assembly back still connected). The Pitman end came off pretty easy with the fork, so once I had those parts of the equation removed, I was able to pull the Centerlink completely out. I did remove the IA pin bracket from the frame to make this easier. Now's the time you have to break down and buy one of those large, expensive odd sized drill bits that you'll probably only use once. Unless you got the Pitman Arm upgrade (I didn't) or the upgraded Idler Arm (I did) you're going to have to enlarge the stock holes out to 5/8". You're going to want to tie off your steering wheel to the head rest or OS handles to keep any alignment issues from popping up. To enlarge the PA hole, we decided to do it the fun way and leave it on the vehicle and drill upside down to challenge those arm muscles that apparently only get use in situations like these because they tire out so fast as if you are trying bench press the whole vehicle (plus I needed more iron in my diet (and eyes) anyway). By the way, the cheapest priced, low end brand from Home Depot maybe chewed into the hardened steel only until it got past the layer of rust, and then just continued to spin polish the "indentation" as if it were proud of itself, so we finally broke down and went back to HD, returned the bit, then went to Lowes and bought their cheapest priced low end brand. And by God, it did the job. You're really going to want to drill the holes as straight as possible, so have a friend check your drilling angles. Additional Idler Arm Install Because I went with the Stage II kit, I did get the new Idler Arm so now was the time to set it all up since I had already removed it with the centerlink. The stock bushings are actually plastic, so I went ahead and splurged for the bronze bushings L&P offered additionally. These actually turned out to be the hardest part of the install. Those bugers were so insanely tight to fit into the new arm, we almost just gave up and went back to the plastic one. We got them in, but then the arm would only rotate on the pin if I put all my sweaty weight on it. This would be no good at all for steering the vehicle. I finally just took it all back apart and dremel sanded the inside of the bushing down a hair. It didn't take much and it did the trick to get the arm to turn more freely. L&P states that the steering will be stiff for a while after the install, but the IA had actually been getting incredibly hot with me trying to work it back and forth to try to wear the bushings down to fit. The dremel ended up being the perfect tool for the job. We added some more grease to the arm and the caps and brought the arm back over to the X for the install. The big fatty washer you removed during the IA removal gets pitched because now the bracket takes the spread of the nut. I pretty much just jimmied the whole assembly around until I could get everything lined up and the TRE tapers back in. The new larger bolts provided now take the place of the old centerlink's tapers and they should now easily fit in their new drilled or new part's holes. One thing the directions do state in order of reassembly, is to tighten the IA's lower bolt, before going to town on the frame mount ones. We got everything back together, were happy with the fit of the bushings and the capability of the whole system not having too much strain on itself, so it was time to see how the new steering would react. My favorite part of the instructions clearly had to do with liability concerns. It stated that the vehicle needs an immediate alignment and that if distance to the shop exceeds 2 miles to seriously think about trailering the vehicle in. I'm not going to try to convince you otherwise, but we were pretty confident our work and the alignment was barely out of wack due to the steering wheel being locked up and paying attention to the Tie Rods' positions. Besides, the next day we had scheduled to do the body lift and the day after my new 33's were to be put on. I did go to the alignment shop after that, but I had no issues at any speed and the turning felt great. It definitely feels at least as good as when the vehicle was completely stock. And no I shouldn't have to worry about the larger tires or anything snapping off due to all the new stress and angles. I do believe that L&P put out a good product with their upgrade kit. And the price itself is hard to beat. My very final step was to send in my core which I did a couple weeks later and got my refund back pretty soon after.
|
 | |
 | |
 | |
 | |
 | |
 | |
|
|
|
|
|
|
