| Honestly. that's really all the
instruction you'll need for this project.
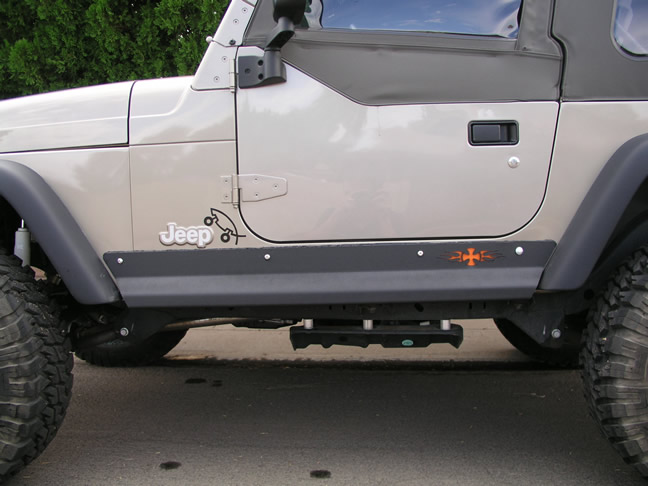
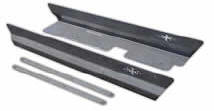
BTF like most companies now, ships their guards unpainted so we painted
them up plenty ahead of time. We used a couple bottles of black
Rust-O-Liom and gave the outsides a nice coat of Duplicolor aerosol
Bedliner for a cool textured finish. We also took the liberty of
making the logo come out orange by figuring out where it would be located
on the Jeep, then painted that spot.
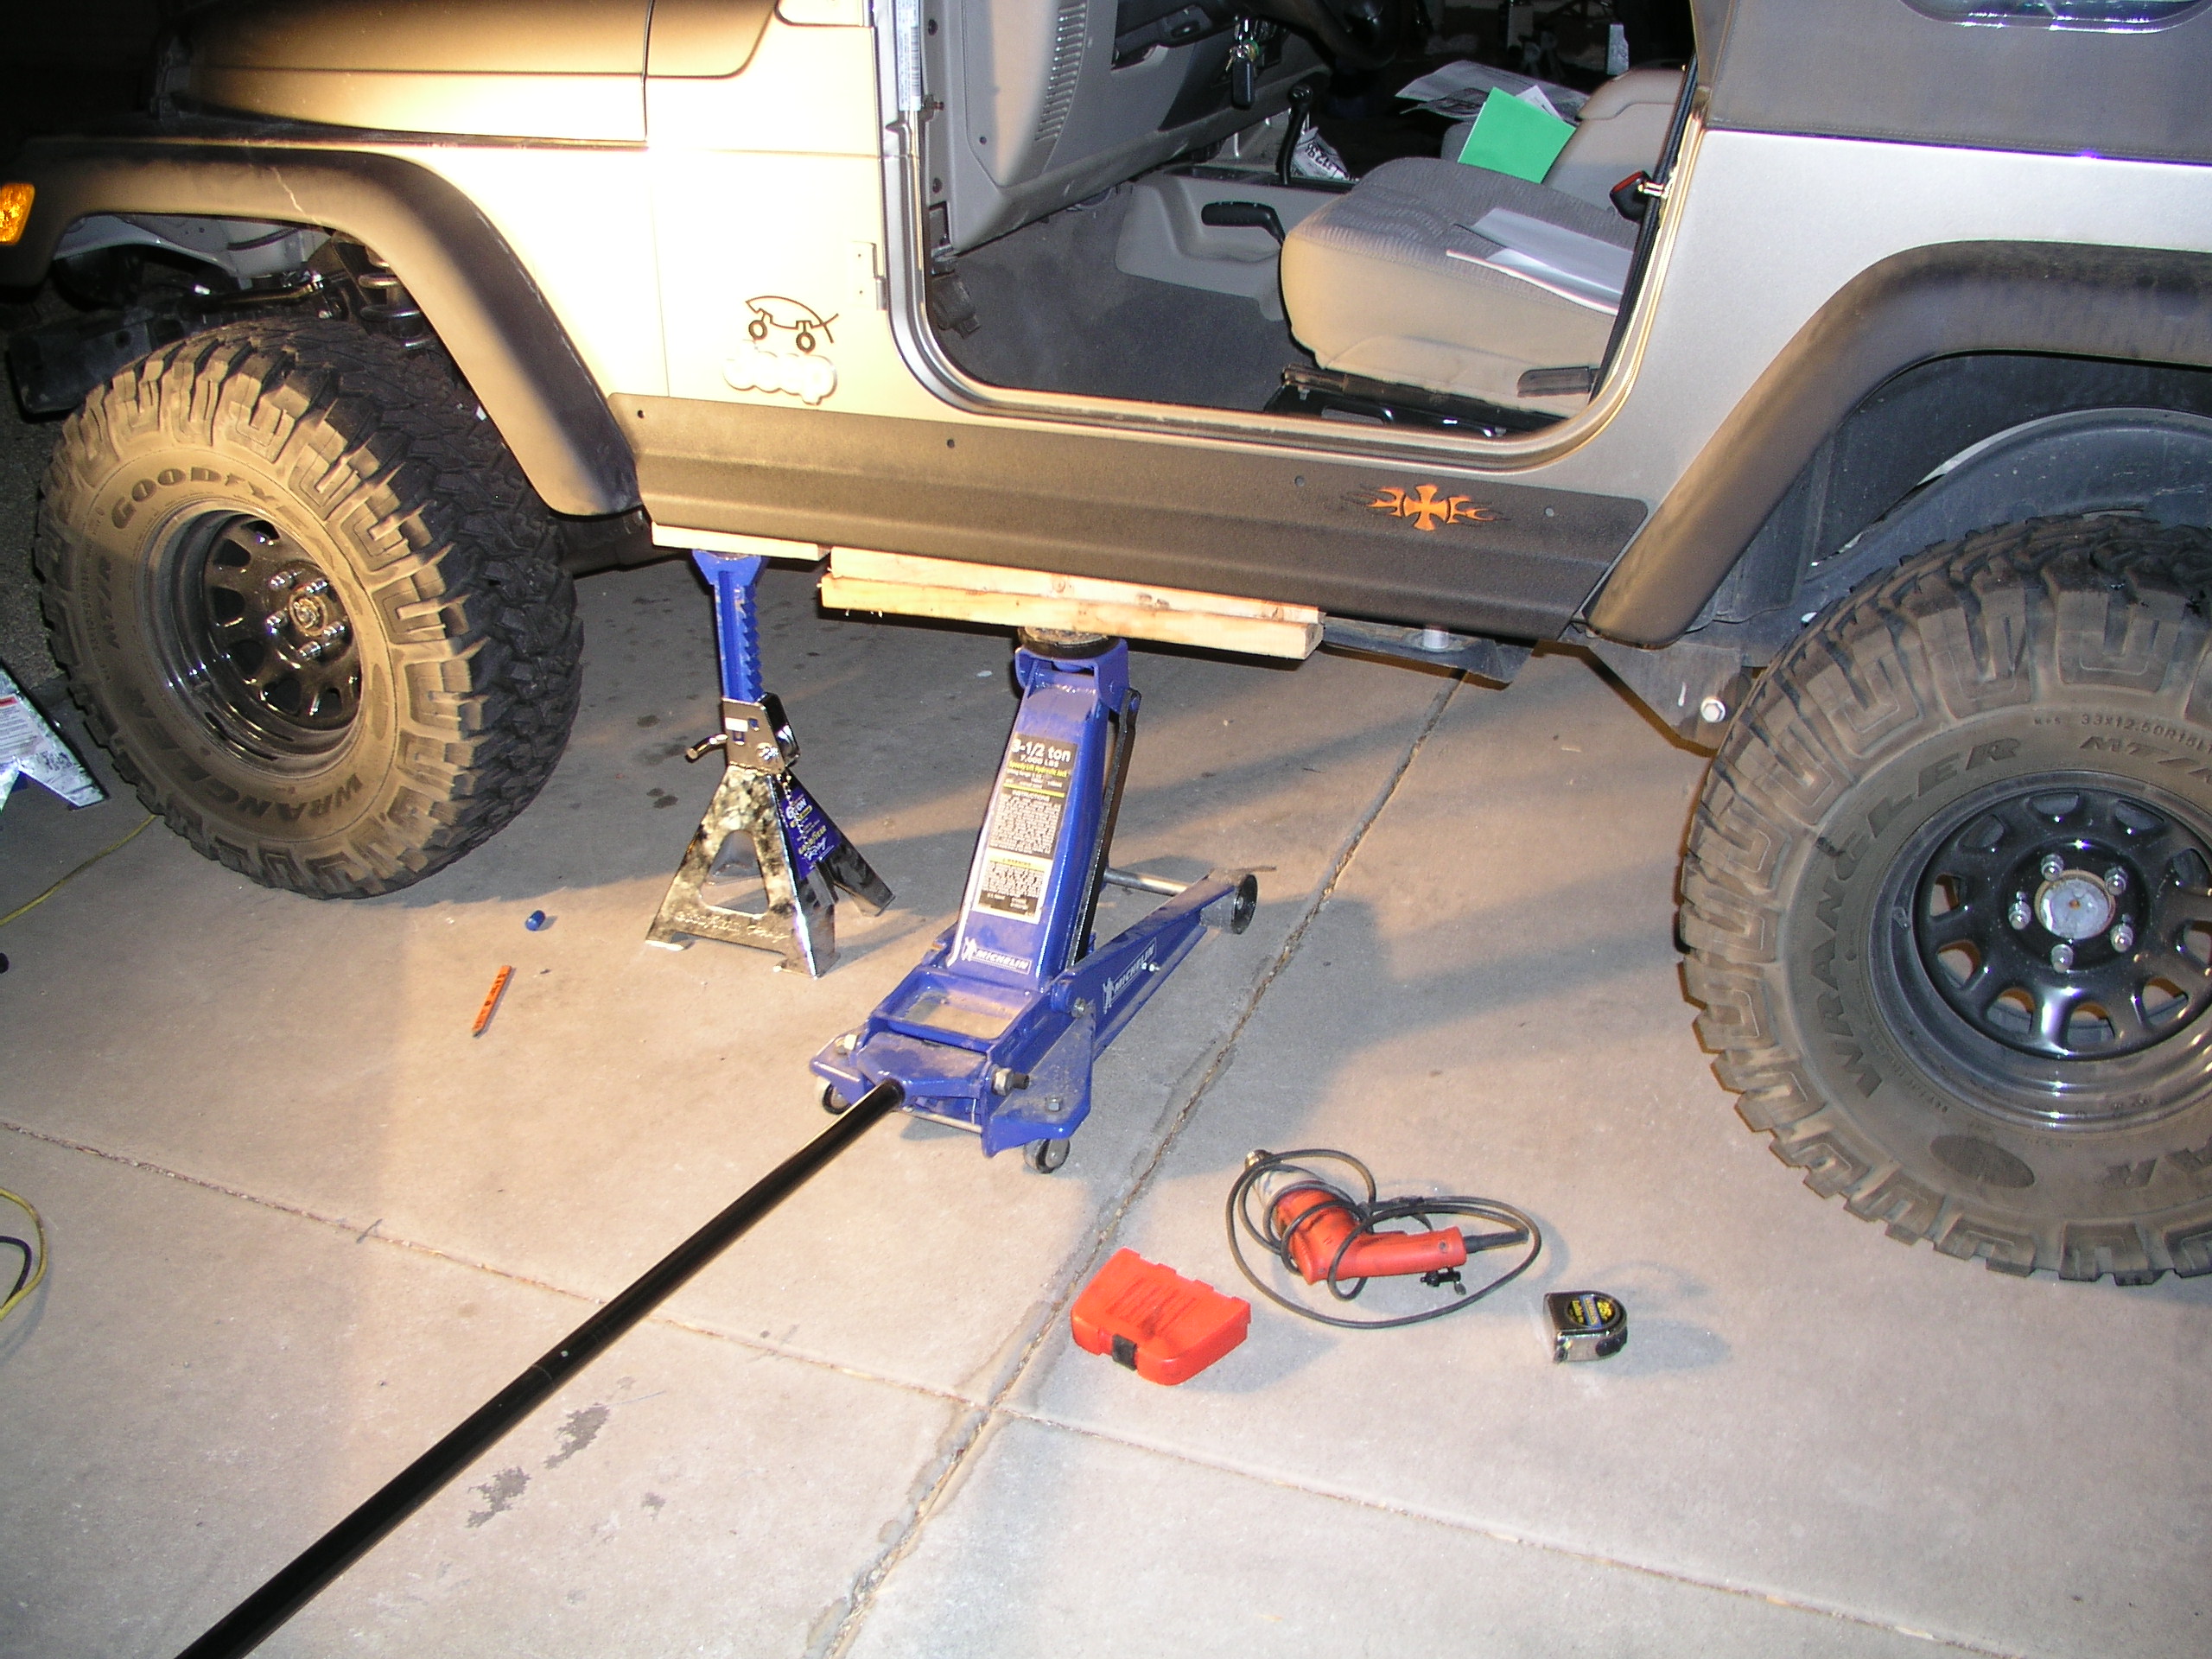
Now it was time to do the real work. We used a nice floor jack
and a stand or two until the guards were located about a ___inches from
the bottom of the door sill. We then marked the side holes with a
punch and lowered the panels to begin the drilling. The bolts got
lost in the shipping process but that was fine and we got some pretty SS
button head hex bolts for the sides and some Grade 8's for the underside.
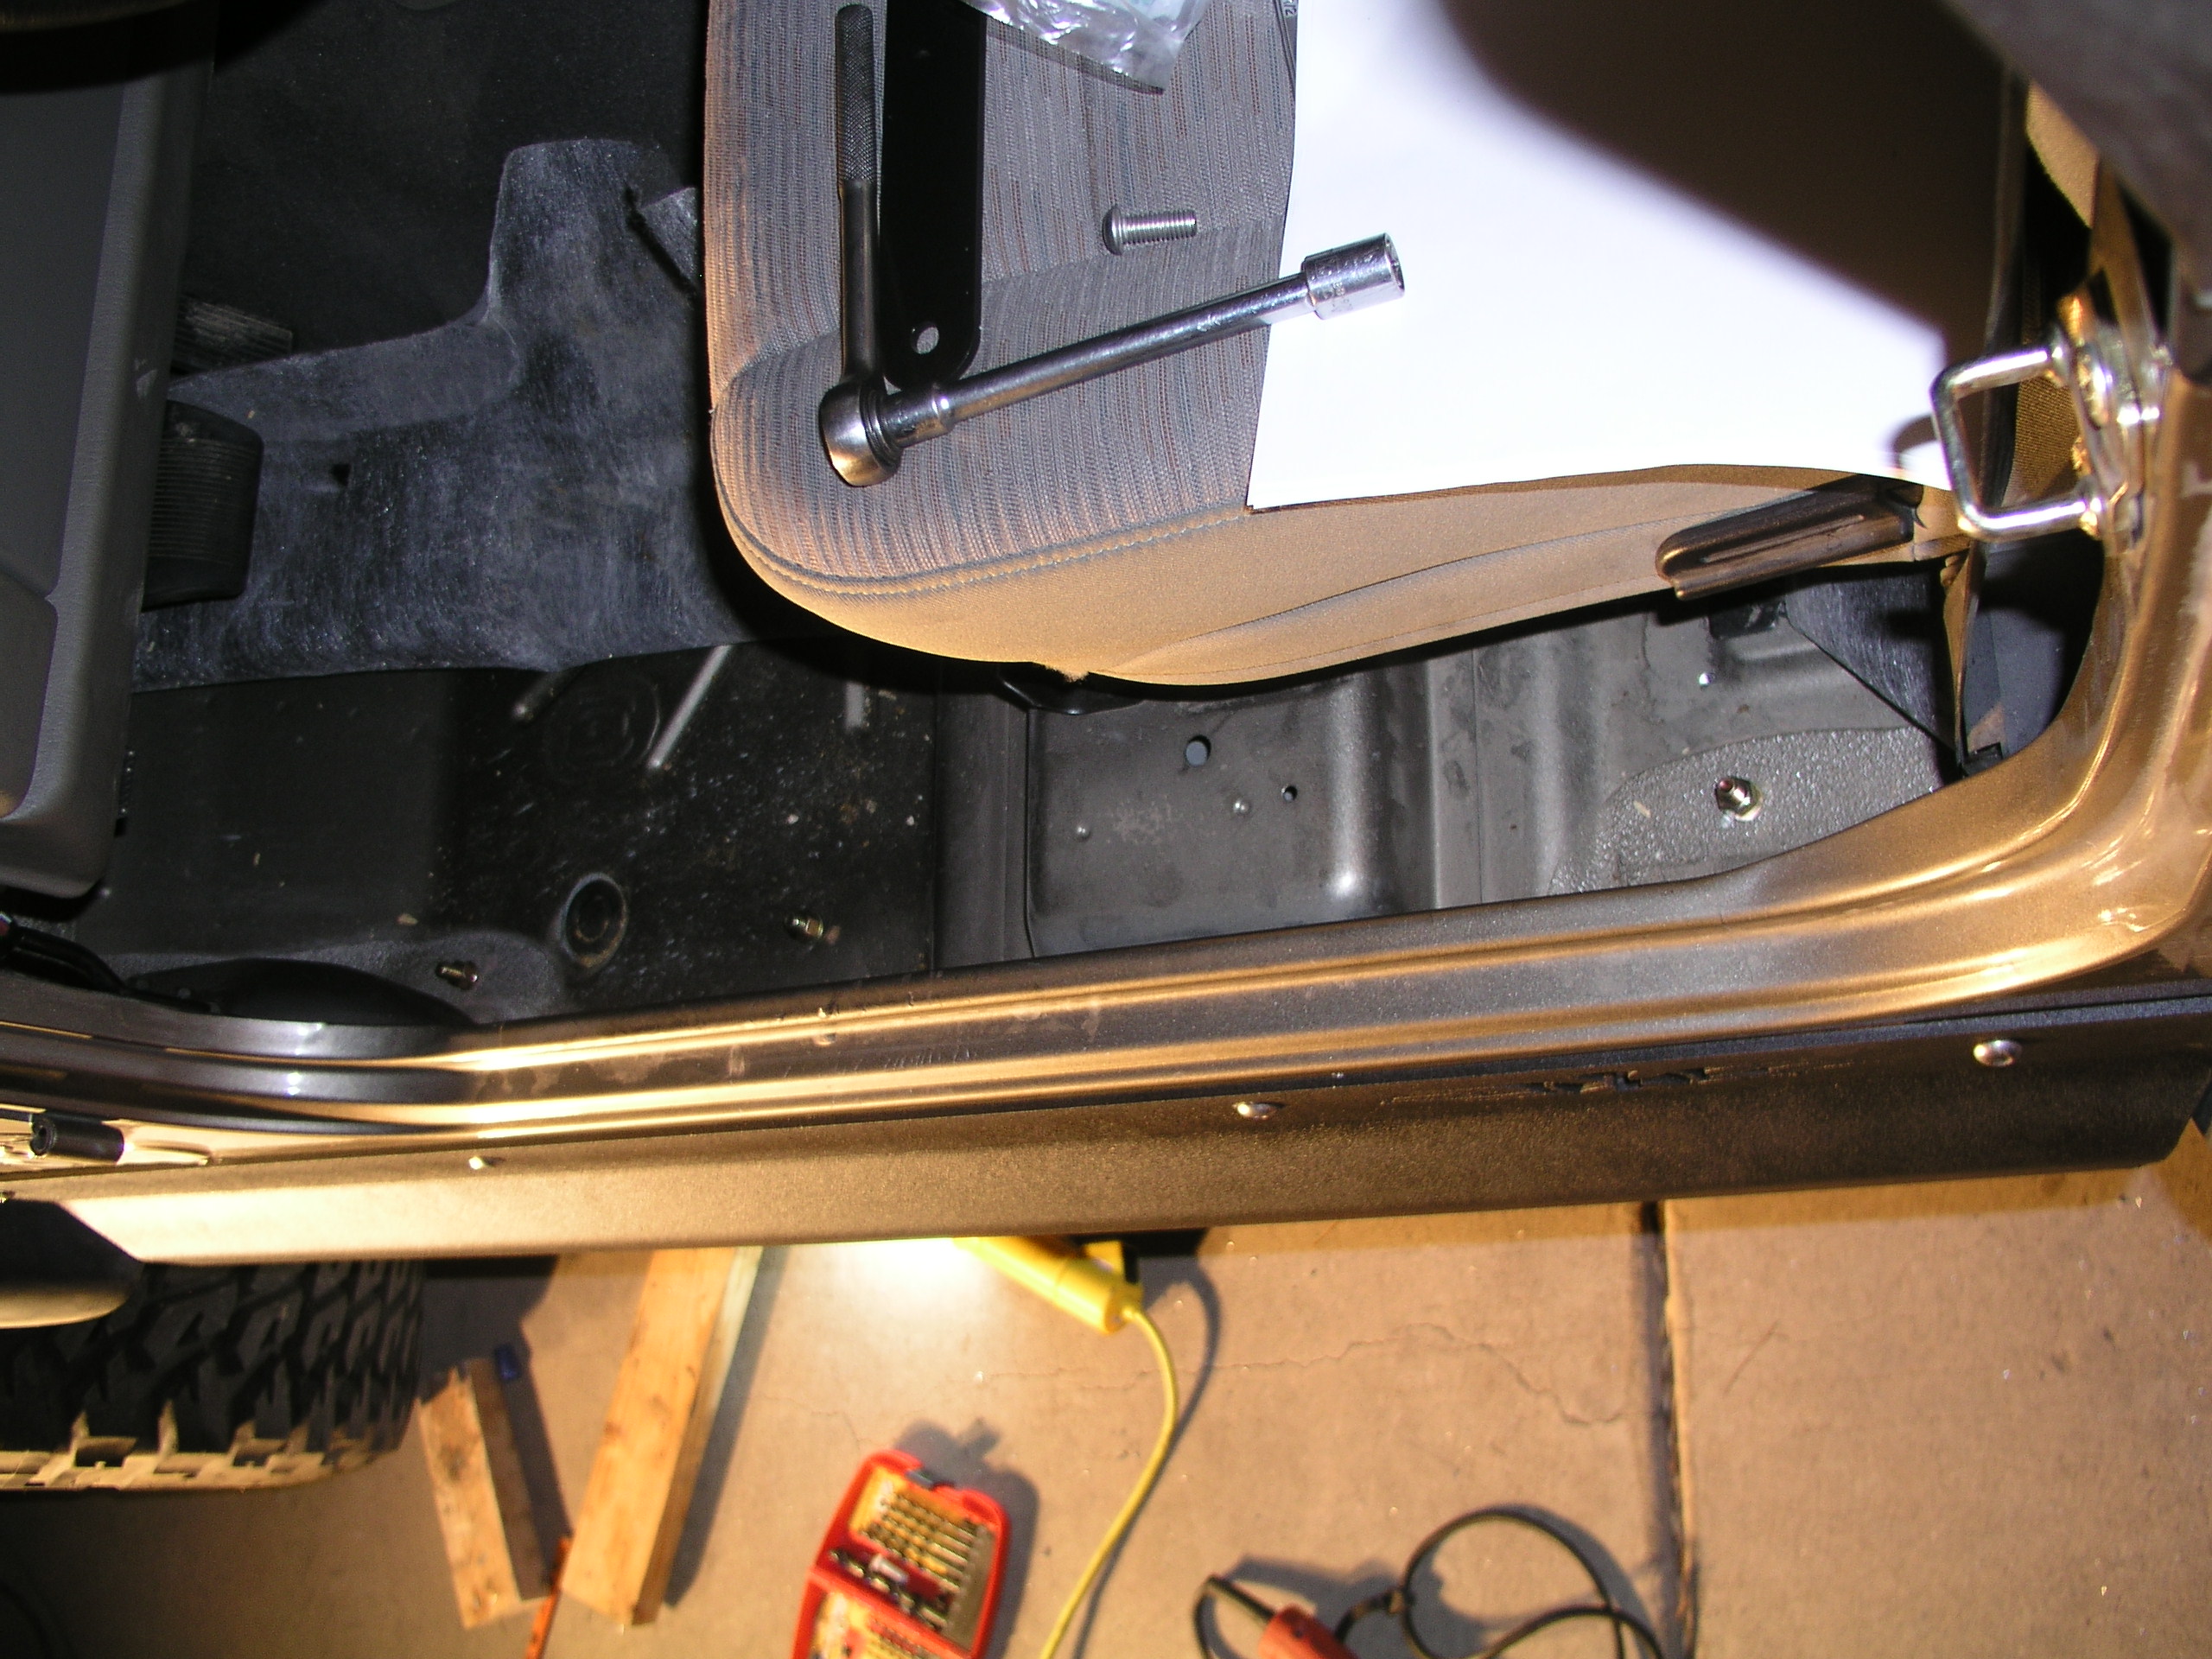
The holes actually all lined up fine, the only problem we had was that
Jared's Jeep was an '04. There is actually a couple slight
differences we found in the '04 that forced us to modify the installation
slightly. The hole towards the rear of the guards was supposed to be
an easy in with a regular 1 1/2 inch bolt, but Jeep added an extra
protrusion of metal apparently for strength below the seatbelt mount.
We solved this problem by using a 3incher, but the bracket was supposed to
reach this hole too. Since that wasn't going to happen now that it
couldn't be flush against the inside body like intended, we just ground
off 1/4 of the bracket and used it for the two middle bolts (after letting
Dan at BTF know, they made sure to add the changes to the newer wrangler
kits).
Now that the guards were placed to our liking and not going anywhere,
we drilled the holes for the bottom up through the double floor, making
sure the carpet didn't get in the way. The coverage on the bottom
was excellent compared to other brands, and used its own mounting points
instead of just the body mount locations.
Okay now they were on. The only thing left was the optional
sealing. No matter how tight you torque down the bolts, there still
may be some gaps between the guards and the body of the Jeep. So to
prevent water from sitting or from grit getting in there and constantly
working on your paint job underneath, we sealed them up on top. 3M
tape could be used but we ran a bead of your regular run-of-the mill black
silicone caulk on the top, then drug our finger on it to make it smooth
and uniform. This covered the gap and made us feel better about the
dirt issue.
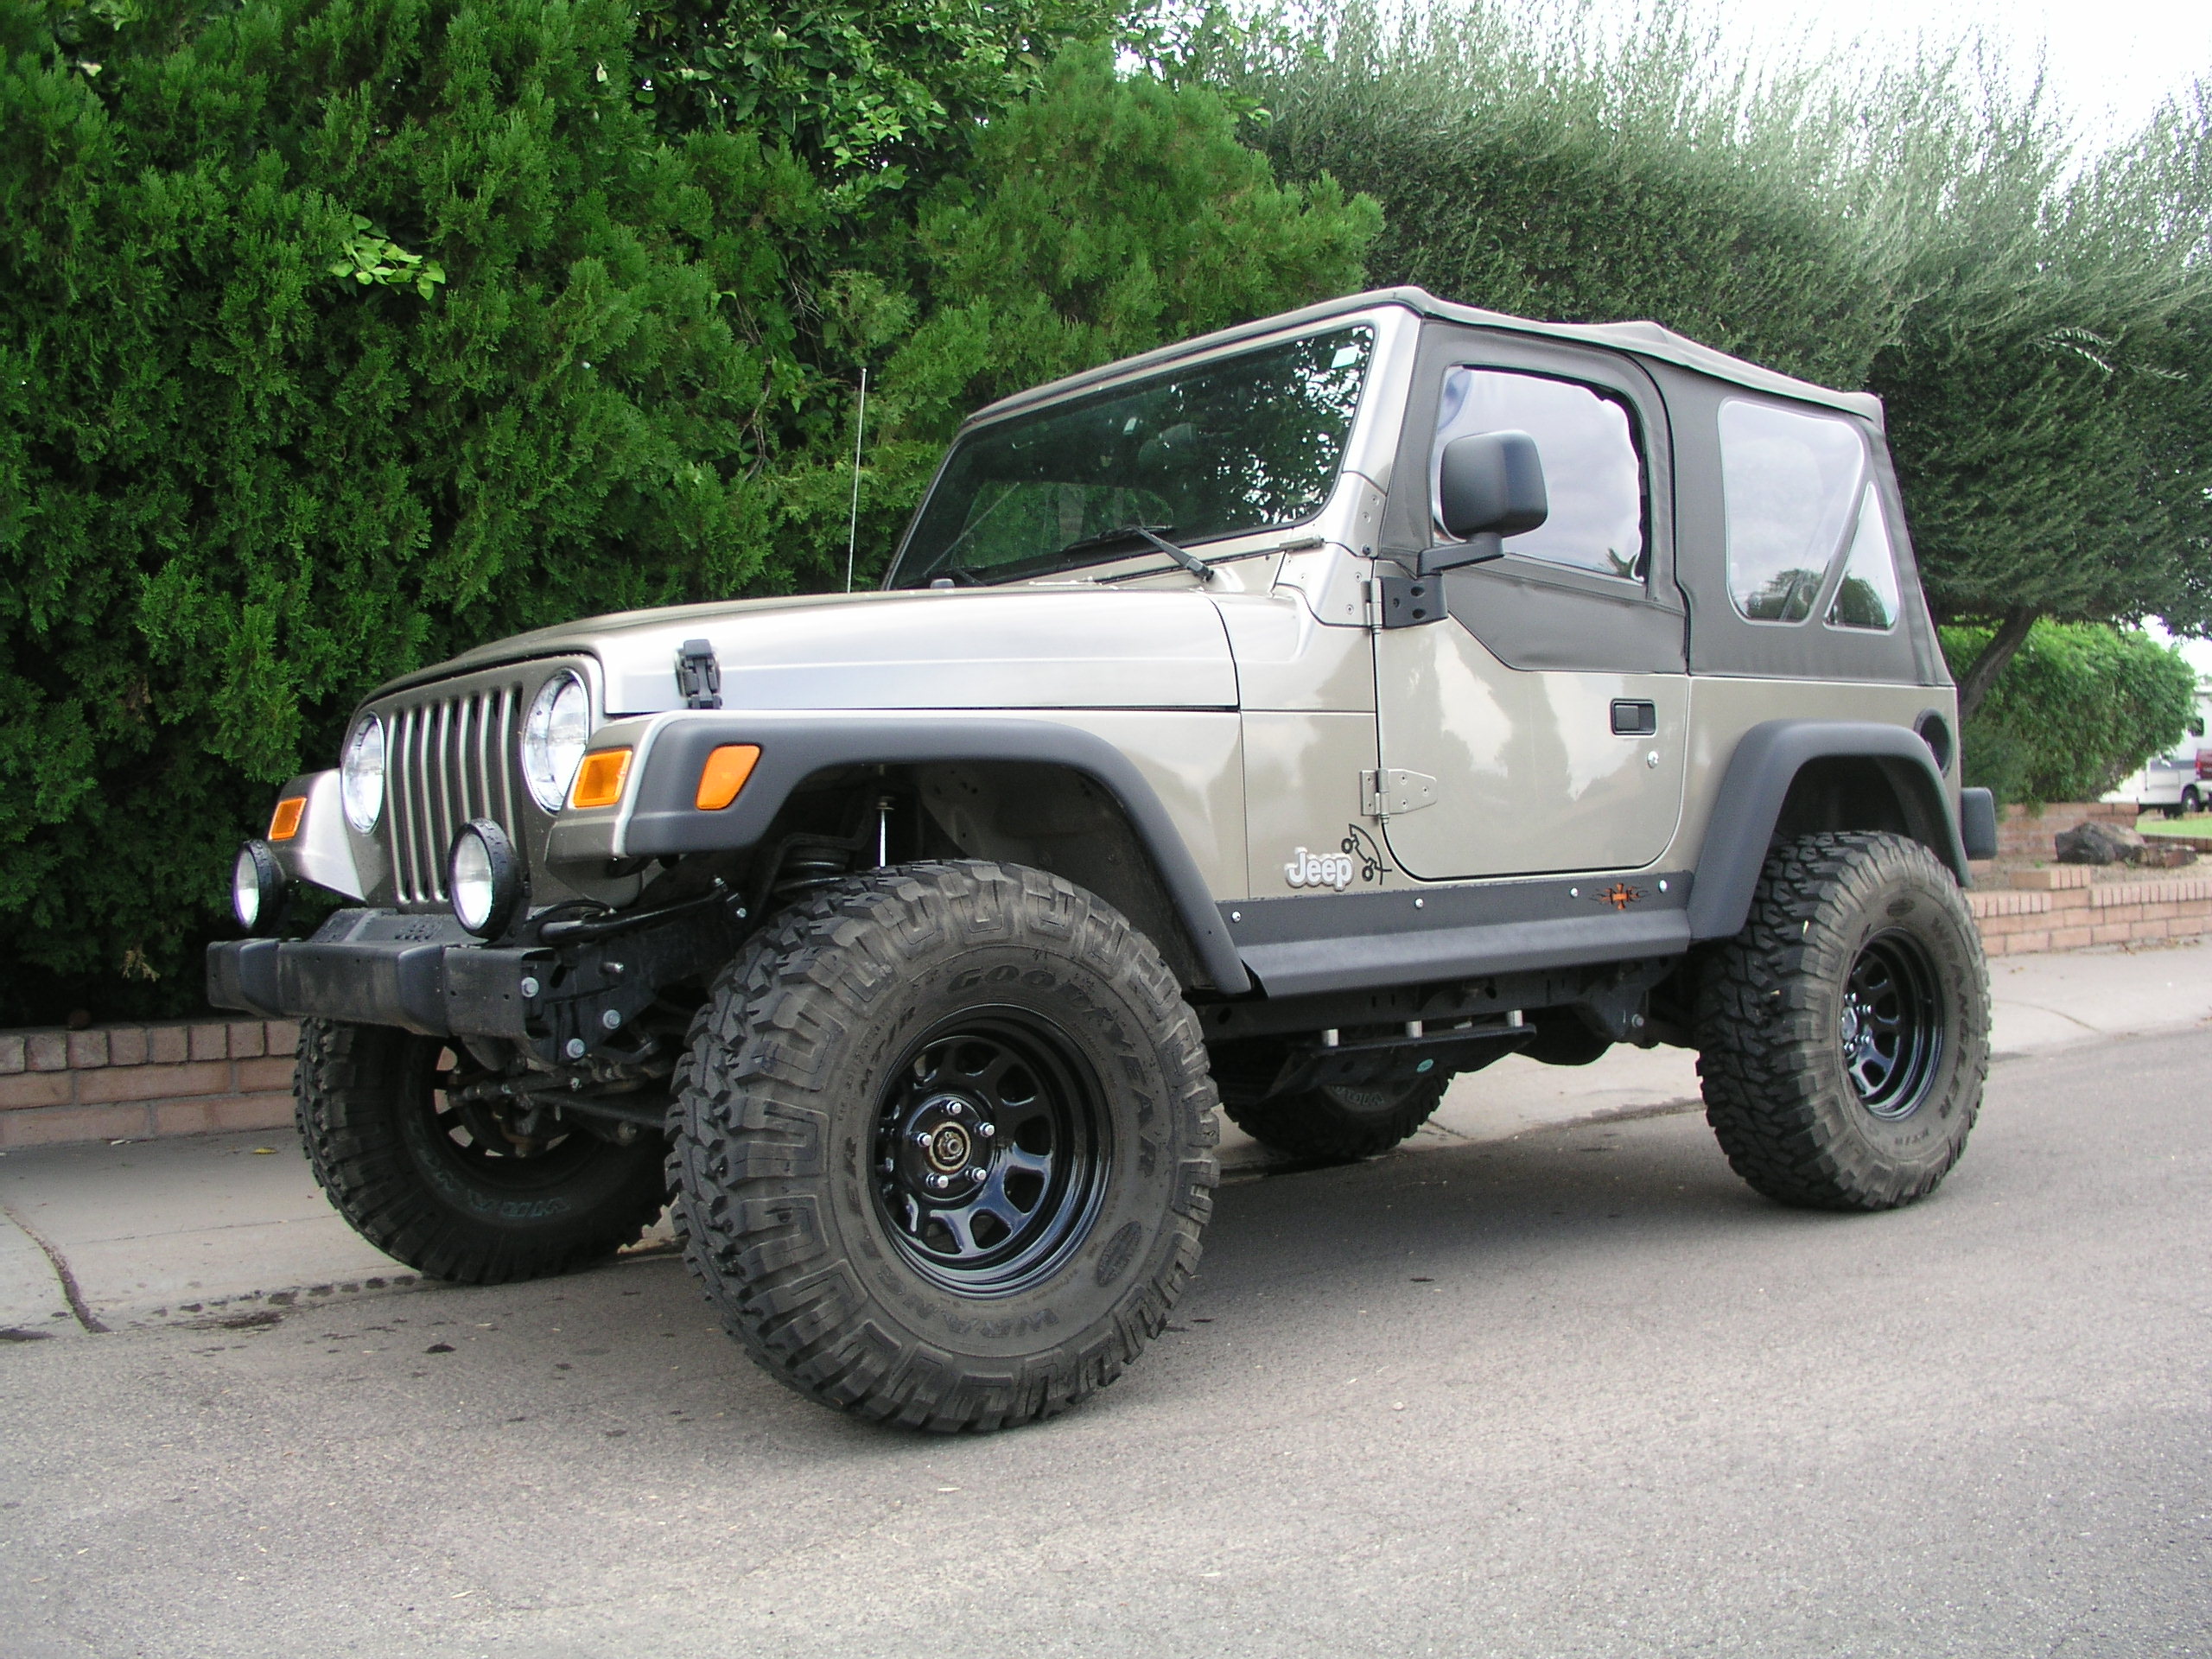
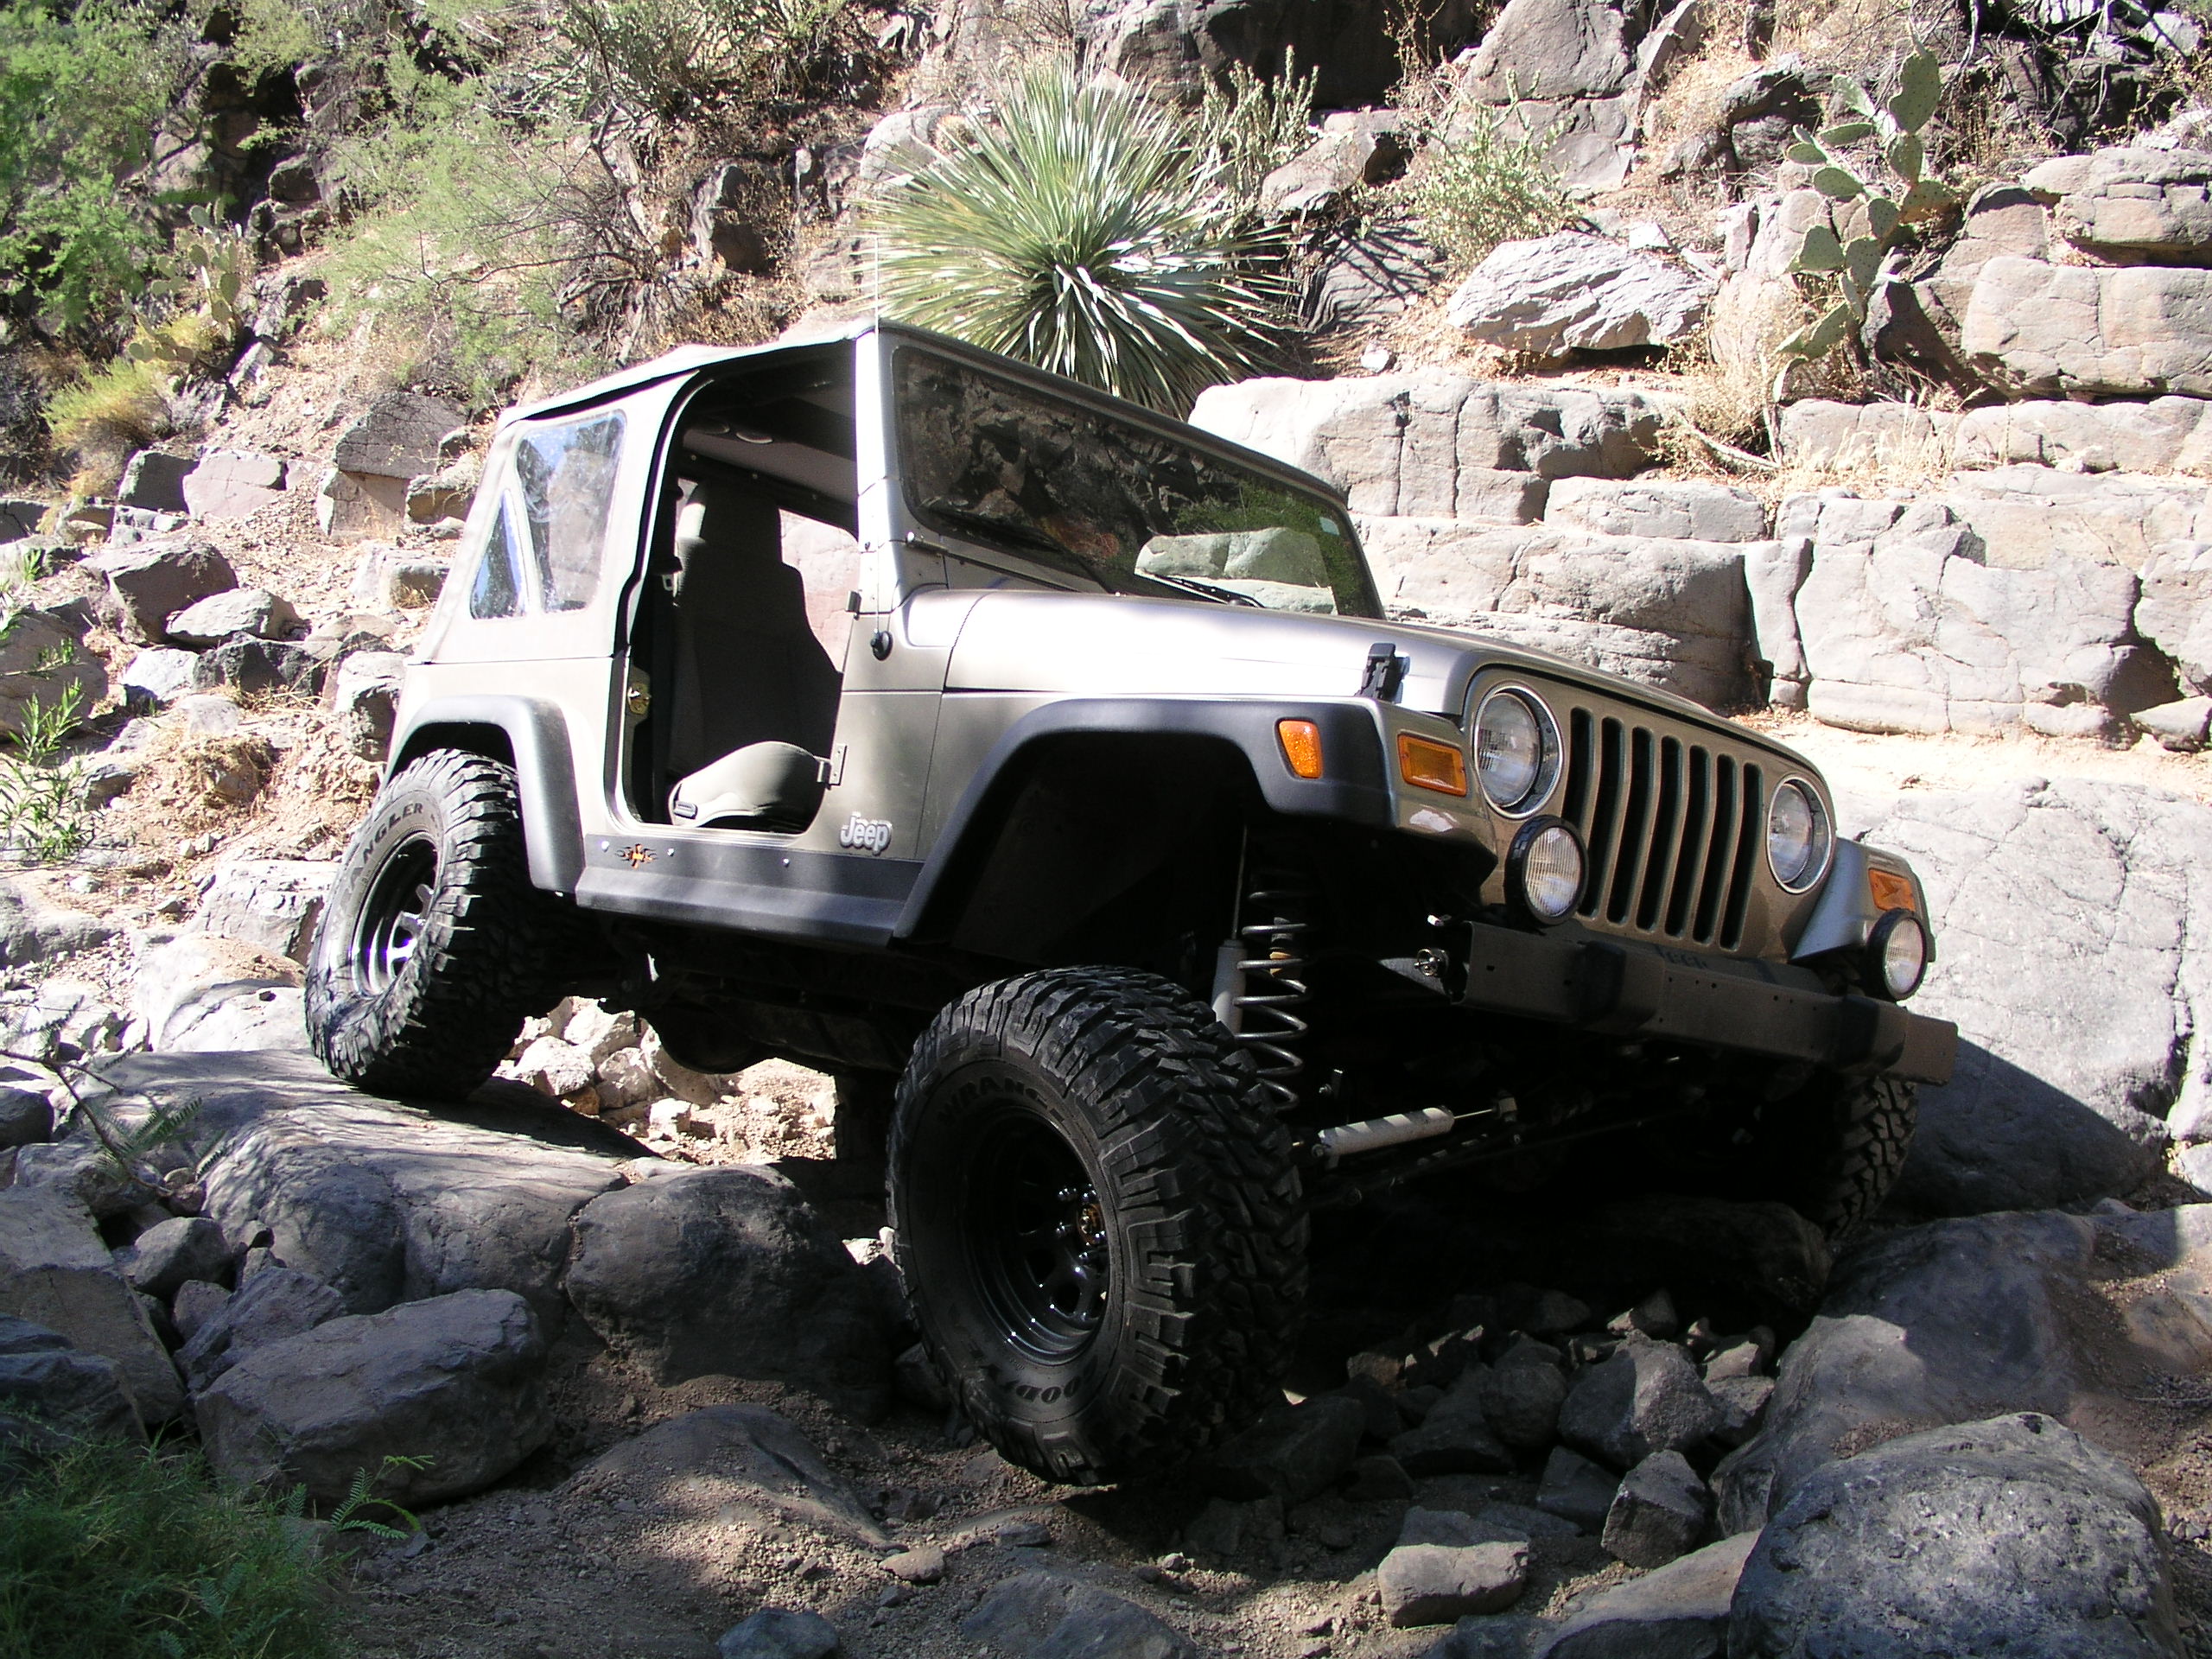
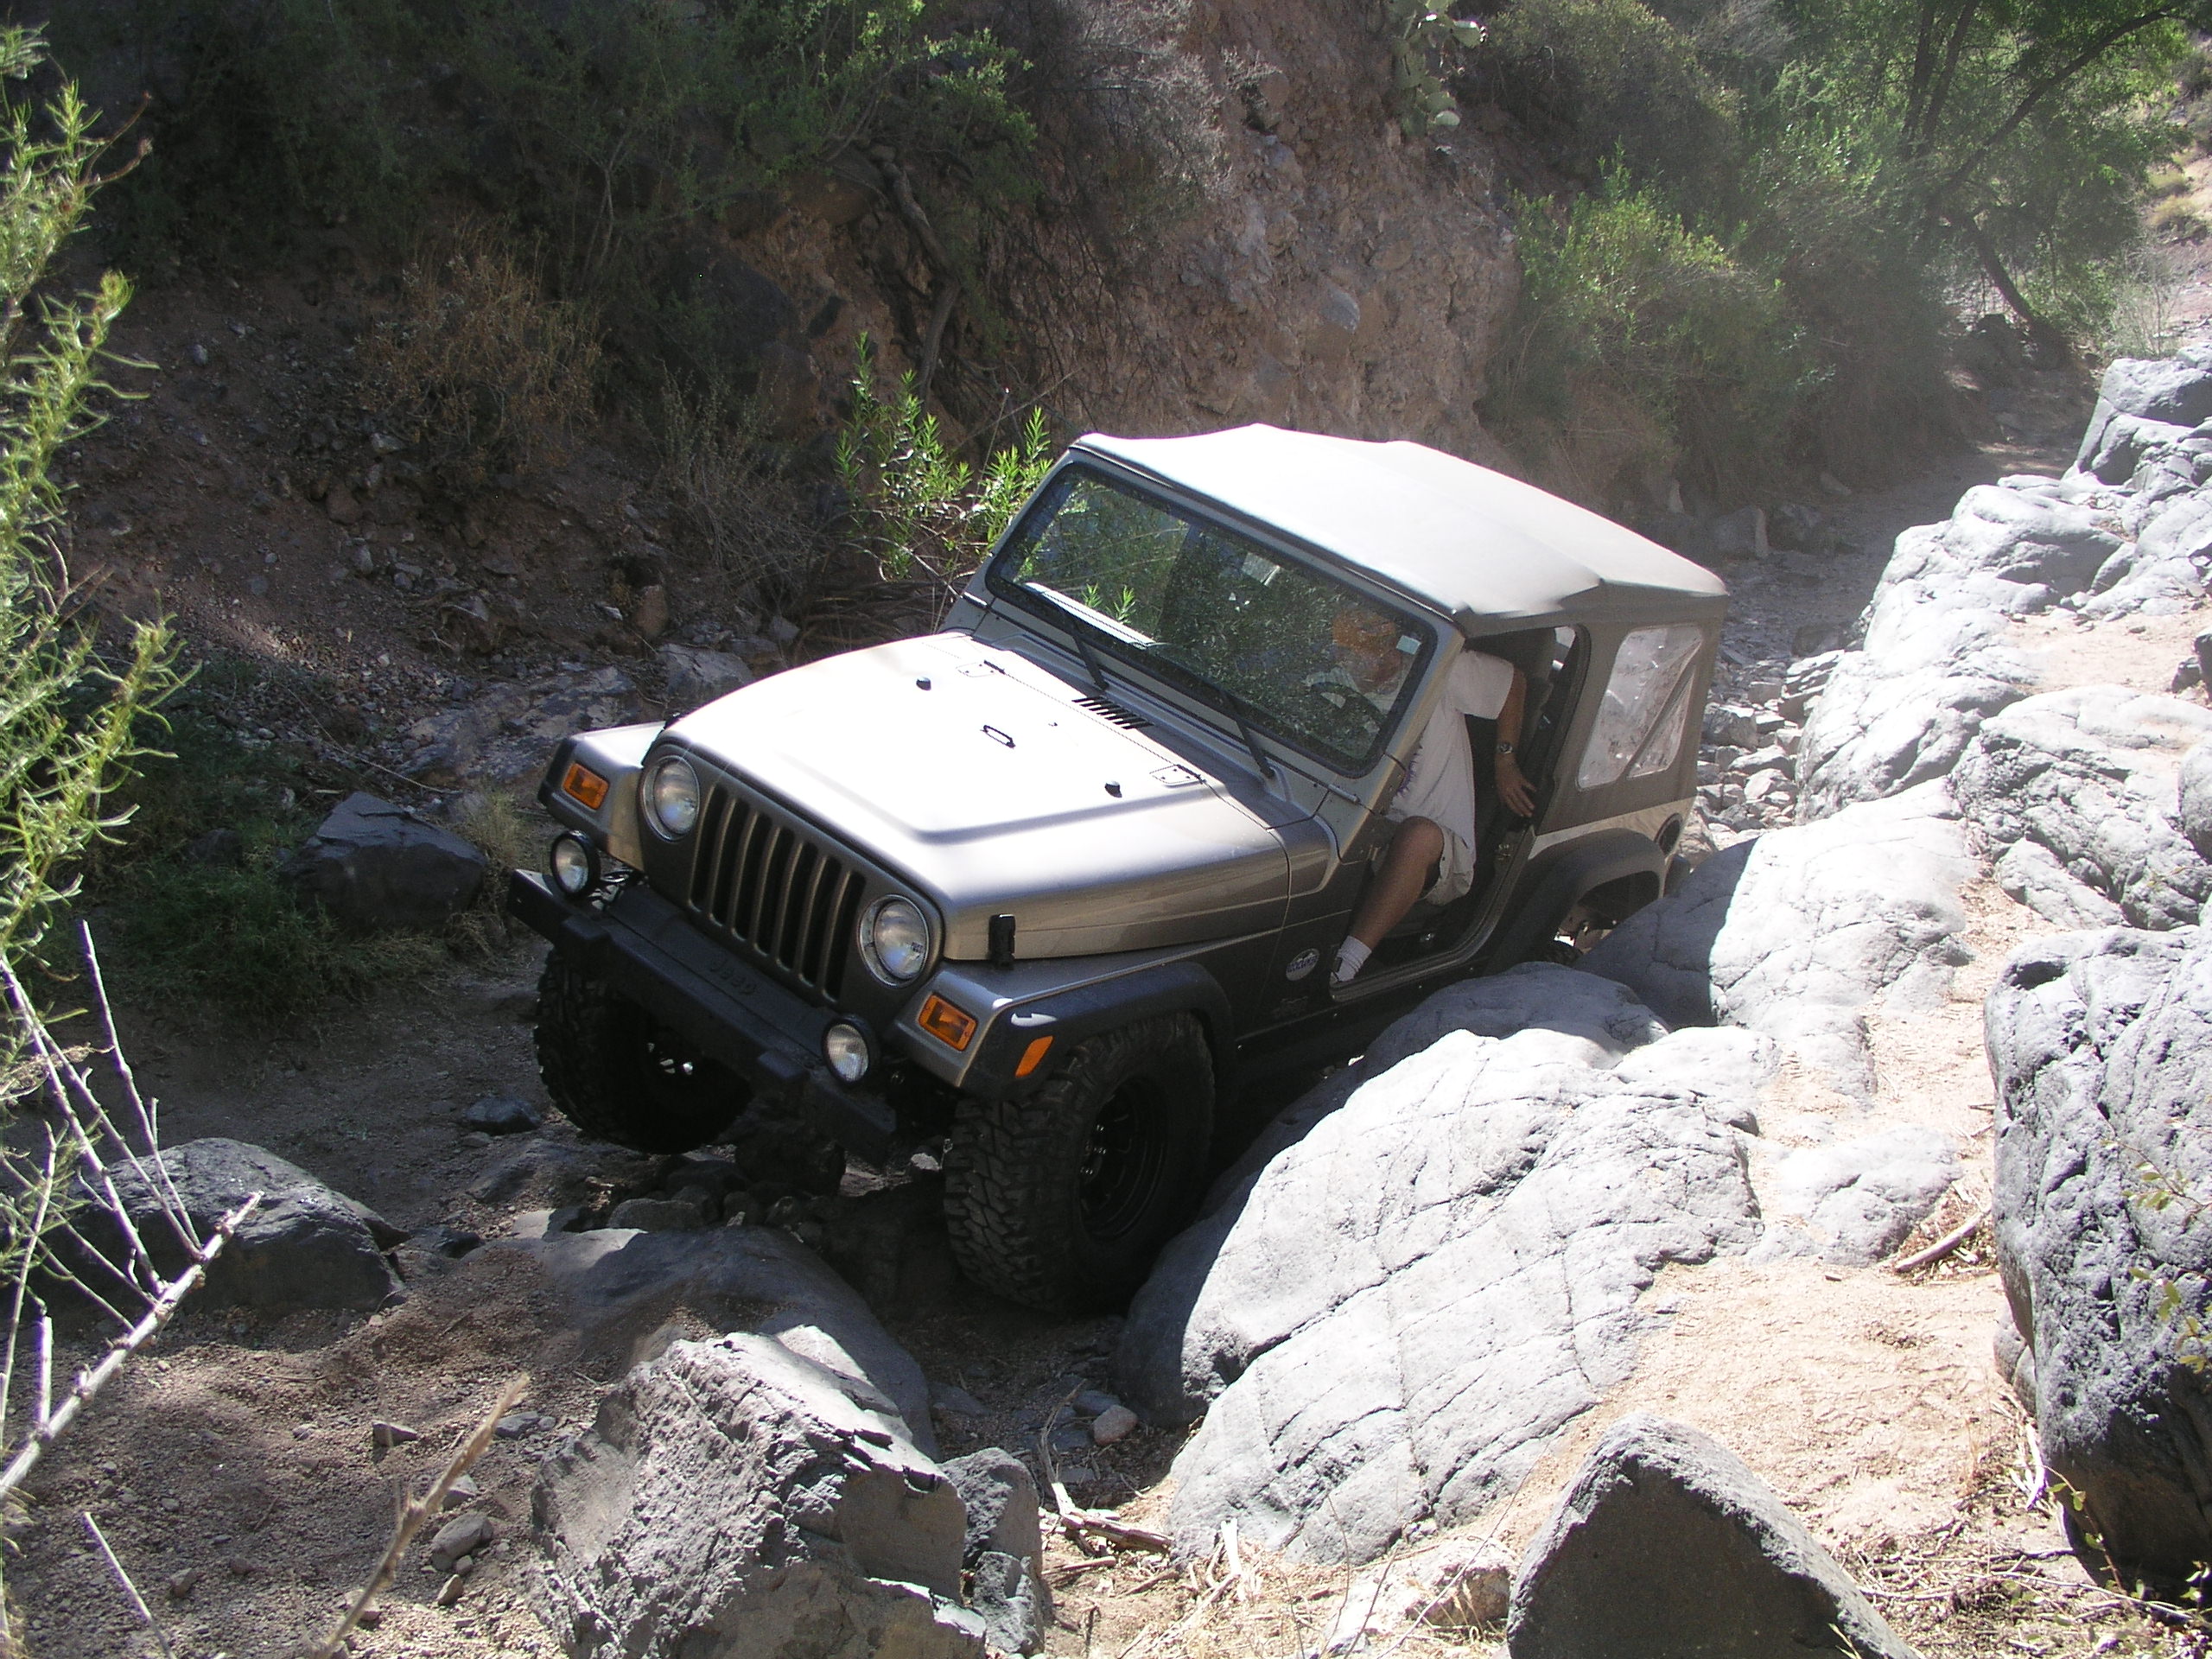
Done and done. The orange logo looked sweet, and we like our
textured paint work. The Jeep's rocker panels were now girdled in
solid steel, and we were ready to test them out if we had to. They
were secure enough to use as a jack point and the brackets reassured us of
the smack strength.
|

 All
right, before you begin, let me give you a little time saving heads up that
you in fact already know. Place your vehicle on level ground.
I know, I know, this is one of those phrases we've come to so easily ignore:
"Disconnect negative battery cable," "Place vehicle securely on jack stands,"
"Do not light in hand, place on ground and get away." But if you do this
simple trick ahead of time, they will be on in a cinch and you'll save an
extra couple of hours trying to get them to line up straight. Not that
this happened to us... because we are... really smart manachanically.
Anyway, we managed to keep ourselves level headed enough by parking the Jeep
sideways in the driveway.
All
right, before you begin, let me give you a little time saving heads up that
you in fact already know. Place your vehicle on level ground.
I know, I know, this is one of those phrases we've come to so easily ignore:
"Disconnect negative battery cable," "Place vehicle securely on jack stands,"
"Do not light in hand, place on ground and get away." But if you do this
simple trick ahead of time, they will be on in a cinch and you'll save an
extra couple of hours trying to get them to line up straight. Not that
this happened to us... because we are... really smart manachanically.
Anyway, we managed to keep ourselves level headed enough by parking the Jeep
sideways in the driveway.