|
|
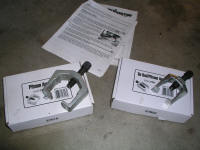
Tools you will need: |
Optional tools: |
|
|
A couple of jacks |
Angle drill |
|
|
Jack stands |
Spring compressor |
|
|
Pitman puller (rentable from
Autozone) |
Pizza |
|
|
Track bar/univ puller (") |
|
|
|
Pickle Fork and large hammer |
Front- Removal
-
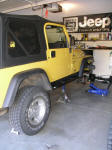 First
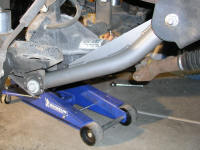
thing you need to do is get your Jeep up in the air. We raised the front
end as high as we could, then set the
frame on jack stands and put the jack under the front axle so we could droop
the suspension as much as possible. First
thing you need to do is get your Jeep up in the air. We raised the front
end as high as we could, then set the
frame on jack stands and put the jack under the front axle so we could droop
the suspension as much as possible.
-
Disconnect your front
driveshaft at the axle (mark the their relationship so you reinstall it the
same way).
-
Remove your control arms
(again, make a mark where the lower bolt (cam bolt) is positioned).
-
Remove the shocks
-
Remove the sway bar
links. The axle side comes off easy, but the other end is going to need
some muscle. Don't be timid about beating the mess out of the ball joint
end with a pickle fork and hammer, it will eventually come off
-
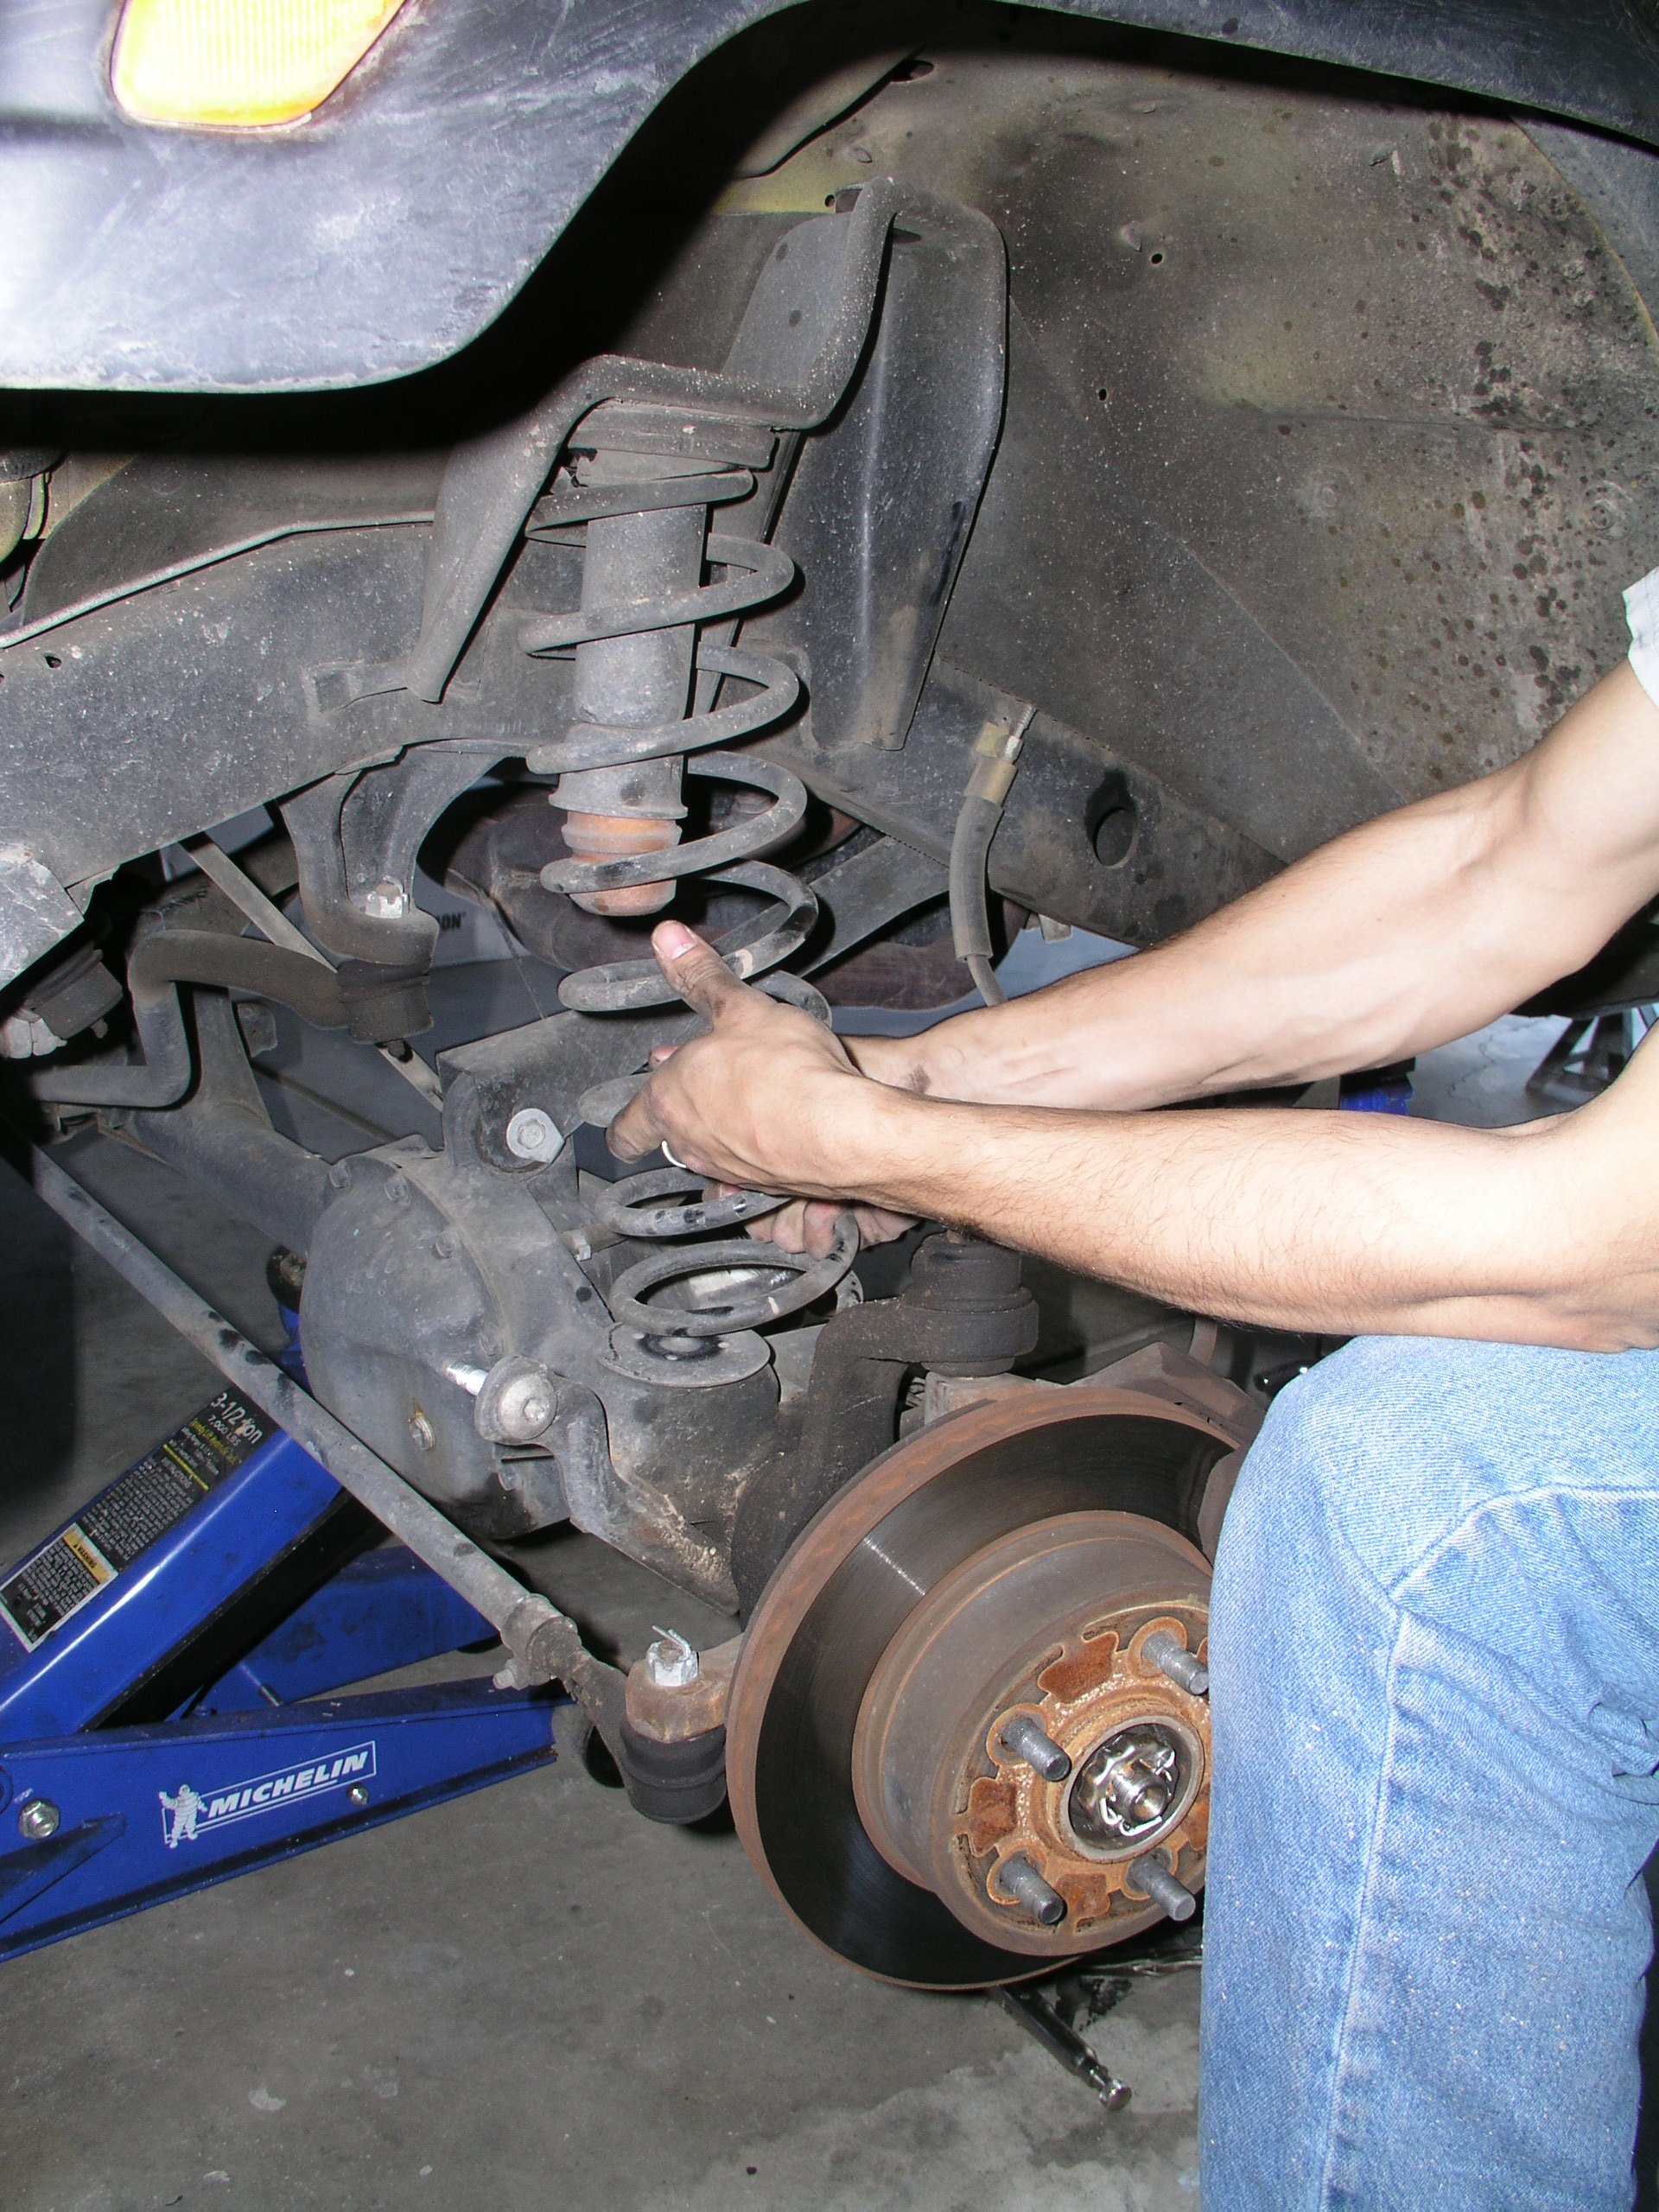
Now you can really droop
that axle to get those stock springs out. If they are even still there,
there may be a clip "holding" the spring on at the bottom you'll need to
remove.
-
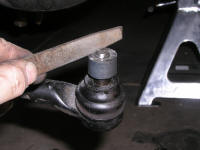
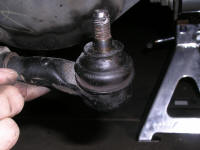
The track bar is next to
go. You can use the puller you rented or you can just pickle fork the
ball joint on it to
death since you won't be reusing the bar.
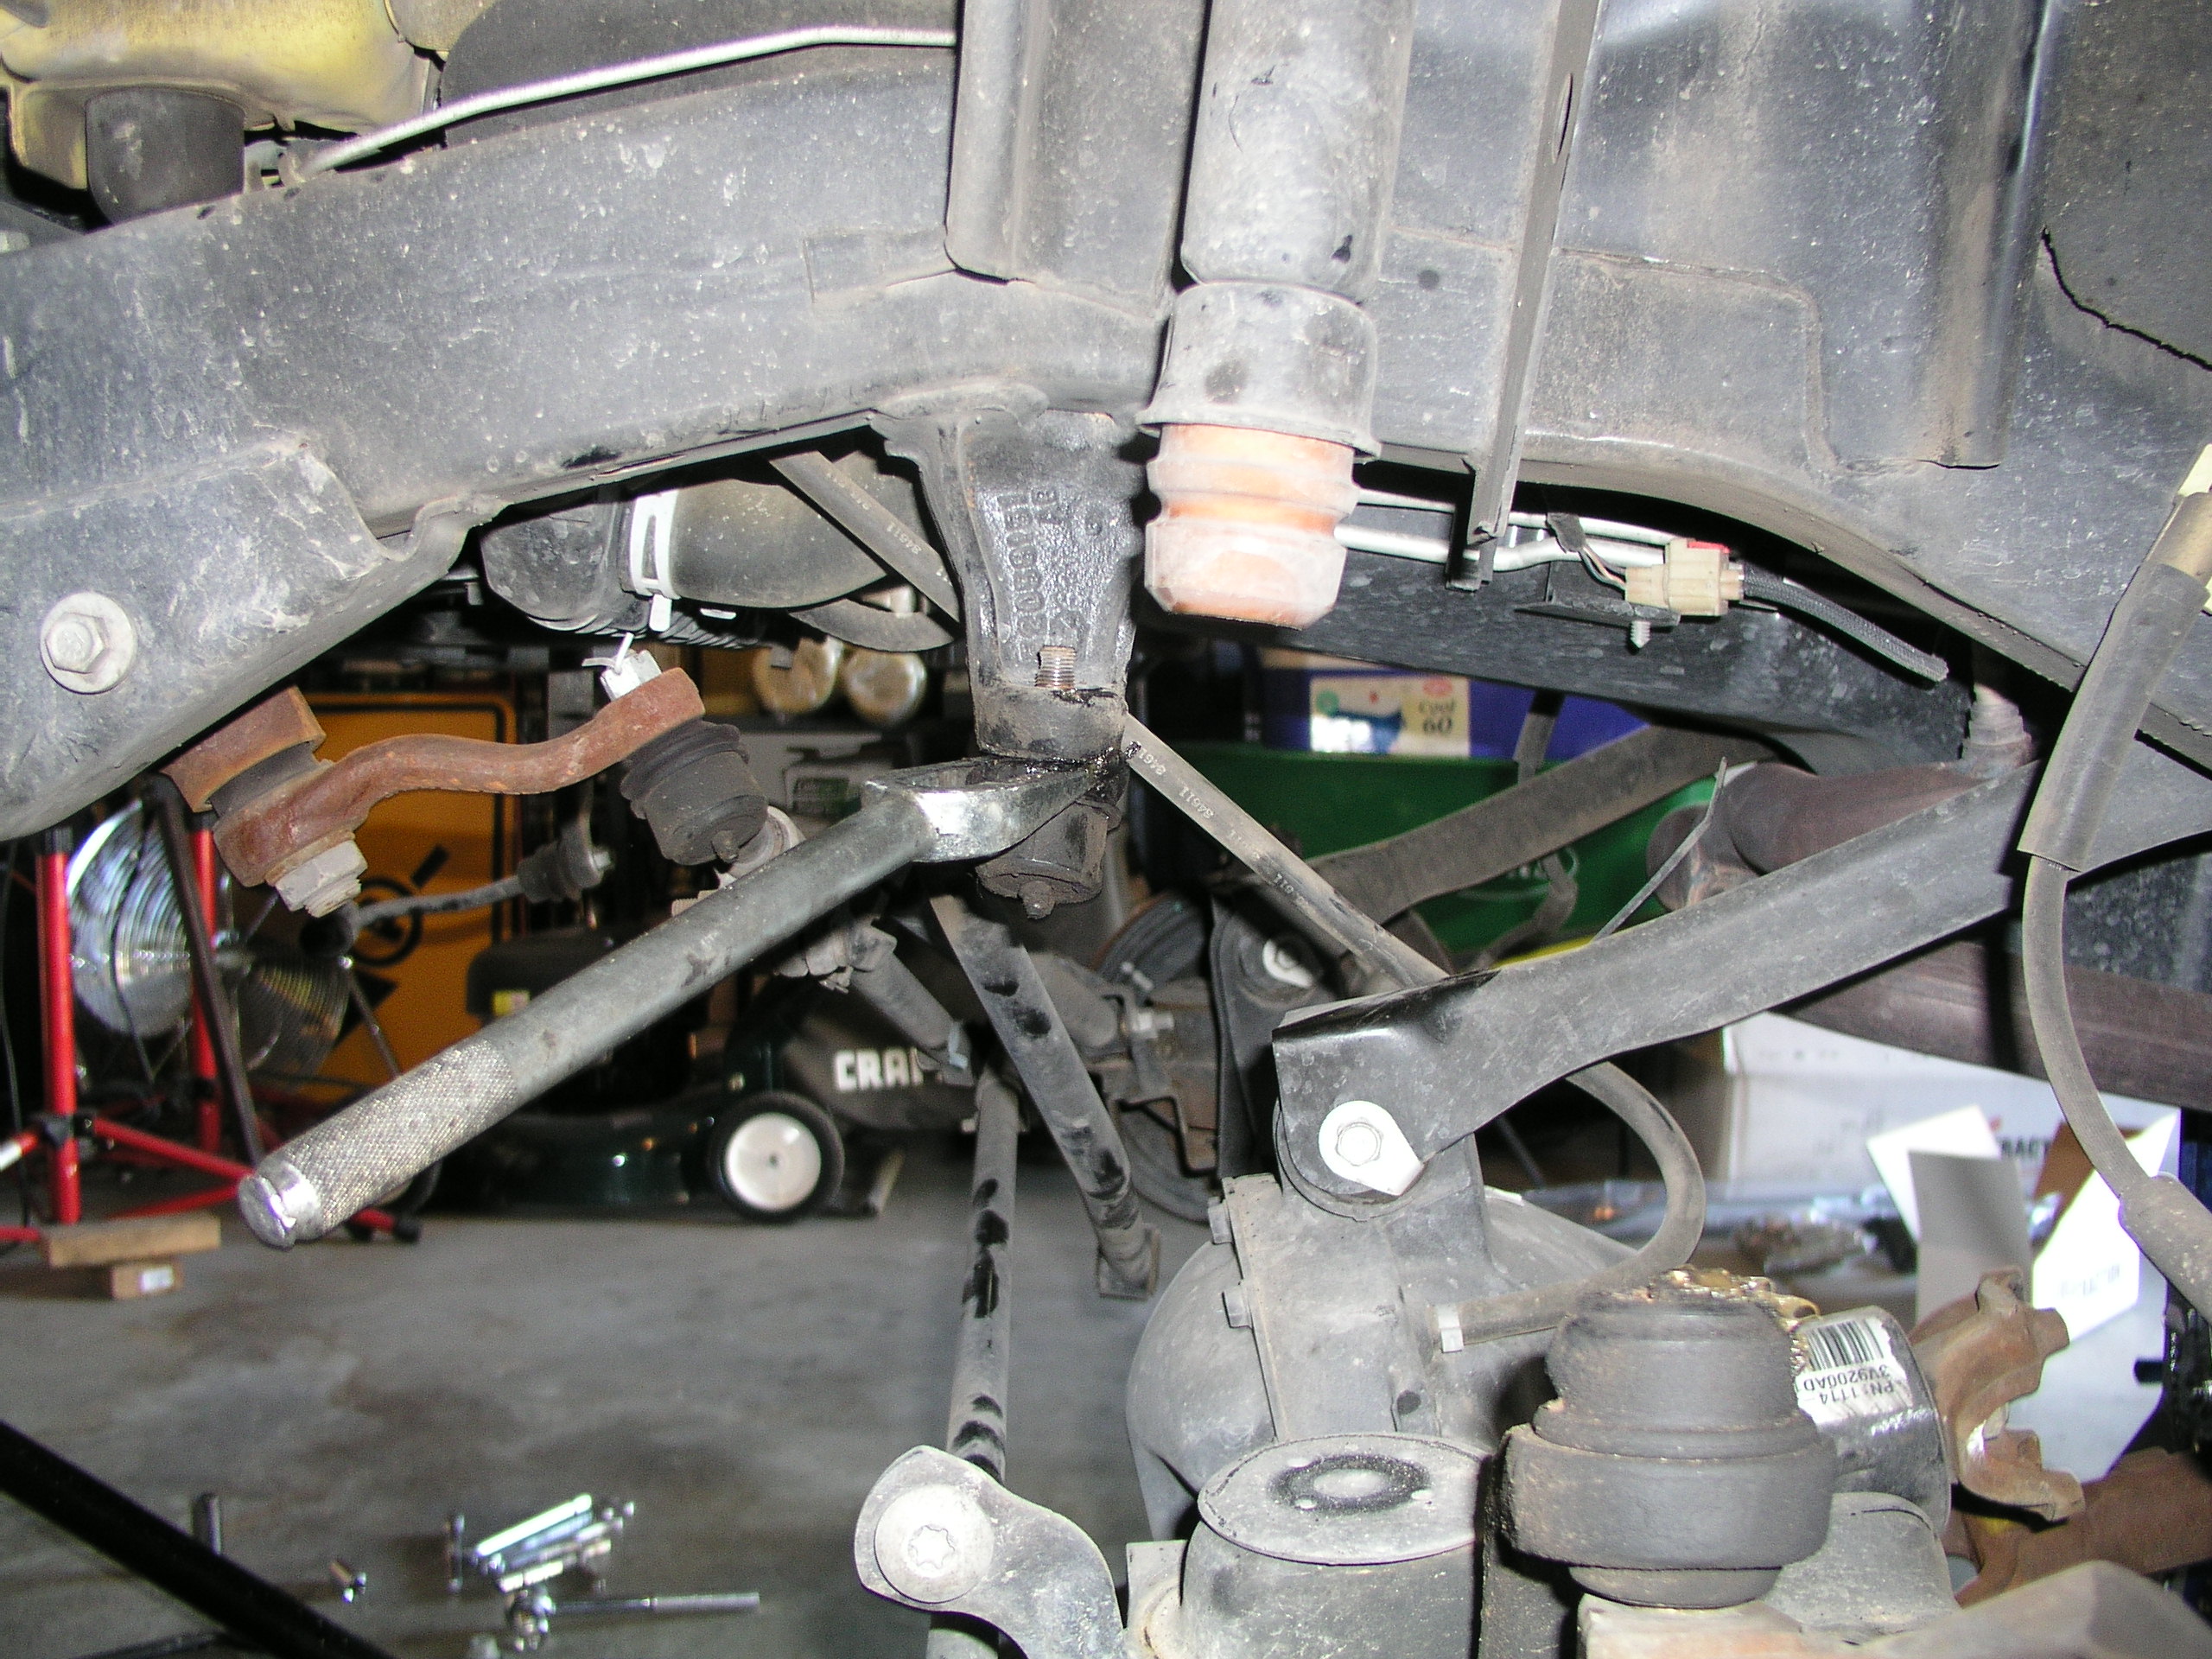
-
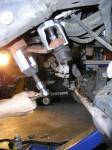
Now get to work on the
Pitman arm. These can be a real nightmare to get off, but you can soak
it ahead of time with Liquid Wrench if needed. This one came off
relatively easy with the two pullers.


Front - Installation
Tine for the new goodies!
 |
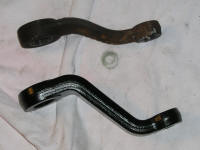
The first thing you need to do is assemble the
bushings into the ends of the new control arms. You may need a little
grease and a press (we used a C-clamp) to get the bushing sleeves in.
When installing the arms the welded part goes right side up and close to the
frame (see pic). Use the original hardware to mount them, noting your
cam bolt markings. |
 |
Cam bolts
- 85 ft/lbs
Frame
bolts - 130 ft/lbs
 |
| The new longer pitman arm is
next. Install with original nuts, but it's a good idea to replace
the cotter pin.
Steering gear nut - 185 ft/lbs
Drag link nut - 60 ft/lbs |

 |
**Tip:
When removing the drag link nut, the puller actually warped the top threads
of the stud as a result of the pressure that was being exerted downward on
it causing the the nut to no longer thread on. To make it work again,
we were forced to file the damaged threads down. We placed a spacer
over the good threads to keep them from being damaged during the filing.
Once filed, the nut started without a problem. This is probably not a
common occurrence, be we thought the information might prove useful to
someone else. |
 |
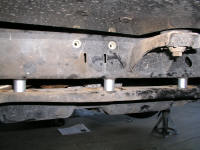
Now you need
to drill a couple holes to mount the bump stops to the spring pads. These
are used to keep your Jeep from overflexing and ripping off your fenders among
other things. This is where an angle drill could come in handy, but we've
never needed it. The hole you're supposed to drill is 11/32" so that way
you can use the self tapping bolts provided to hold the stops in place.
But, if you've got a standard drill set, chances are you don't have this size.
The reason for the use of the self tapper is that because of all the steering
braketry beneath the passenger side's spring pad, it hard to get a nut
underneath for a regular bolt- hard... yes, but impossible... no. After
doing a couple lifts, we've found it's easier to just forgo the tappers and just
drill the hole out to 3/8" and slap a lock nut on the other end. Done and
done.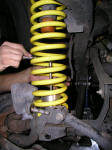
*But wait!
There's no point in fighting the spring over the bump stops while trying to
stuff them in. So, we just place the stop inside the spring, and then
tighten it down into place after the spring's in by sticking a socket wrench
through the coils.
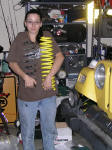
Spring Time!
|
Okay,
no your eyes are not decieving you, these springs are bright bright yellow.
Dana wanted them to match her Jeep and scoff all you want, I'll think you'll
find it hard to dislike the end result. By the way, don't even bother
asking Full Traction if you can have your springs painted any other color than
black, they'll act as though you just asked if you could defile their mother,
for free. Dana decided to fork out the extra dough and had these babies
stripped down and repowercoated at a local shop here. Don't expect these new springs to just slip in.
We always prefer to do it the manly way and not use a compressor. It's
really not all that hard to do though as long as you leave the side you're
working on drooped while jacking up the other side. The second one is
harder of course, but as long as you don't install the bump stops and maybe
remove the rubber bumper too, it ain't no biggy. I think the hardest part
was having a little girl watch over your shoulder making sure you didn't scratch
any of her yellow paint off. I actually ended up leaving the springs
wrapped in that foam paper they cam from the powdercoater's in on to keep any
nicks from occurring.
|
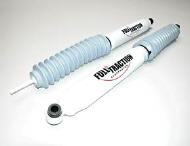
Shocks
Like we said before, we got the package deal that
included FT's FS5100 shocks
|
|
-
Hydraulic Action
-
Twin-tube design and multi stage valving
-
Expanded tube design with increased fluid
capacity
-
Polyurethane bushings
-
5/8" hardened chrome piston
|
 |
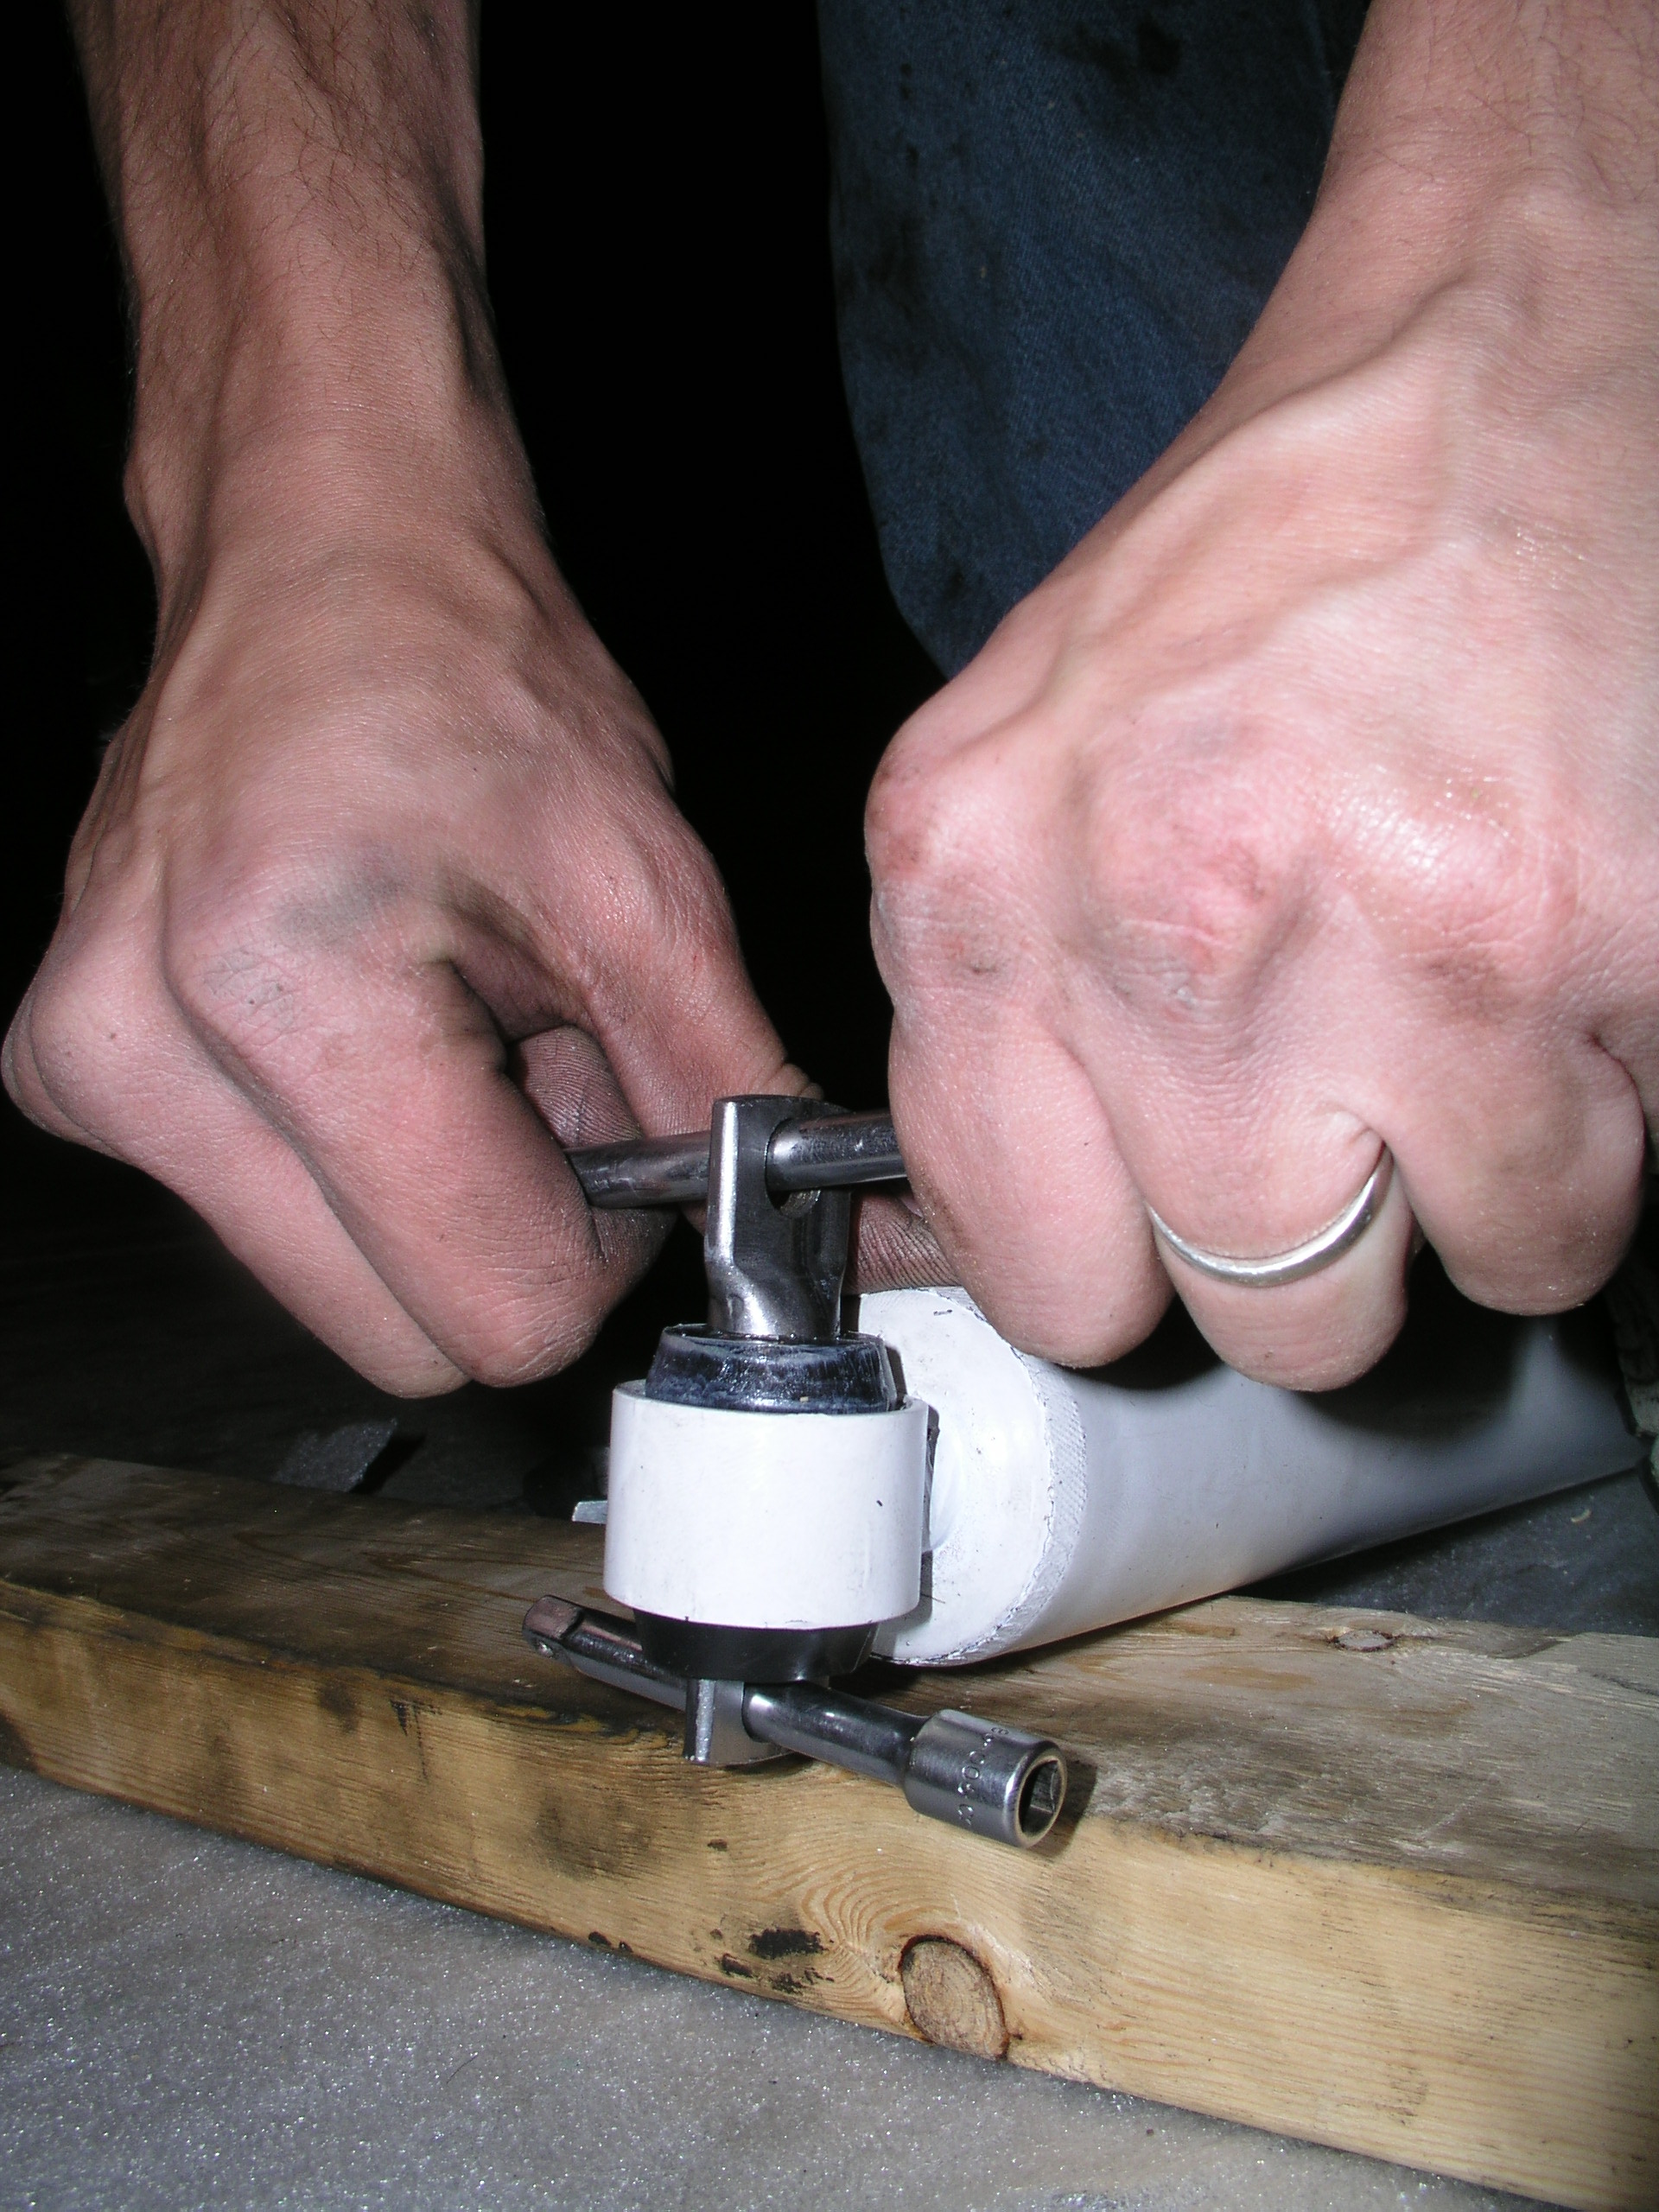
Before installation, like the control arms,
you must first do a little assemblage with the bushings and bracket
hardware. *Ghetto mechanics
tip: We had quite the time getting
the bushing and the hardware in. We had no luck getting them in
separately so we put the hardware in the bushing and then tried getting
the combo into the shock eye. We actually figured out an easy way of
doing this. Pressing it only made the hardware slip out of the
bushing, so we pulled it in. We placed a small socket
extensions through each of the bracket's holes. The bottom one kept
the bracket from slipping through the bushing, and the top one enabled us
to pull the whole assembly through to the middle of the shock eye.
|
Upper nut - 17 ft/lbs
Lower nuts - 20 ft/lbs
You can put
your new sway bar links on now. The offset side goes at the bottom, but
it'll be apparent which way they go when you start to put them on.
Top nut - 30 ft/lbs
ft/lbs
| Now you have to add all those spacers to your
center skid. With any lift (with out a SYE) you have to do this
step. This is because when you lift everything up, your transfer
case goes up with it. This causes your driveshaft to be at too steep
of an angle and that's begging for trouble. You'll have to keep
those spacers there lowering your transfer case (and robbing you of ground
clearance) until you add a Slip Yoke Eliminator and a new longer
driveshaft. Make sure when you do this step, you support your
transmission with a jack (we add a 2x4 between the two to spread the
pressure out at the pan). |
 |
Bolts - 55
ft/lbs
There's one more small step before you move on to
the rear. You kit came with 2 odd shaped brackets. They are for
extending your front brake lines to allow for all that outrageous flex you'll be
achieving. Most kits come with extended brake lines you can add on, but
your Jeep actually already has enough length, and you can utilize it by pulling
the lines down a bit and re-securing them with FT's brackets. Your stock
brake line bracket actually mounts to FT's allowing the drop.
Okay, you're done with the front for now!
You'll be back to add the track bar and brackets after finishing the rear.
Go ahead and throw your driveshaft back on and even your wheels if you want, and
move on back.
f


Full Traction Full-Traction 4" 4
inch suspension lift wrangler jeep tj install installation
|