|
Rear - Removal
All right, you've been here before, you
know what to do. Get the rear in the air by the frame and keep the jack on
the axle. Wheels come off again. Removing the rear driveshaft helps
too.
-
Remove the
lower control arms.
-
Remove the
rear track bar
-
Get rid of
the rear sway bar links
-
Take off the
rear shocks
-
Now you can
droop the rear axle the same way and yank out the stock springs.
Rear - Installation
The instructions call for you to
install the lower control arms and new sway bar links first, but it's much
easier to get the springs in first. So we'll move on to the track bar
steps and come back to all that stuff post springs.
*You can get the control arms ready by inserting the sleeves and bushings and
then halfway installing them and the sway bar links by their high side.
Remember on the new arms: the welded part up and closest to the frame side.
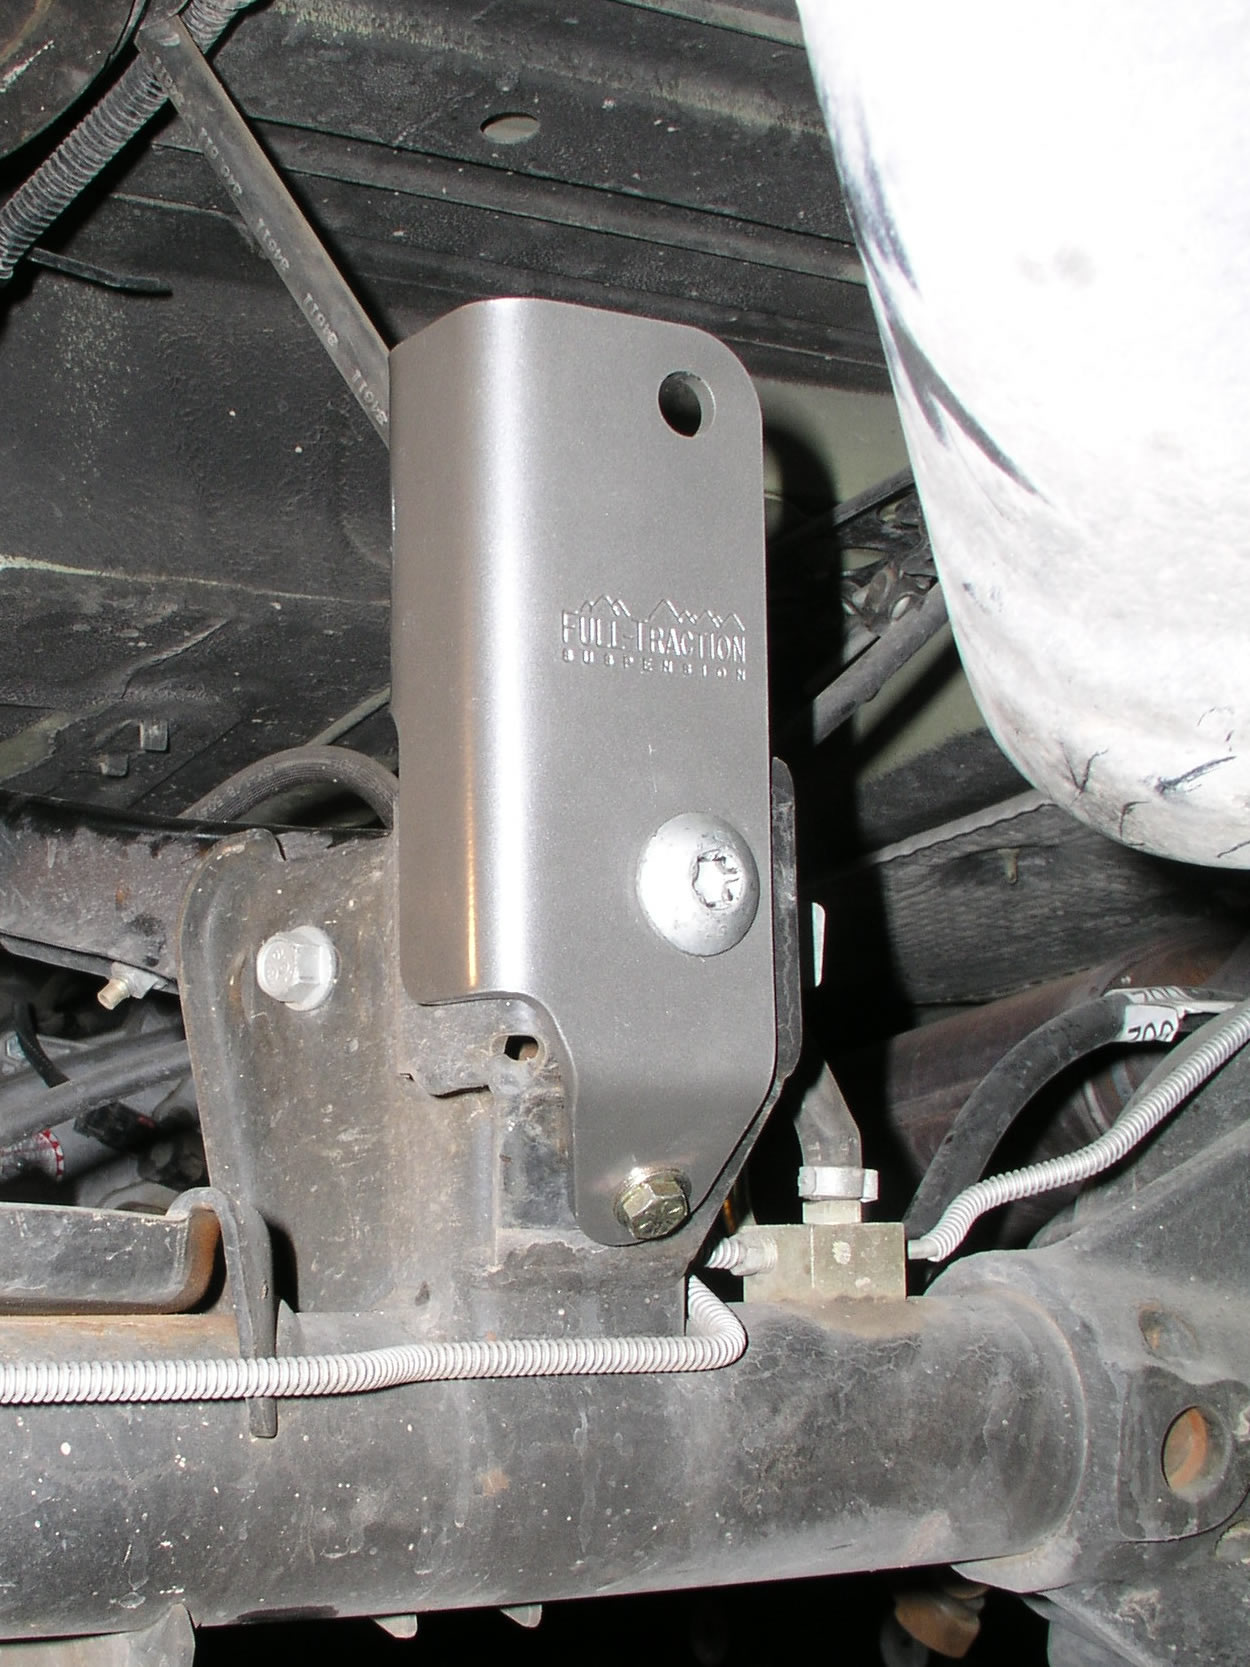
| You are going to reuse the old track bar,
but install a bracket to lift it higher up. The bracket it going
to fixed into postion in a couple of ways. You old track bar
bracket had a dust cover on that you must remove. That cover was
held on by two plastic pegs. You will be using the holes that the
pegs were inserted into, but you'll have to drill them out a little
larger. Before you do, go ahead and put the bracket on using the
original star bolt and place the provided spacer (it looks like one of
the ones you used on the center skid but longer) on the bolt between the
bracket and frame. This will keep the empty space where the track
bar used to be from crushing and compromising the new bracket. Now
the small peg holes should just about line up with the predrilled holes
in the new bracket. You can drill them out now to accept the
provided 3/8" grade 8 bolts. You can finishing mounting the track
bar after getting the springs in. |
 |
Existing star bolt - 74 ft/lbs
Lower nuts - 20 ft/lbs
 |
You can get the bump stop extensions on
after installing the springs as well, as long as you get them into
position inside the springs. A longer bolt is provided to
accommodate the spacer.
27 ft/lbs |
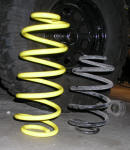
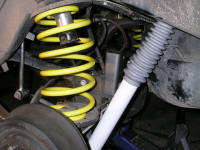
Spring Time!
Muscle up the
rear springs into position at this time. Check for any hose binding, but
you should be able to do some axle tipping like you did in the front to get them
in. If you didn't install the bump stops yet, get on it. Now you can
go back to the arms and links.
 The
links are easy enough to get on, but the control arms require a bit of trickery. The
links are easy enough to get on, but the control arms require a bit of trickery.
*Tip:
In order to get the arms on now that the springs are having their way with the
axle, you'll need to tilt the differential pinion angle up. This can be
done by simply putting another jack, not on the yoke, but near the front of the
pumpkin. Jack it up and watch the arms line right up.
Link ends - 40 ft/lbs
Arm nuts - 130 ft/lbs
Shocks:
 |
*Tip:
You're going to have to press in the bushings and brackets again.
Maybe you can come up with something better, but here at the Ghetto
Mechanic Shop we had to come up with another new technique. We
used a large C-clamp (we so need to invest in a shop press) and pressed
the bushing through "catching it" in a large socket. The socket
allowed the clamp to push against the shock eye and accept the
bushing/bracket while we pressed it in from the other side. We
used small vise grip to keep the bracket from just sliding through the
bushing. Hey, whatever works, right? One more thing: make
sure you put the boot on before you put the b/b in! |
Upper nut - 17 ft/lbs
Lower nuts - 20 ft/lbs
The last step is
you need to finish up installing the track bar fully. It should go up with
no problem.
37 ft/lbs
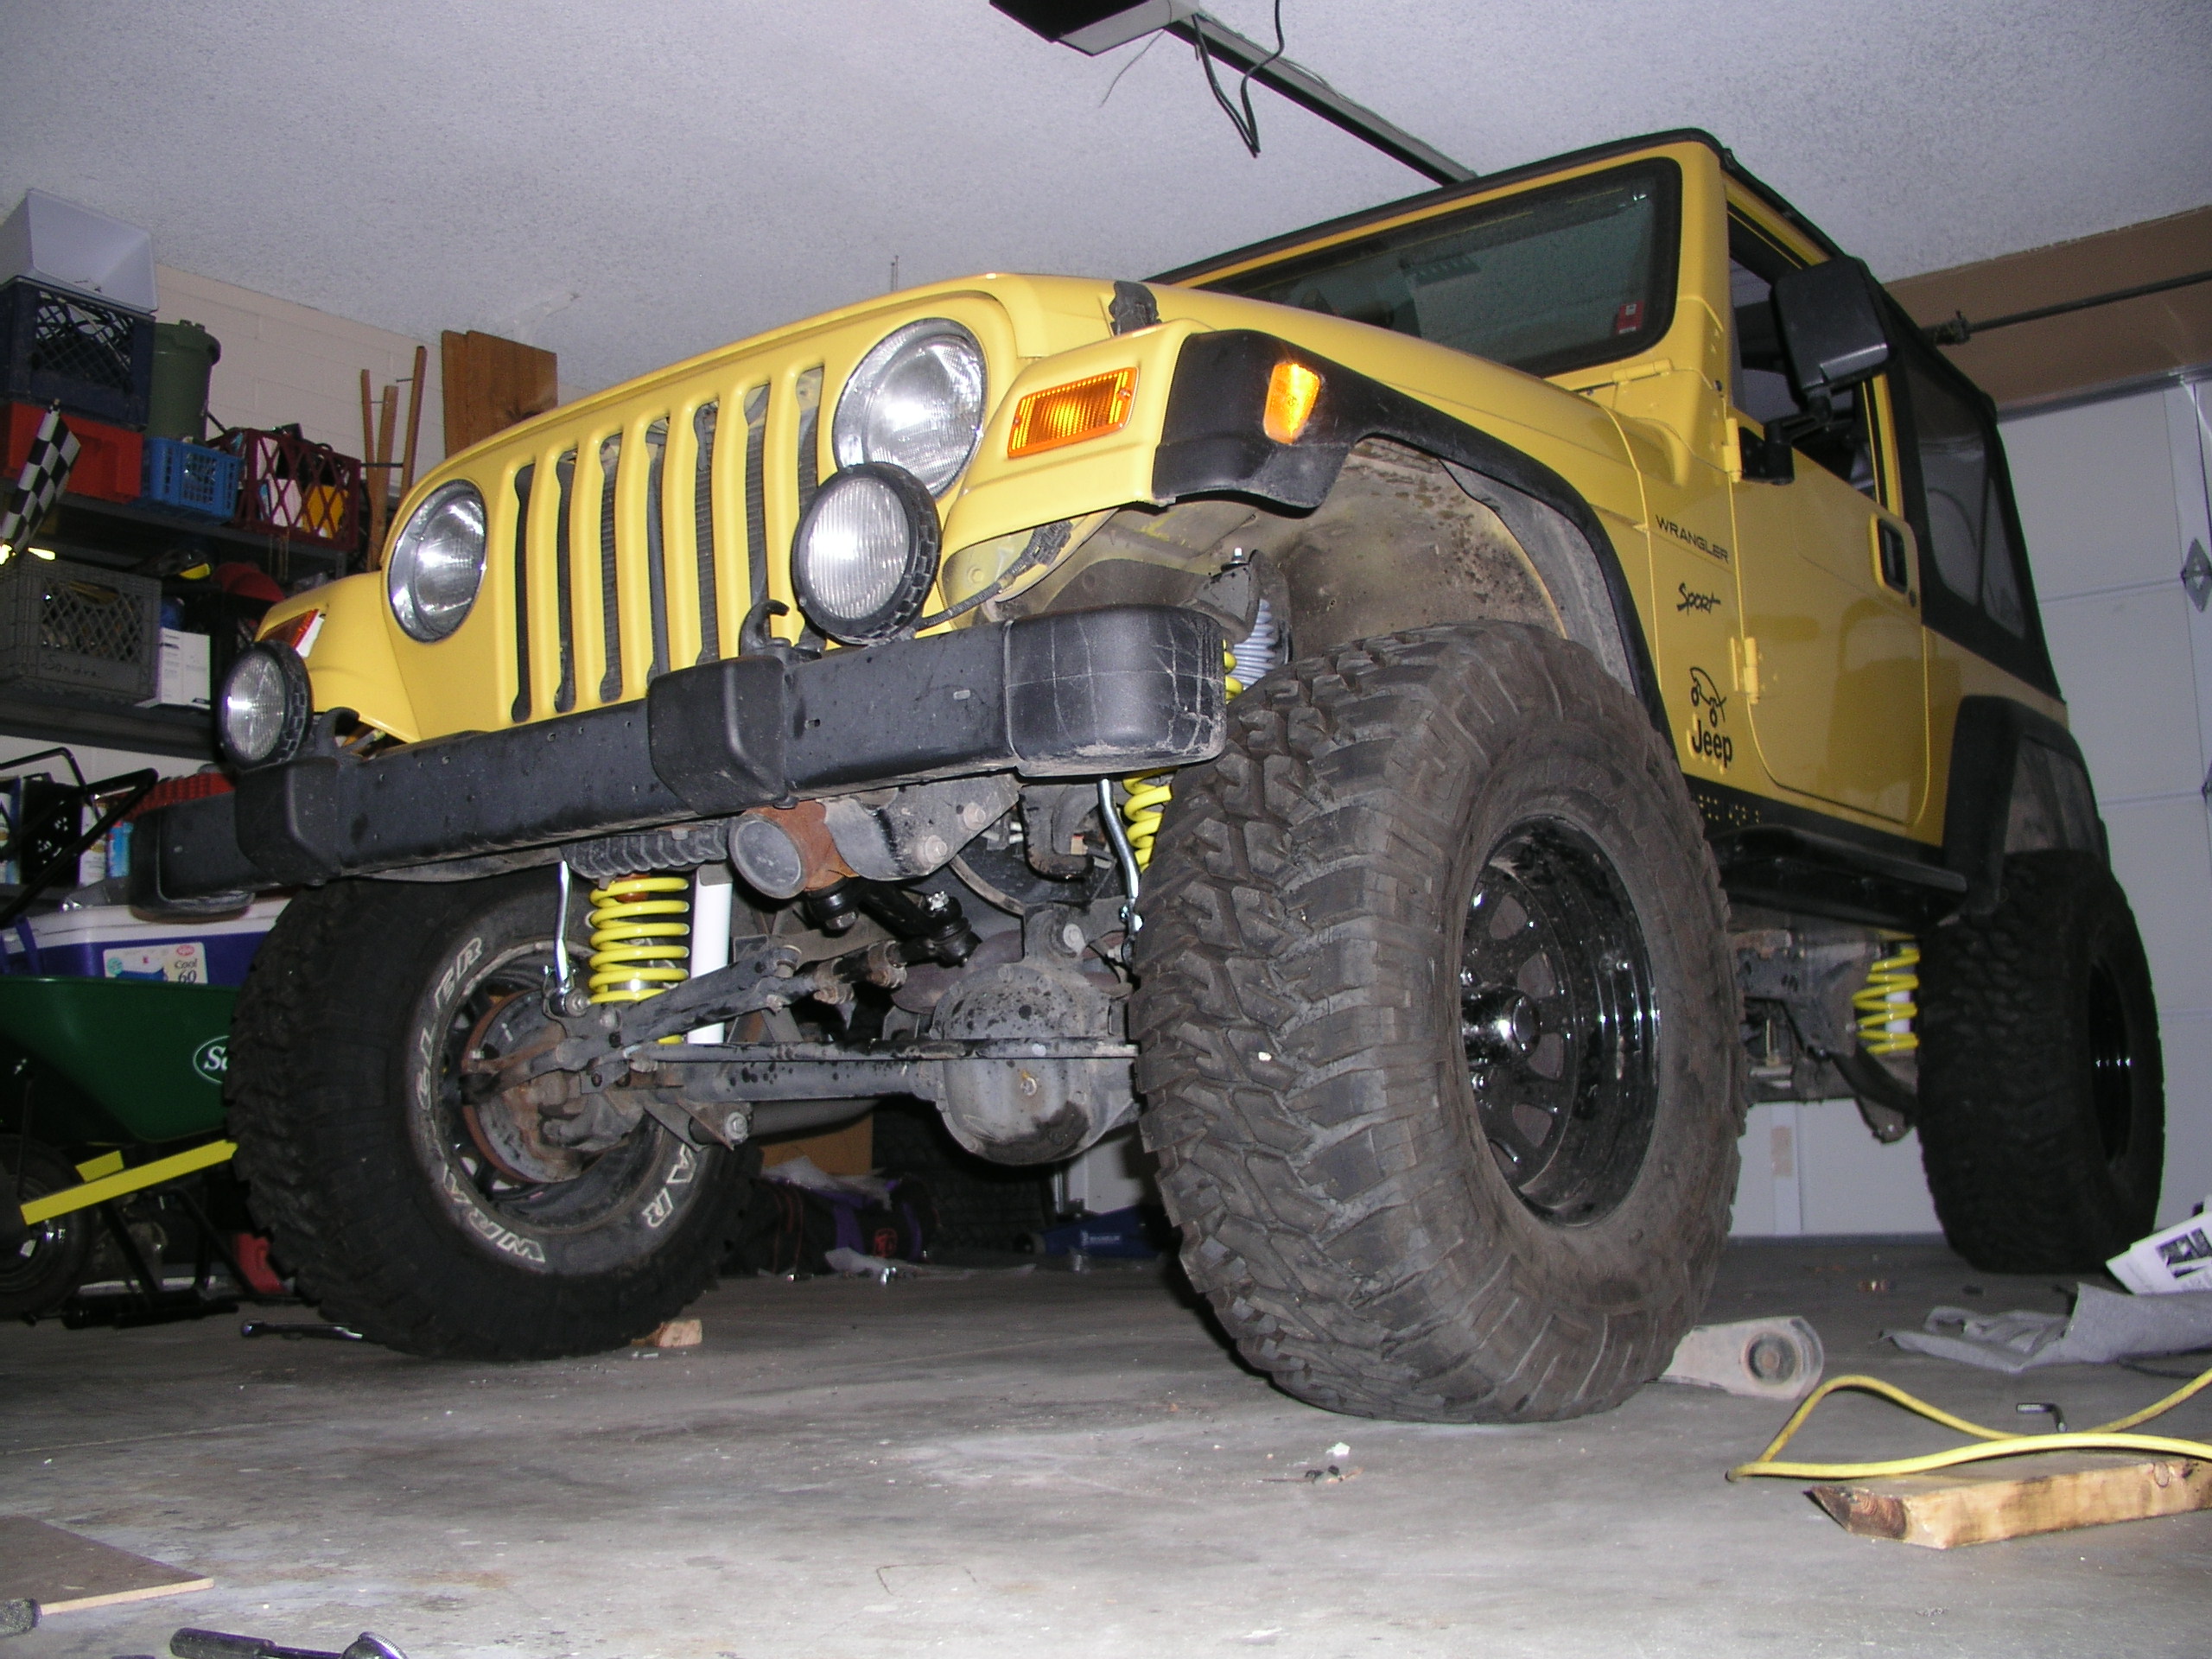
Wow, that went
fast! You're so close to being done! All that there is left is the
new track bar and bracketry for the front. Throw on the wheels, grab a
drink and admire your work and your "new" Jeep.

f


Full Traction Full-Traction 4" 4
inch suspension lift wrangler jeep tj install installation |