|
|
|||||||||||||
|
|
|||||||||||||
|
| ||
| ||
|
| ||
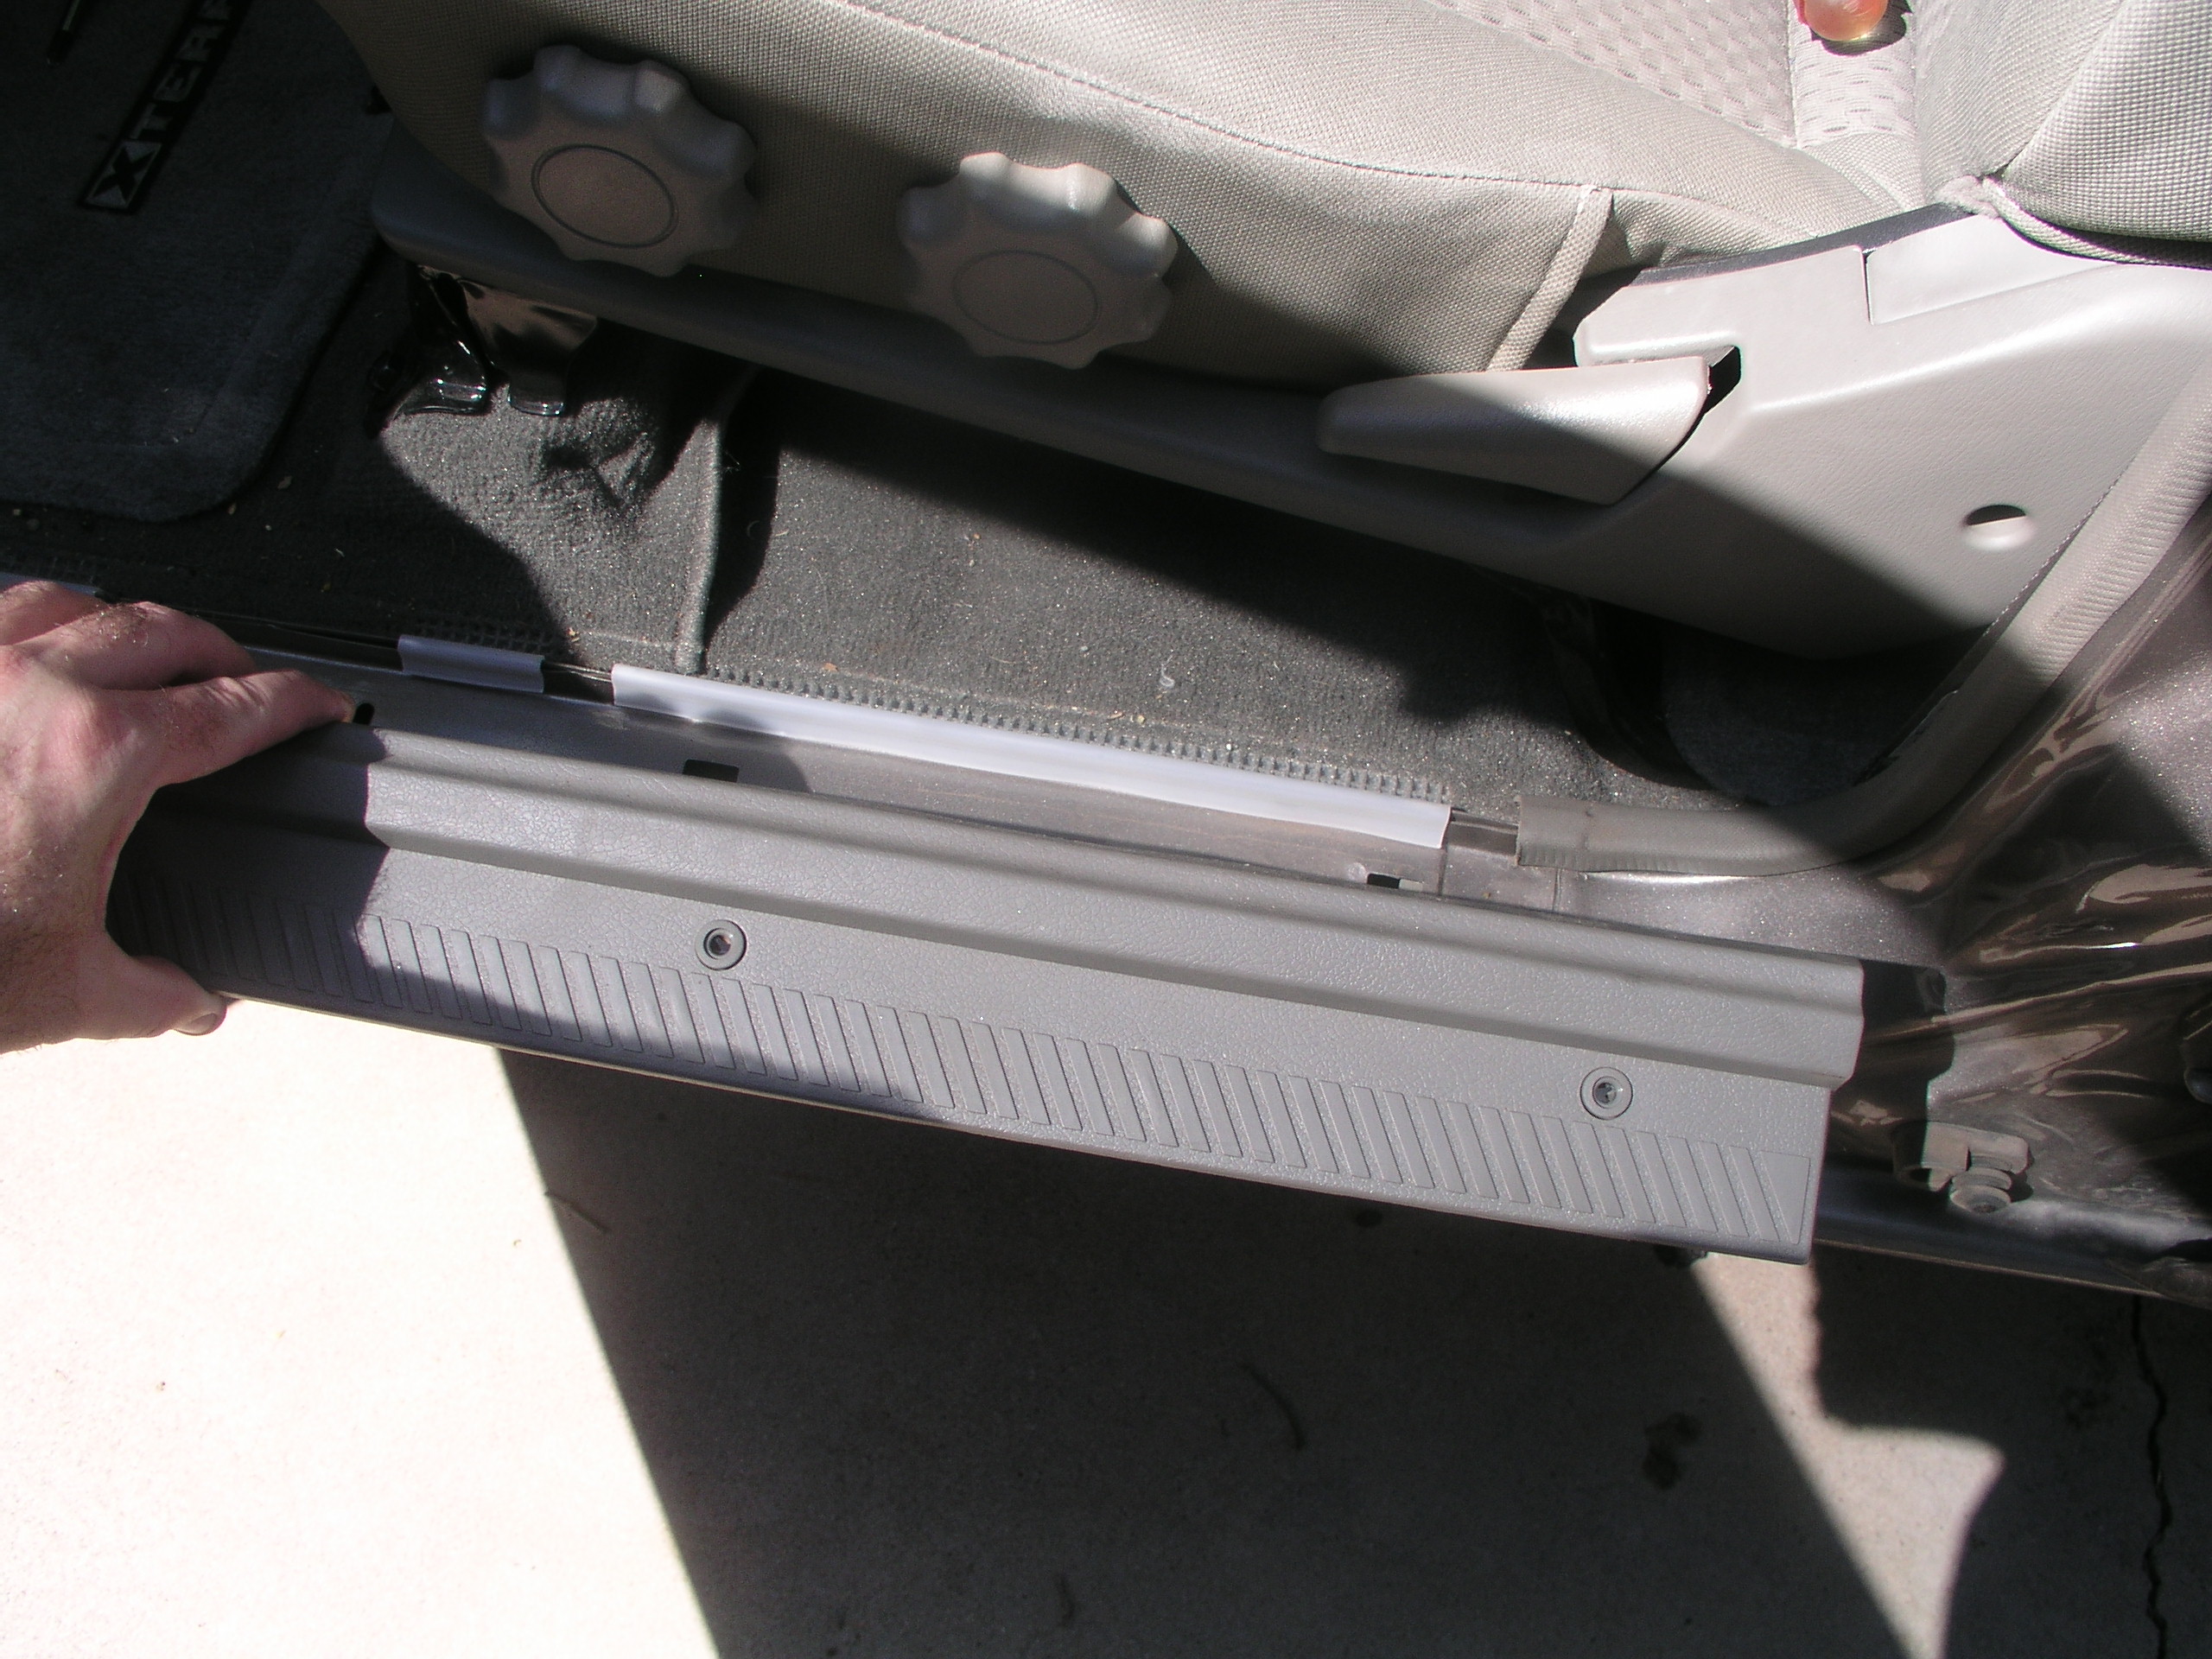
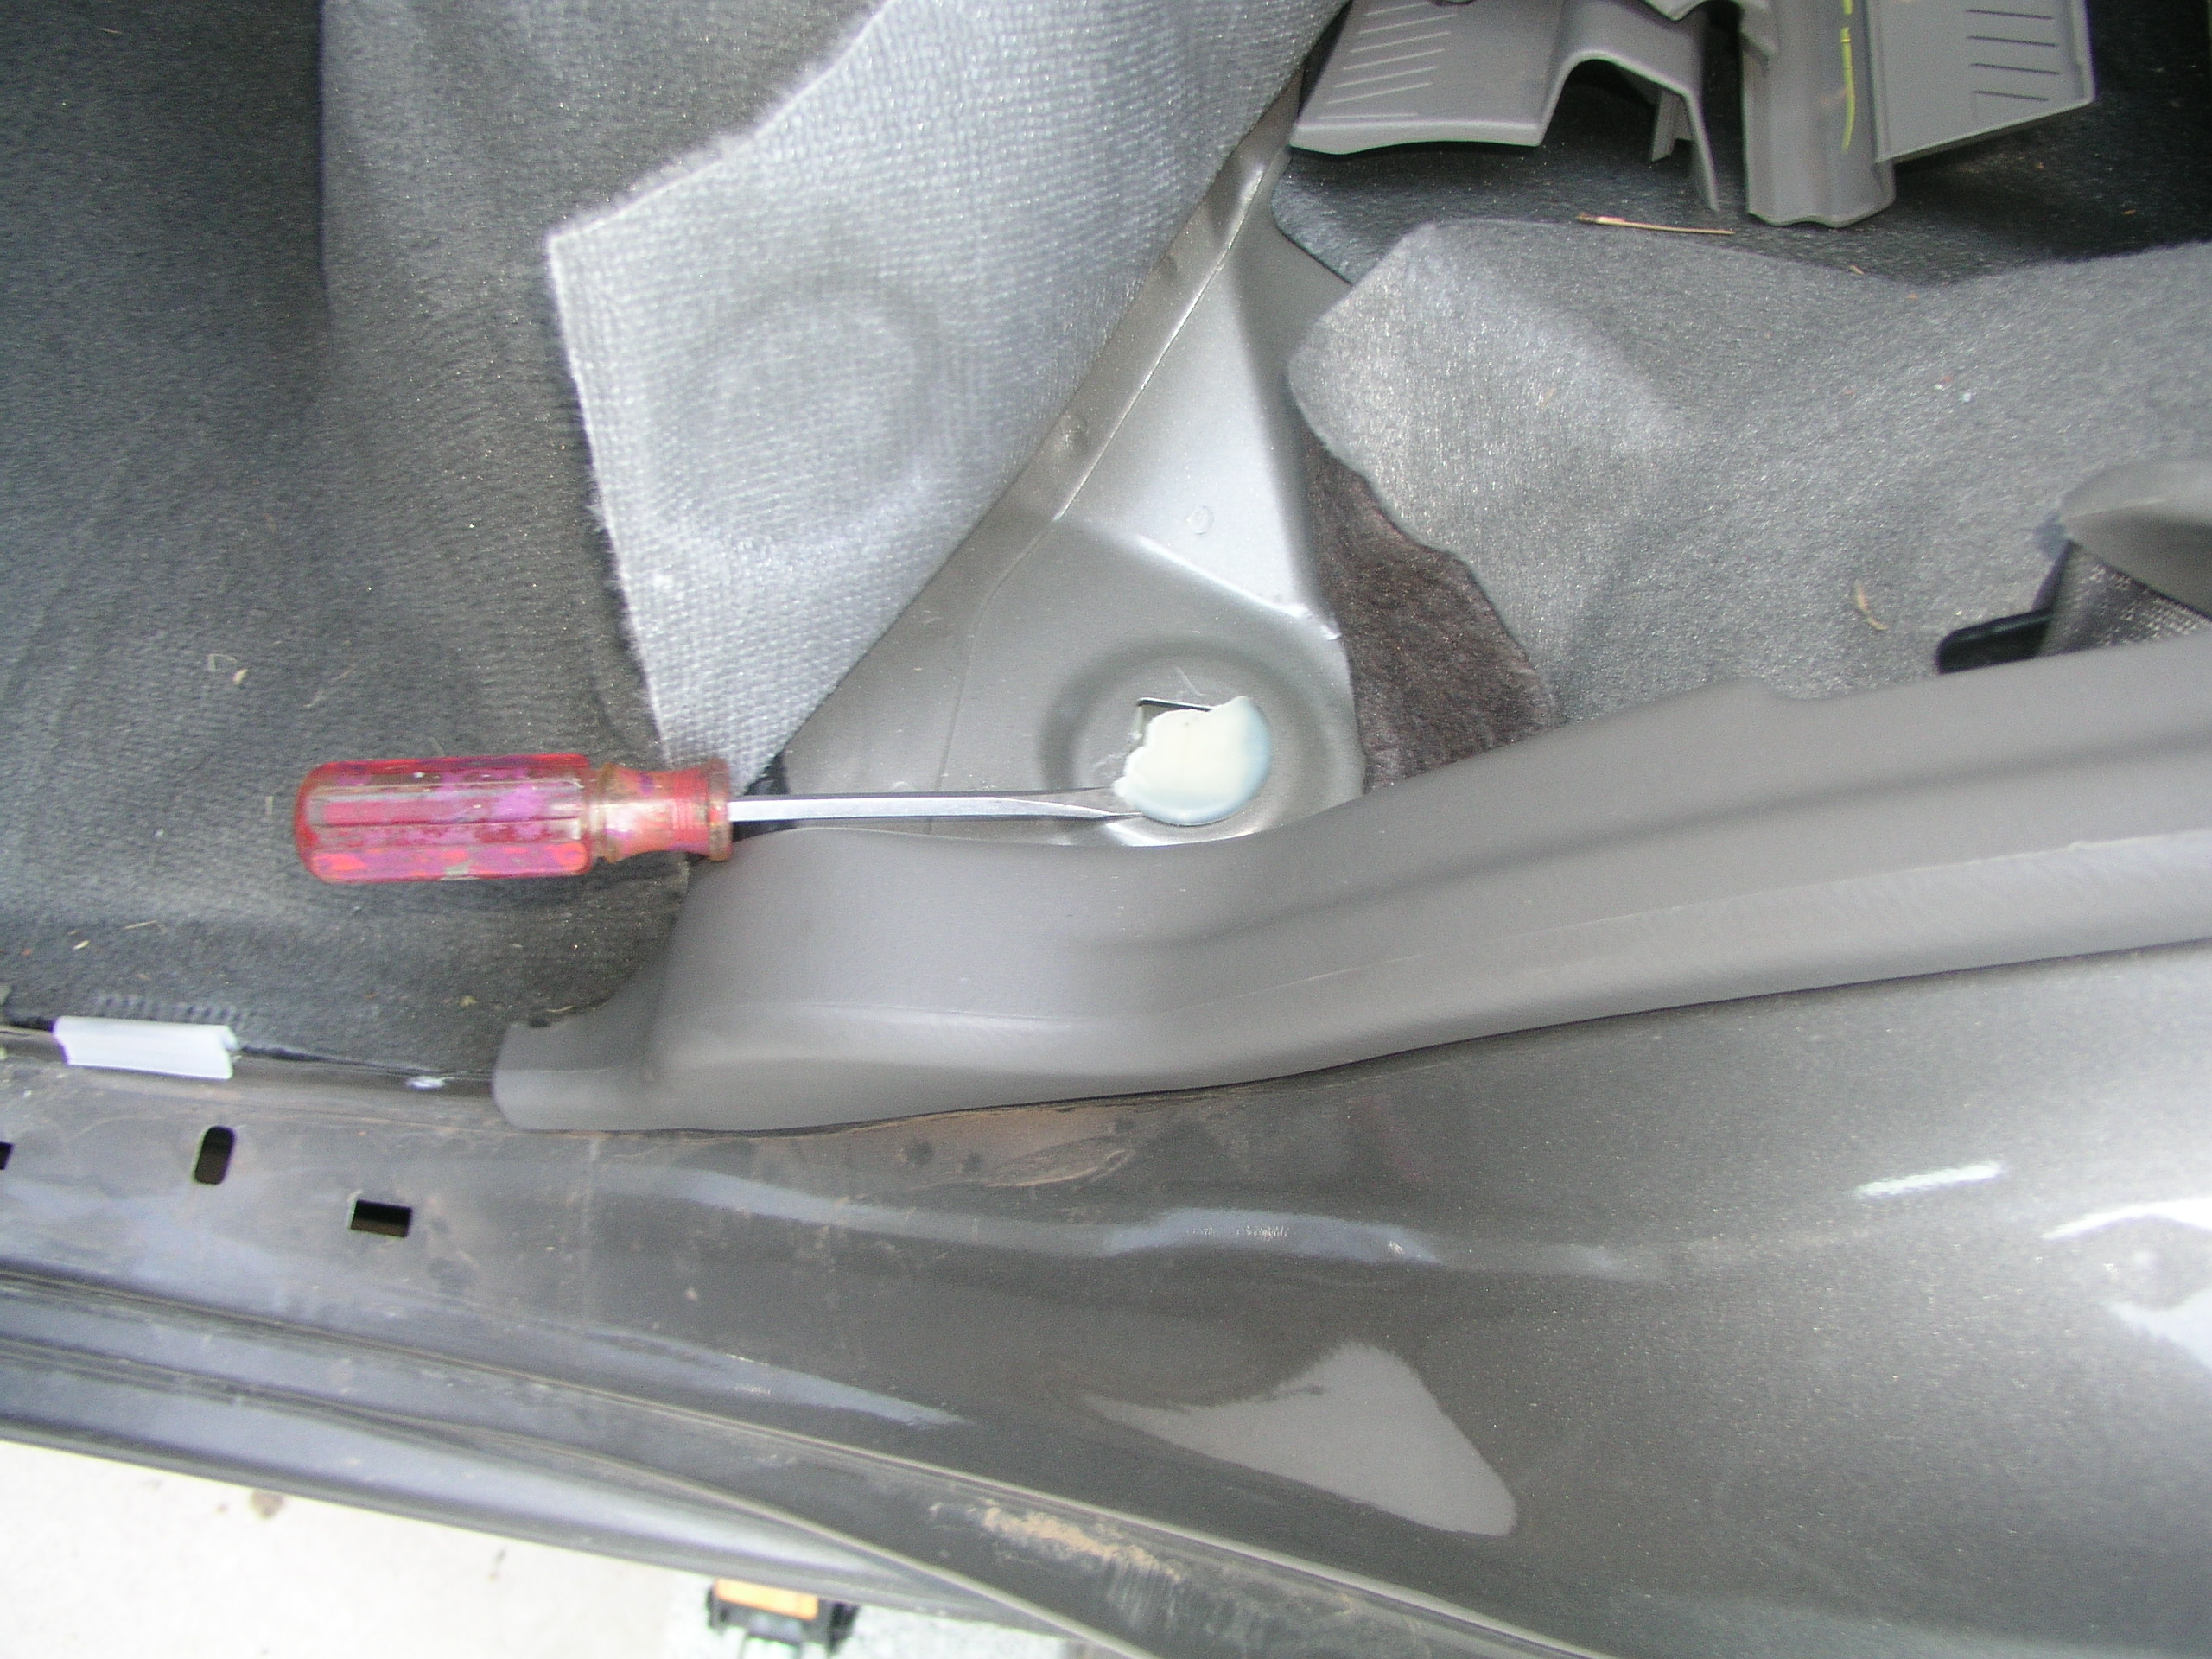
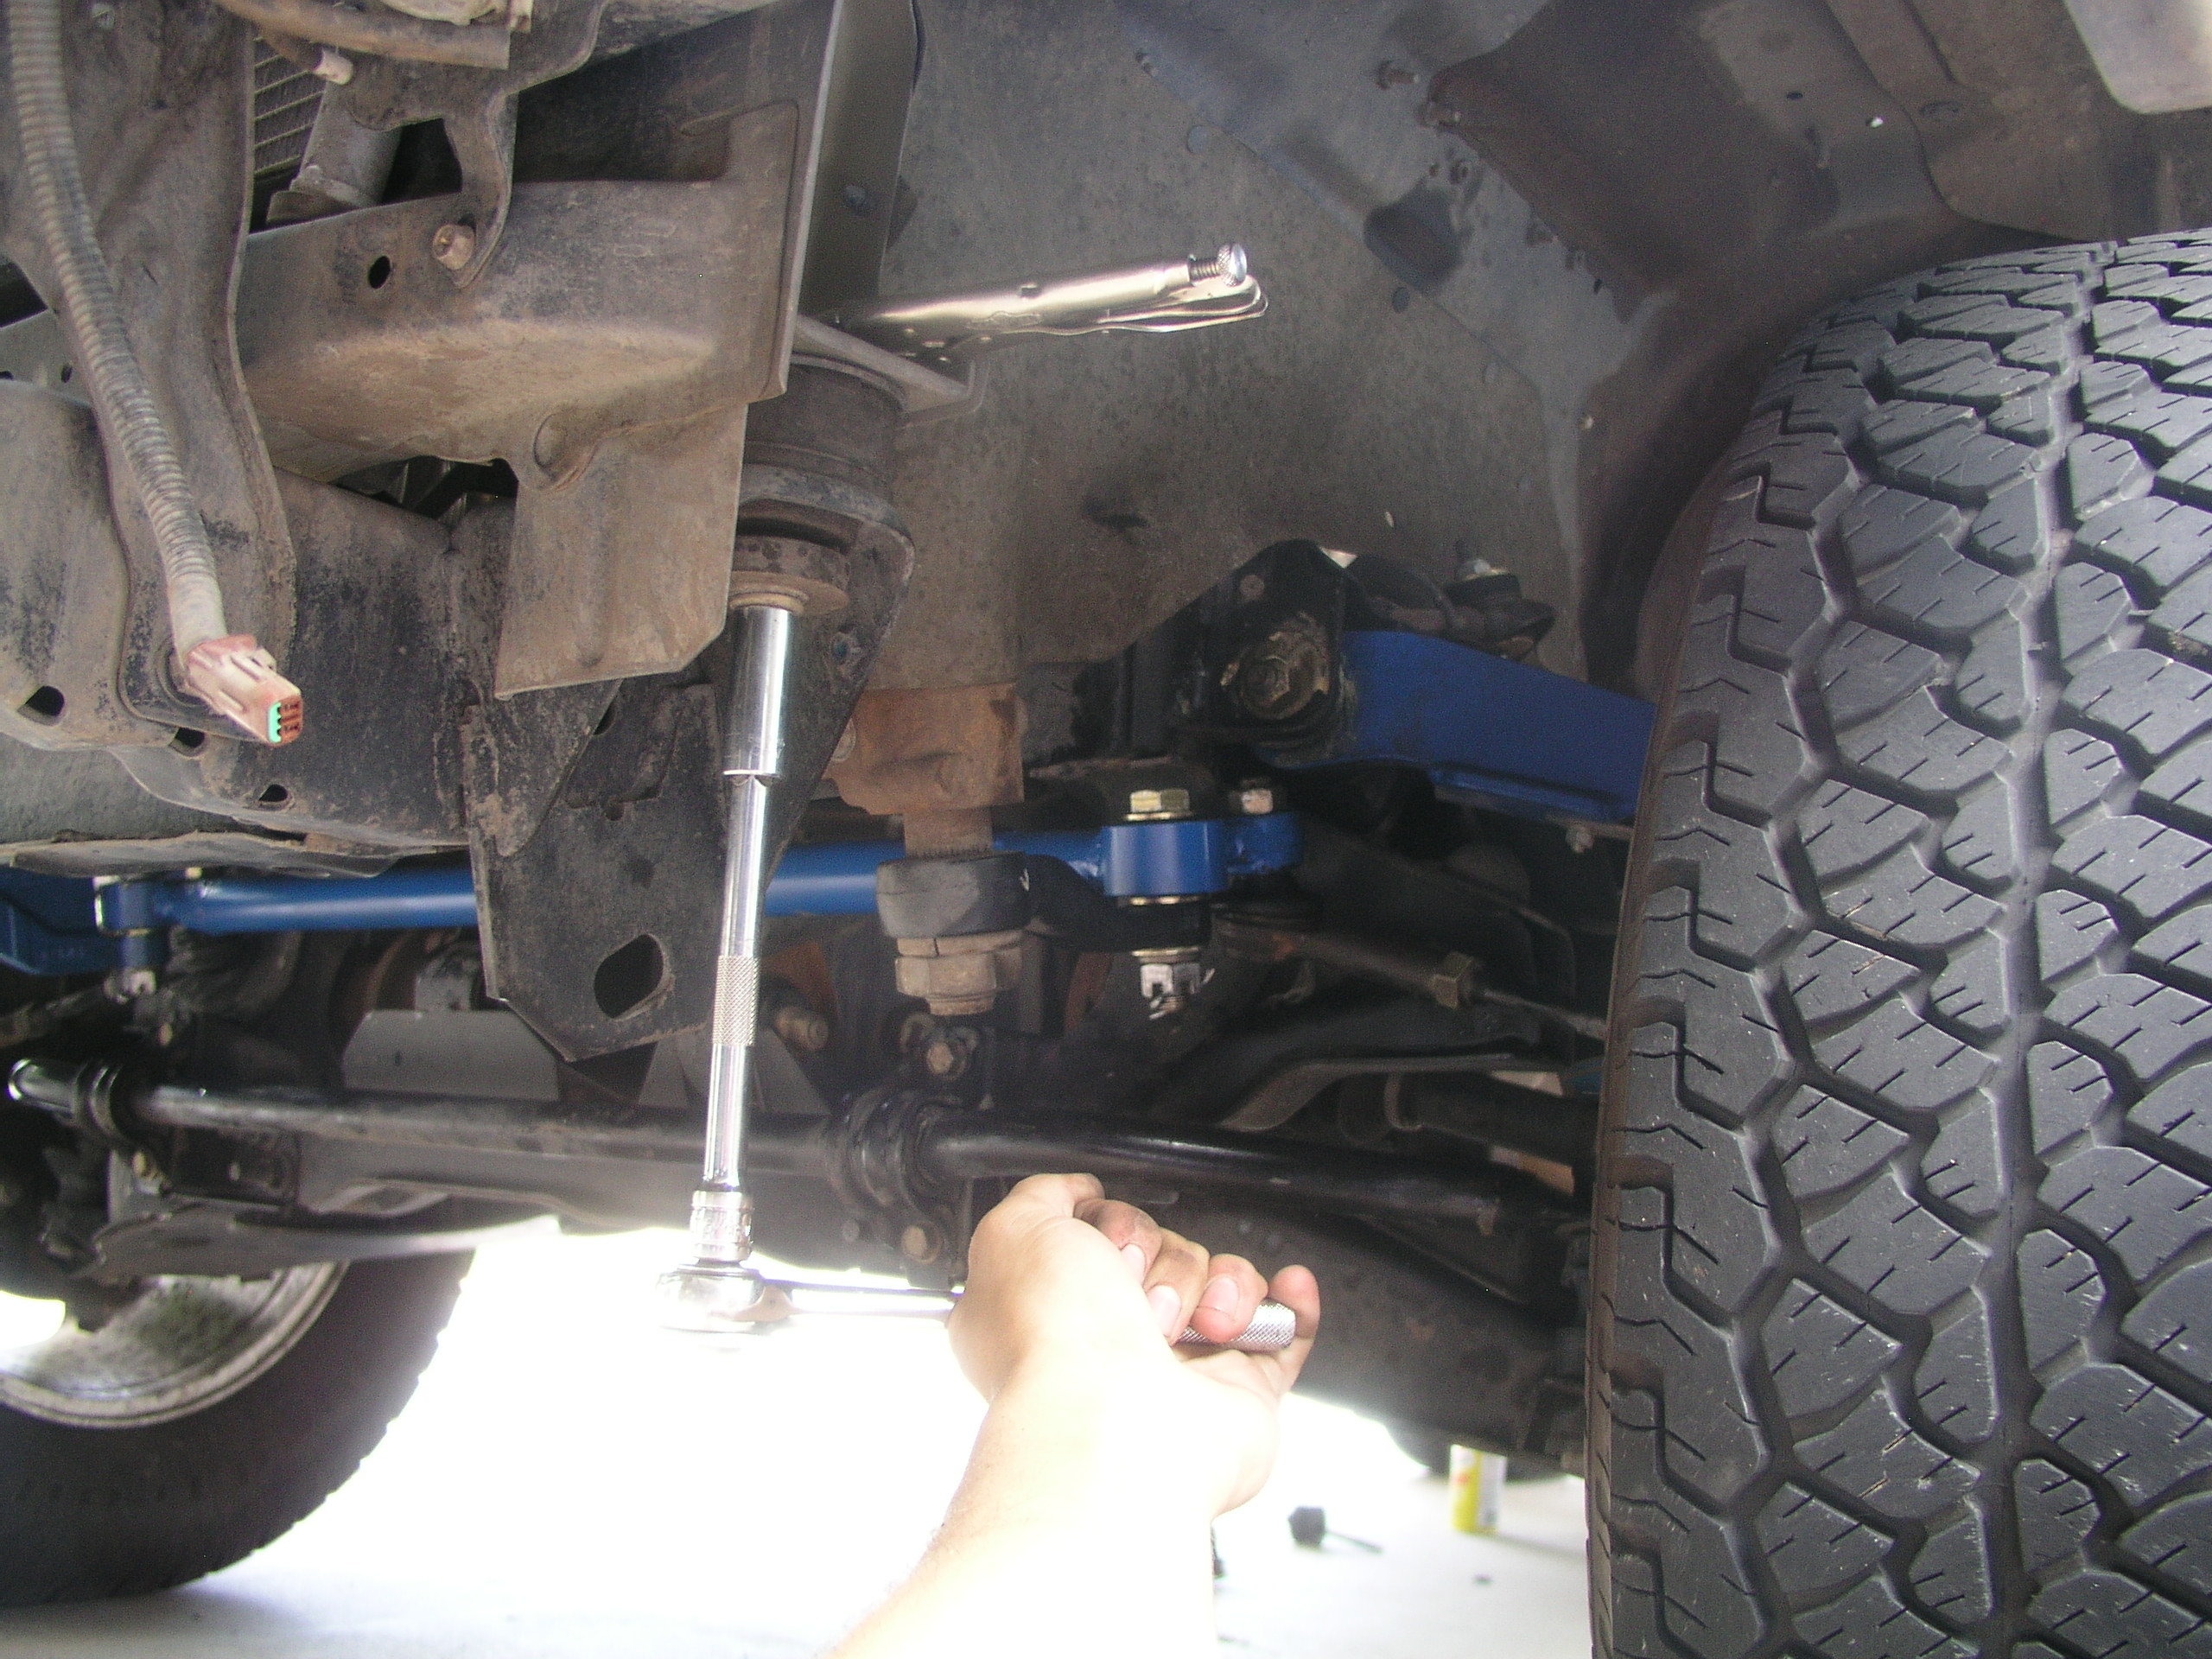
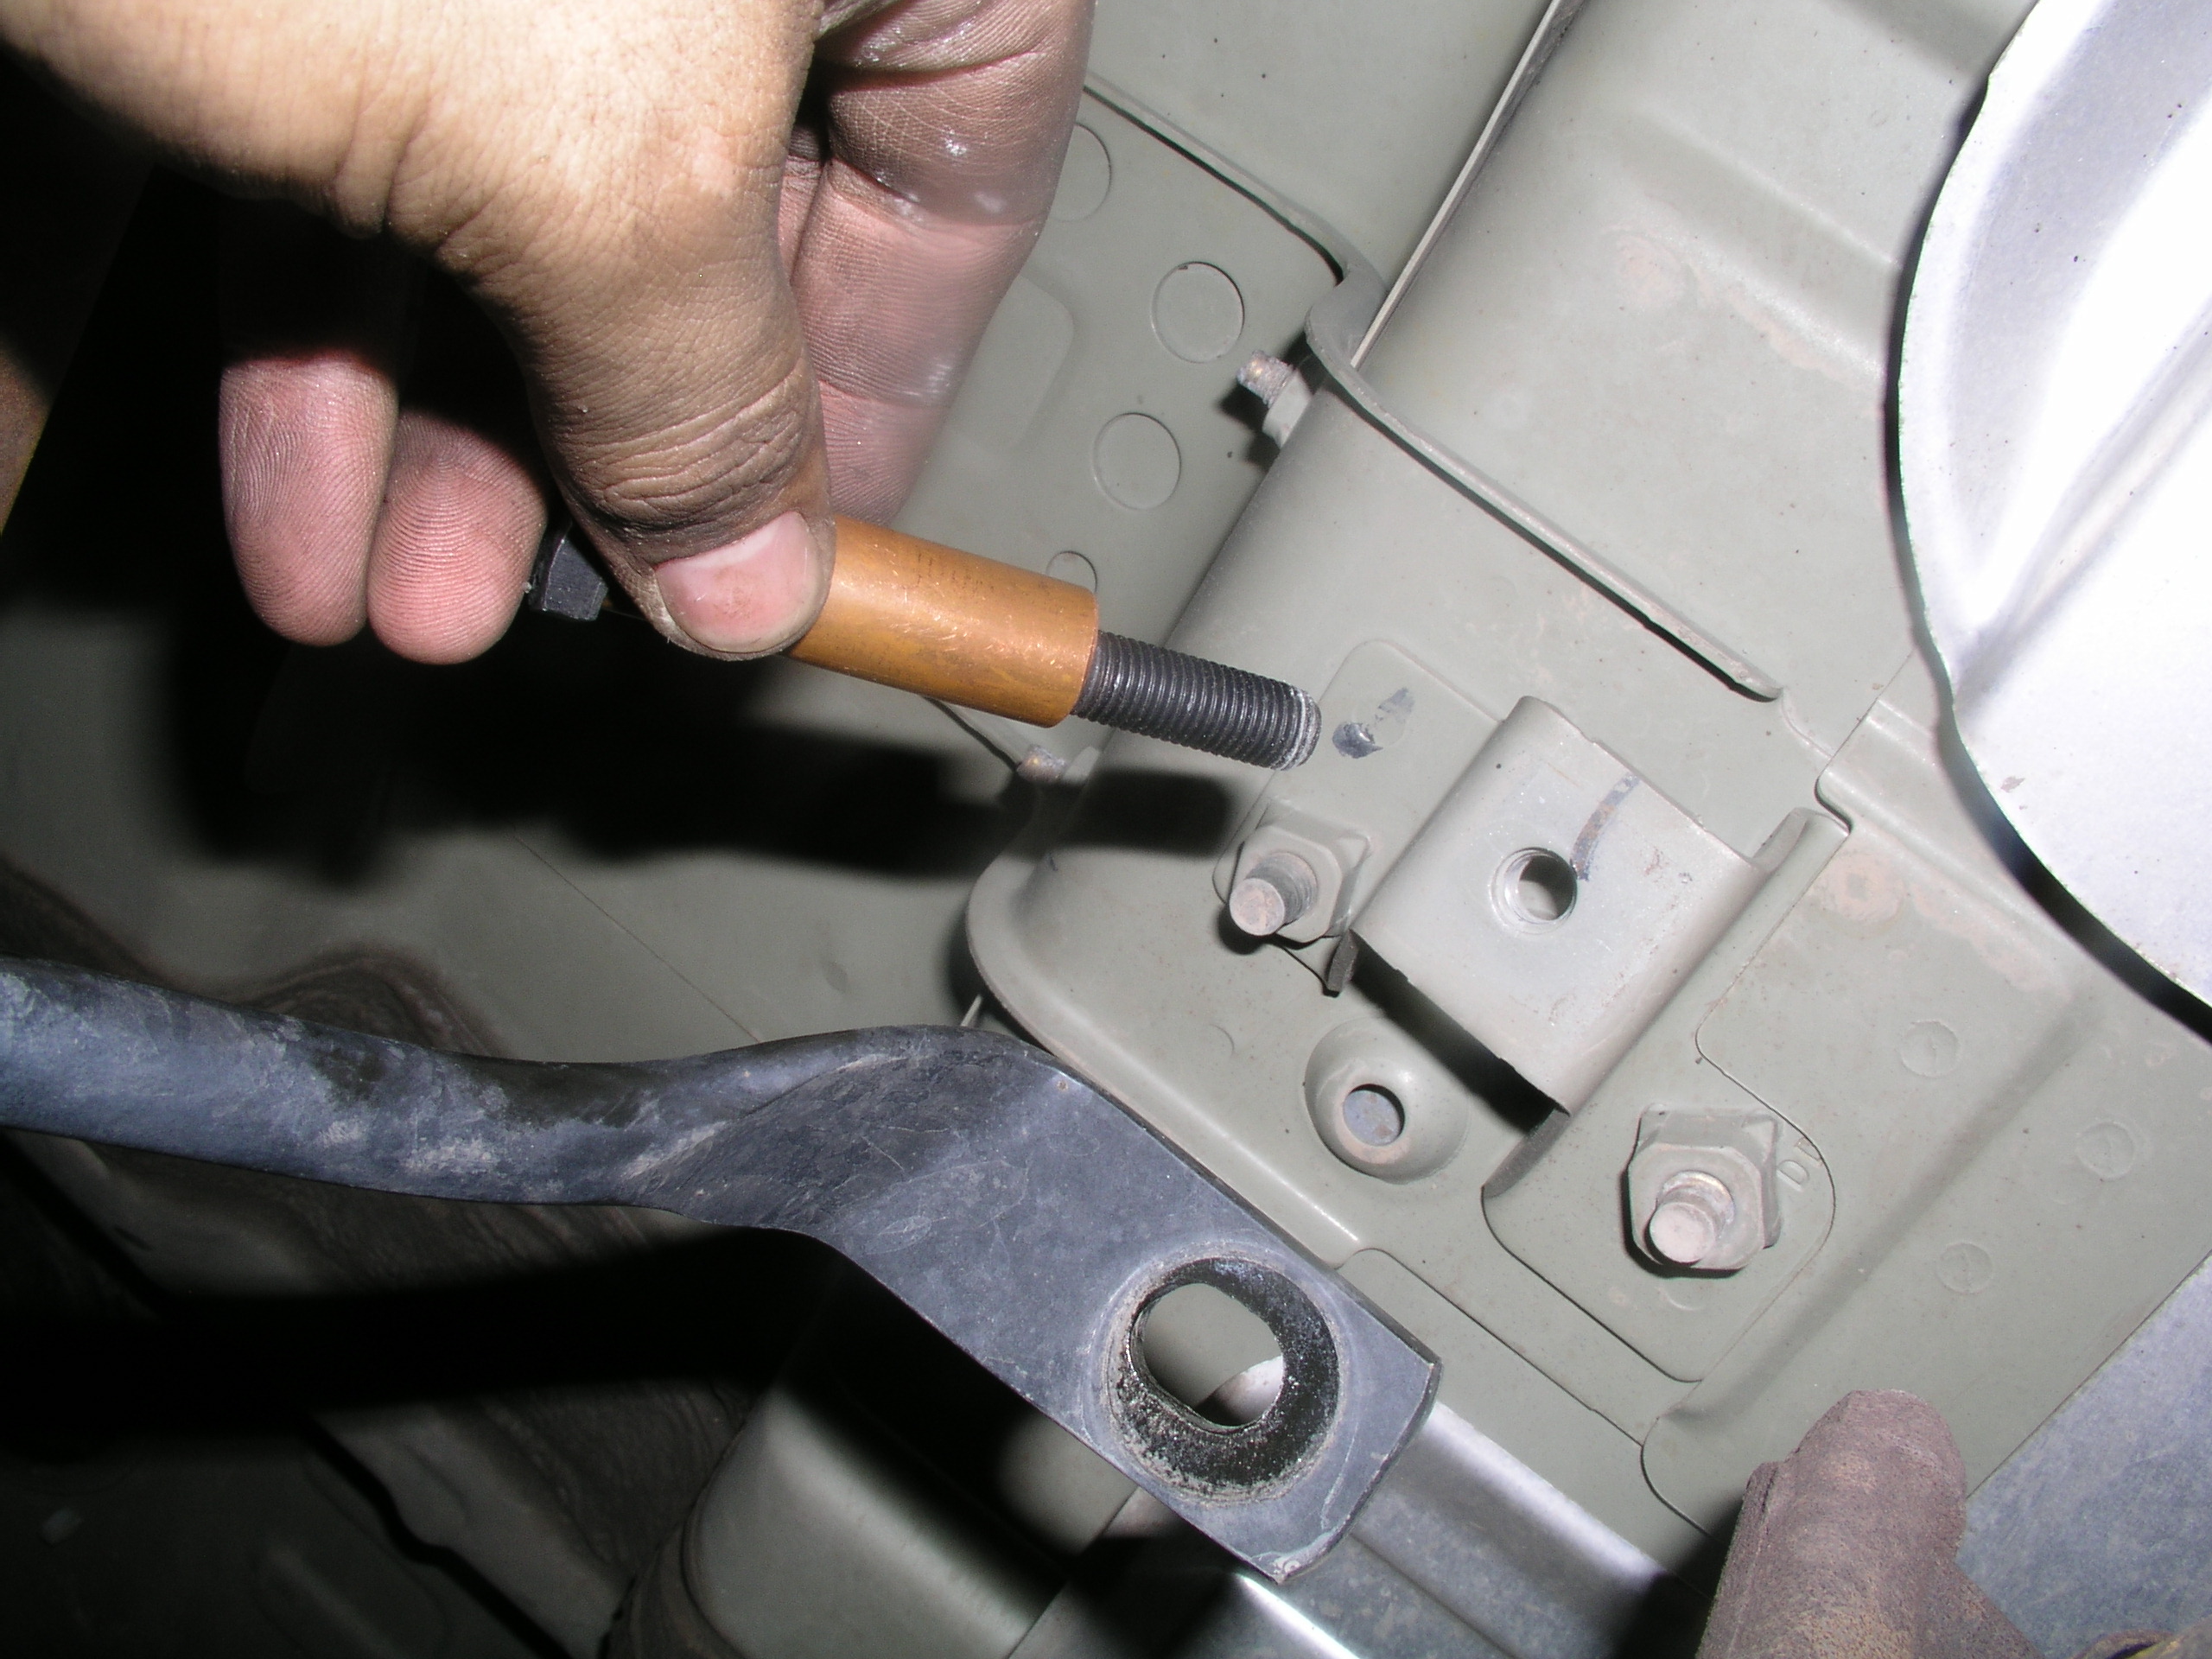
| 12. Another job you can direct your HM (Helper Monkey) to, is to remove the plastic door sills. You'll need these up so you can pull your carpet up a hair on each side. Once removed, if you peek under the carpet a few inches, you'll see what looks like a plastic drain plug. 4 of the 10 body bolts (one just inside of each door) are located underneath the plugs, and the plastic must be broken through to access them. 13. You'll be doing one side at a time so, after getting the hidden bolts out, remove front, then middle and rear body mount bolts from underneath. I went ahead and loosened all of the other side's body bolts as well so as not to put to much strain side-to-side. 14. Lifting time! Assemble all your "hockey pucks" and grab all the longest bolts and the washers included in the hardware pack. Thankfully another thing Tony over on XOC included in his instructions was a list of which bolt was which:
With the lifting, it was easier to pull out Steve's Nissan jack and mine rather than to use the prescribed method of using one hydraulic jack and a piece of channeled wood. We went synchronized on the lift and twirled our jacks atop concrete blocks along at a medium pace. The jacks are already set up for the existing lip of the body and spread out the full side weight better and there's no worry of splintering wood. While the ups were happening, we made sure to listen and look for any binding issues, but there were none (besides that aforementioned bumper screw). We twirled tandem until one of the new 2" pucks could slide easily between the body and the existing mounts, then went to town with the new assemblages. We left the bolts loose again until we rinse repeated on the other side. On the other side we completed removing the bolts and nuts and went to town evening out the now leaning X. The pucks and hardware went in just as easy on the second side and we removed the jacks and tightened it all up. 15. Now you get to go through the fun process of reattaching everything you took off. Just take the steps backwards until you just have a few bolts left that you are clueless about like usual. 16. Included in the useful pieces AC provides, you'll find two 2" copper tubes. Along with the remaining 2 short black bolts, these parts allow your safety loop to be elongated. Just put the bolt in the loop, then the tube and re-bolt it to the floorboard. 17. There are also a couple oval shaped pieces of flat metal in your kit. I can tell you that they are for lowering the steering reservoir, but have fun figuring out exactly how they were intended to be used. We simply enlarged the existing mount holes and used two of the nutted bolts in the kit to tie in the new bracket thingies to make a lower slide for the res. 18. Now that I spent most of X funds, but I had a front bumper coming in, I vouched to not mess with the front, but since a rear tire carrier bumper would be a long way off, I wanted to get the rear bumper off the ground and at least look normal. Most people find just redrilling a couple holes on the front and rear bumps solves the gap problem, but I went even more simple. The back that has three mount holes can actually be lifted up to a position where one of the lower bumper holes can line up with the upper frame hole. I went this route, then tied it all into the frame better by reusing the hitch mounts, giving me a total of 3 bolts per side. The bumper bolt will need a new nut, or if you're without your trusty bucket of bolts, you can do what I did and cut the old nut welded bracket to your liking. |
|
|
|
|
|
|
|
|