|
|
|||||||||||||
|
|
|||||||||||||
|
| ||
| ||
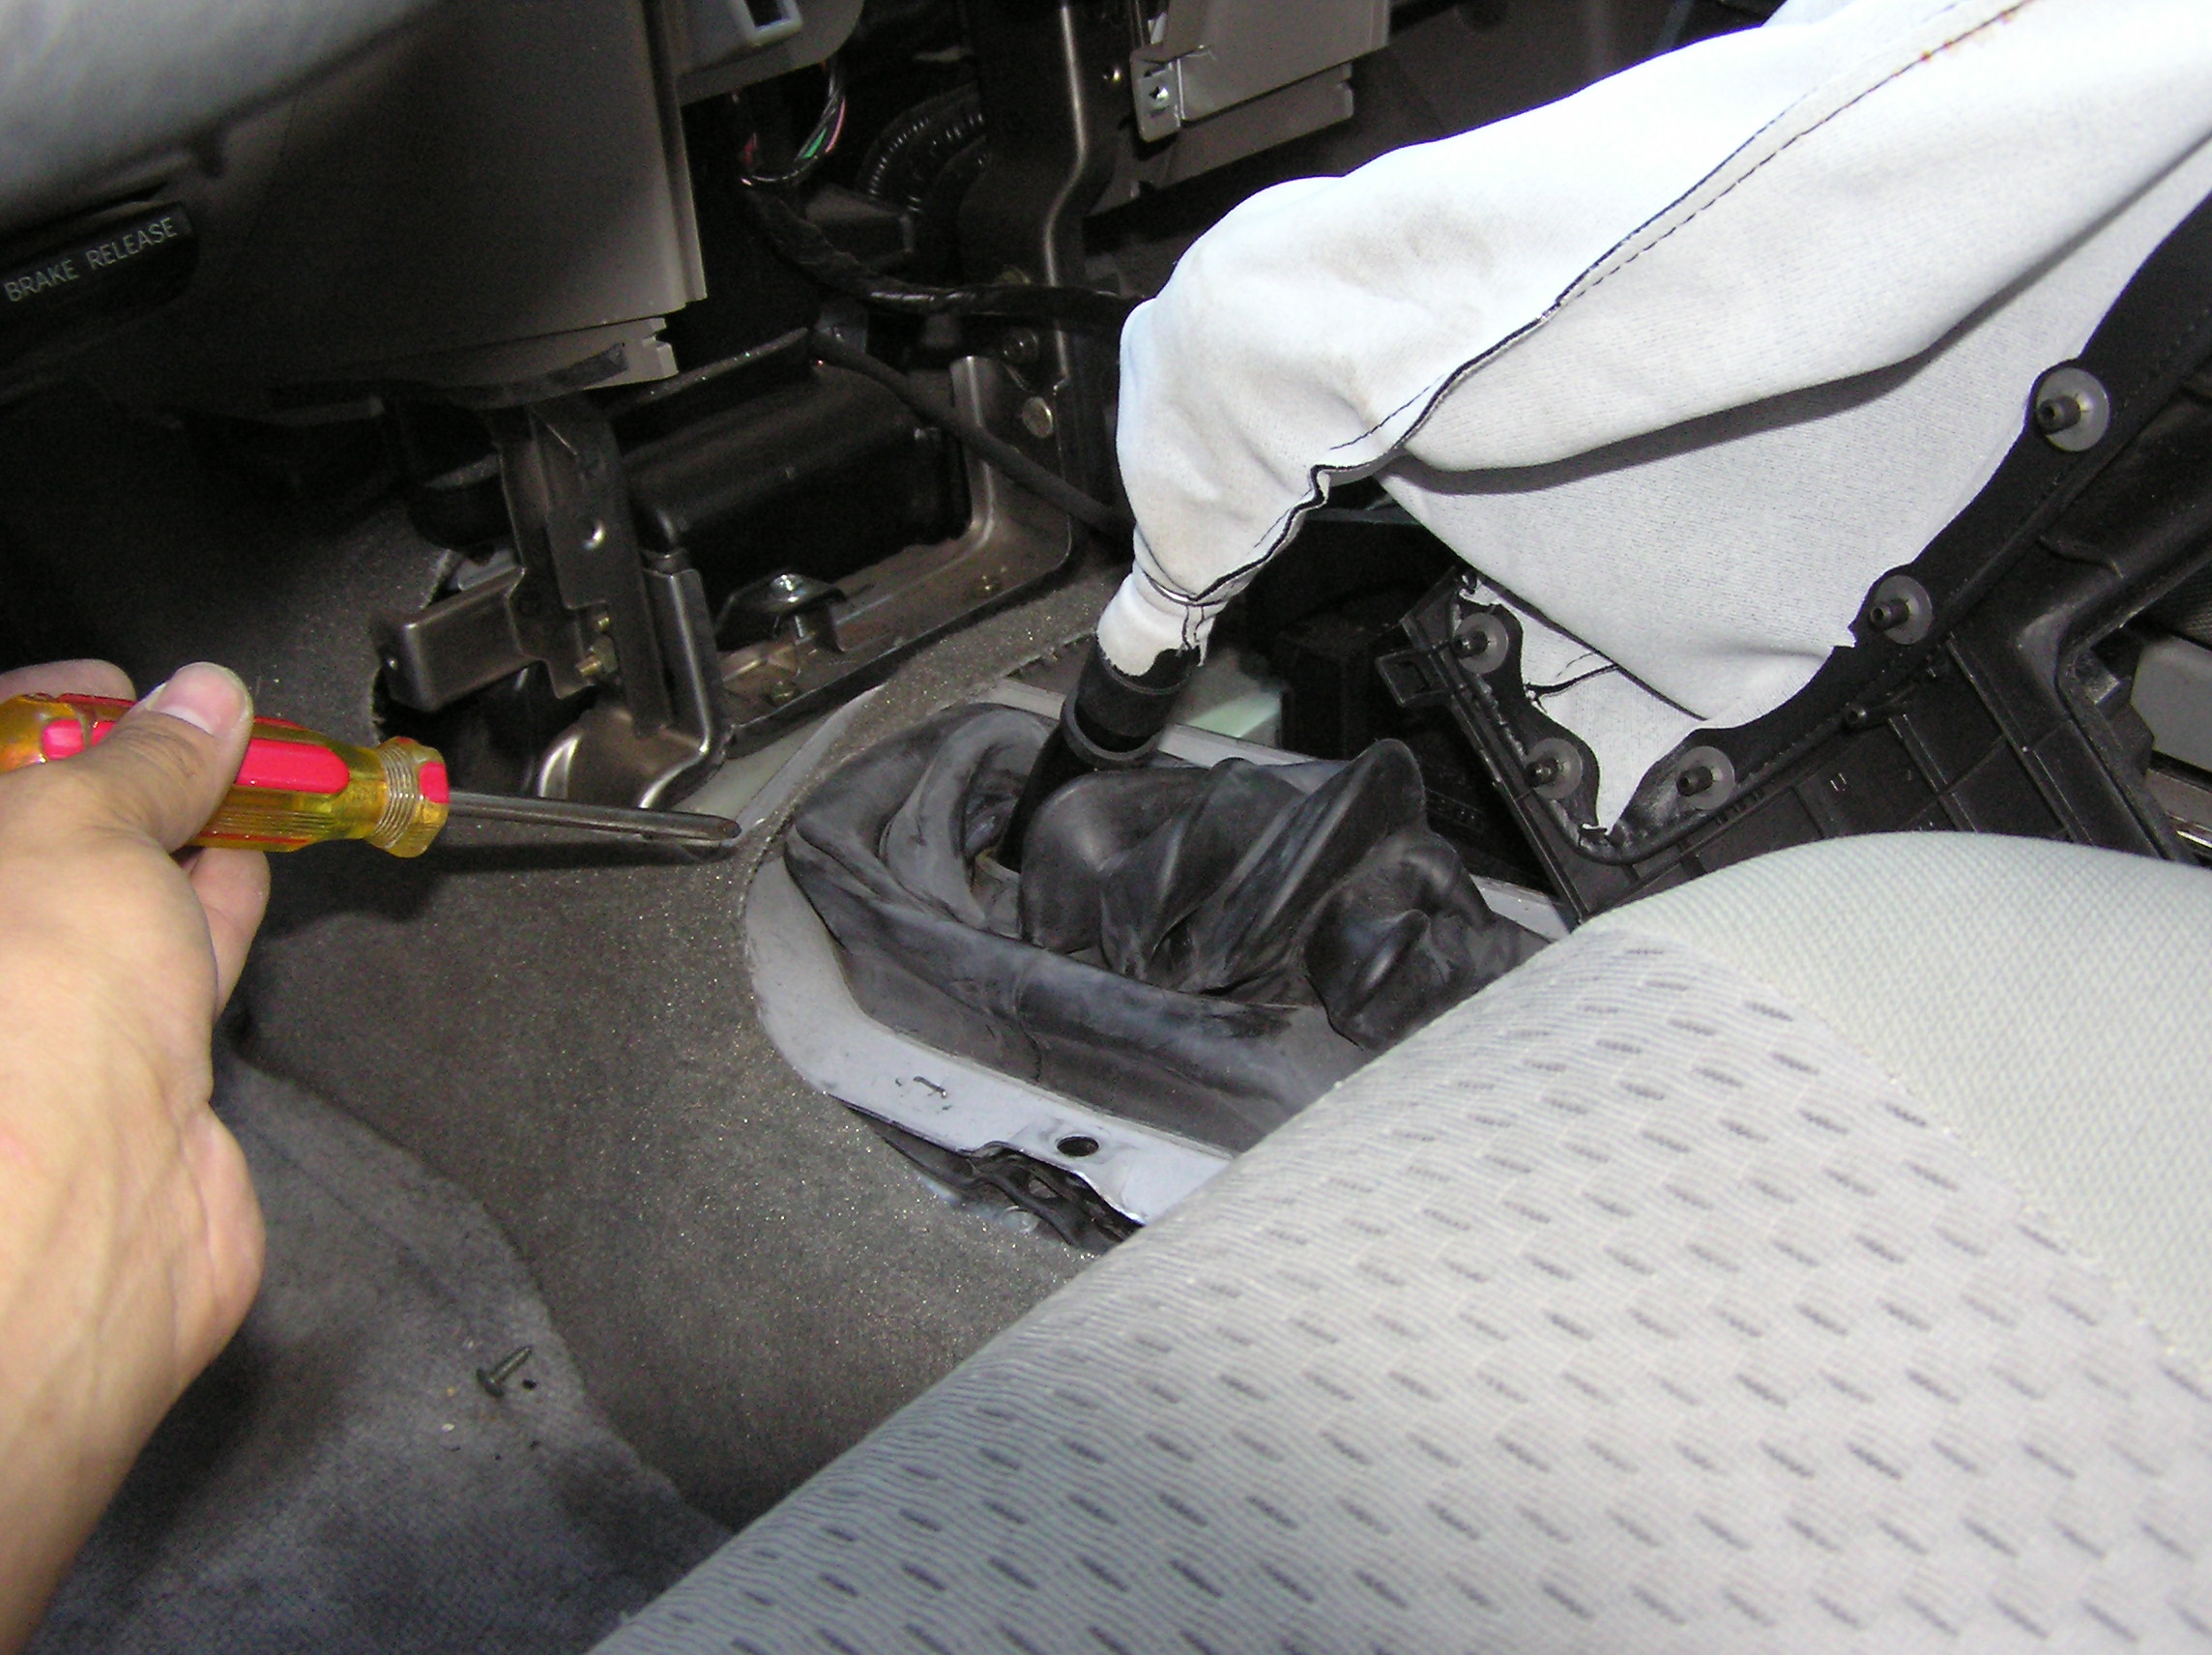
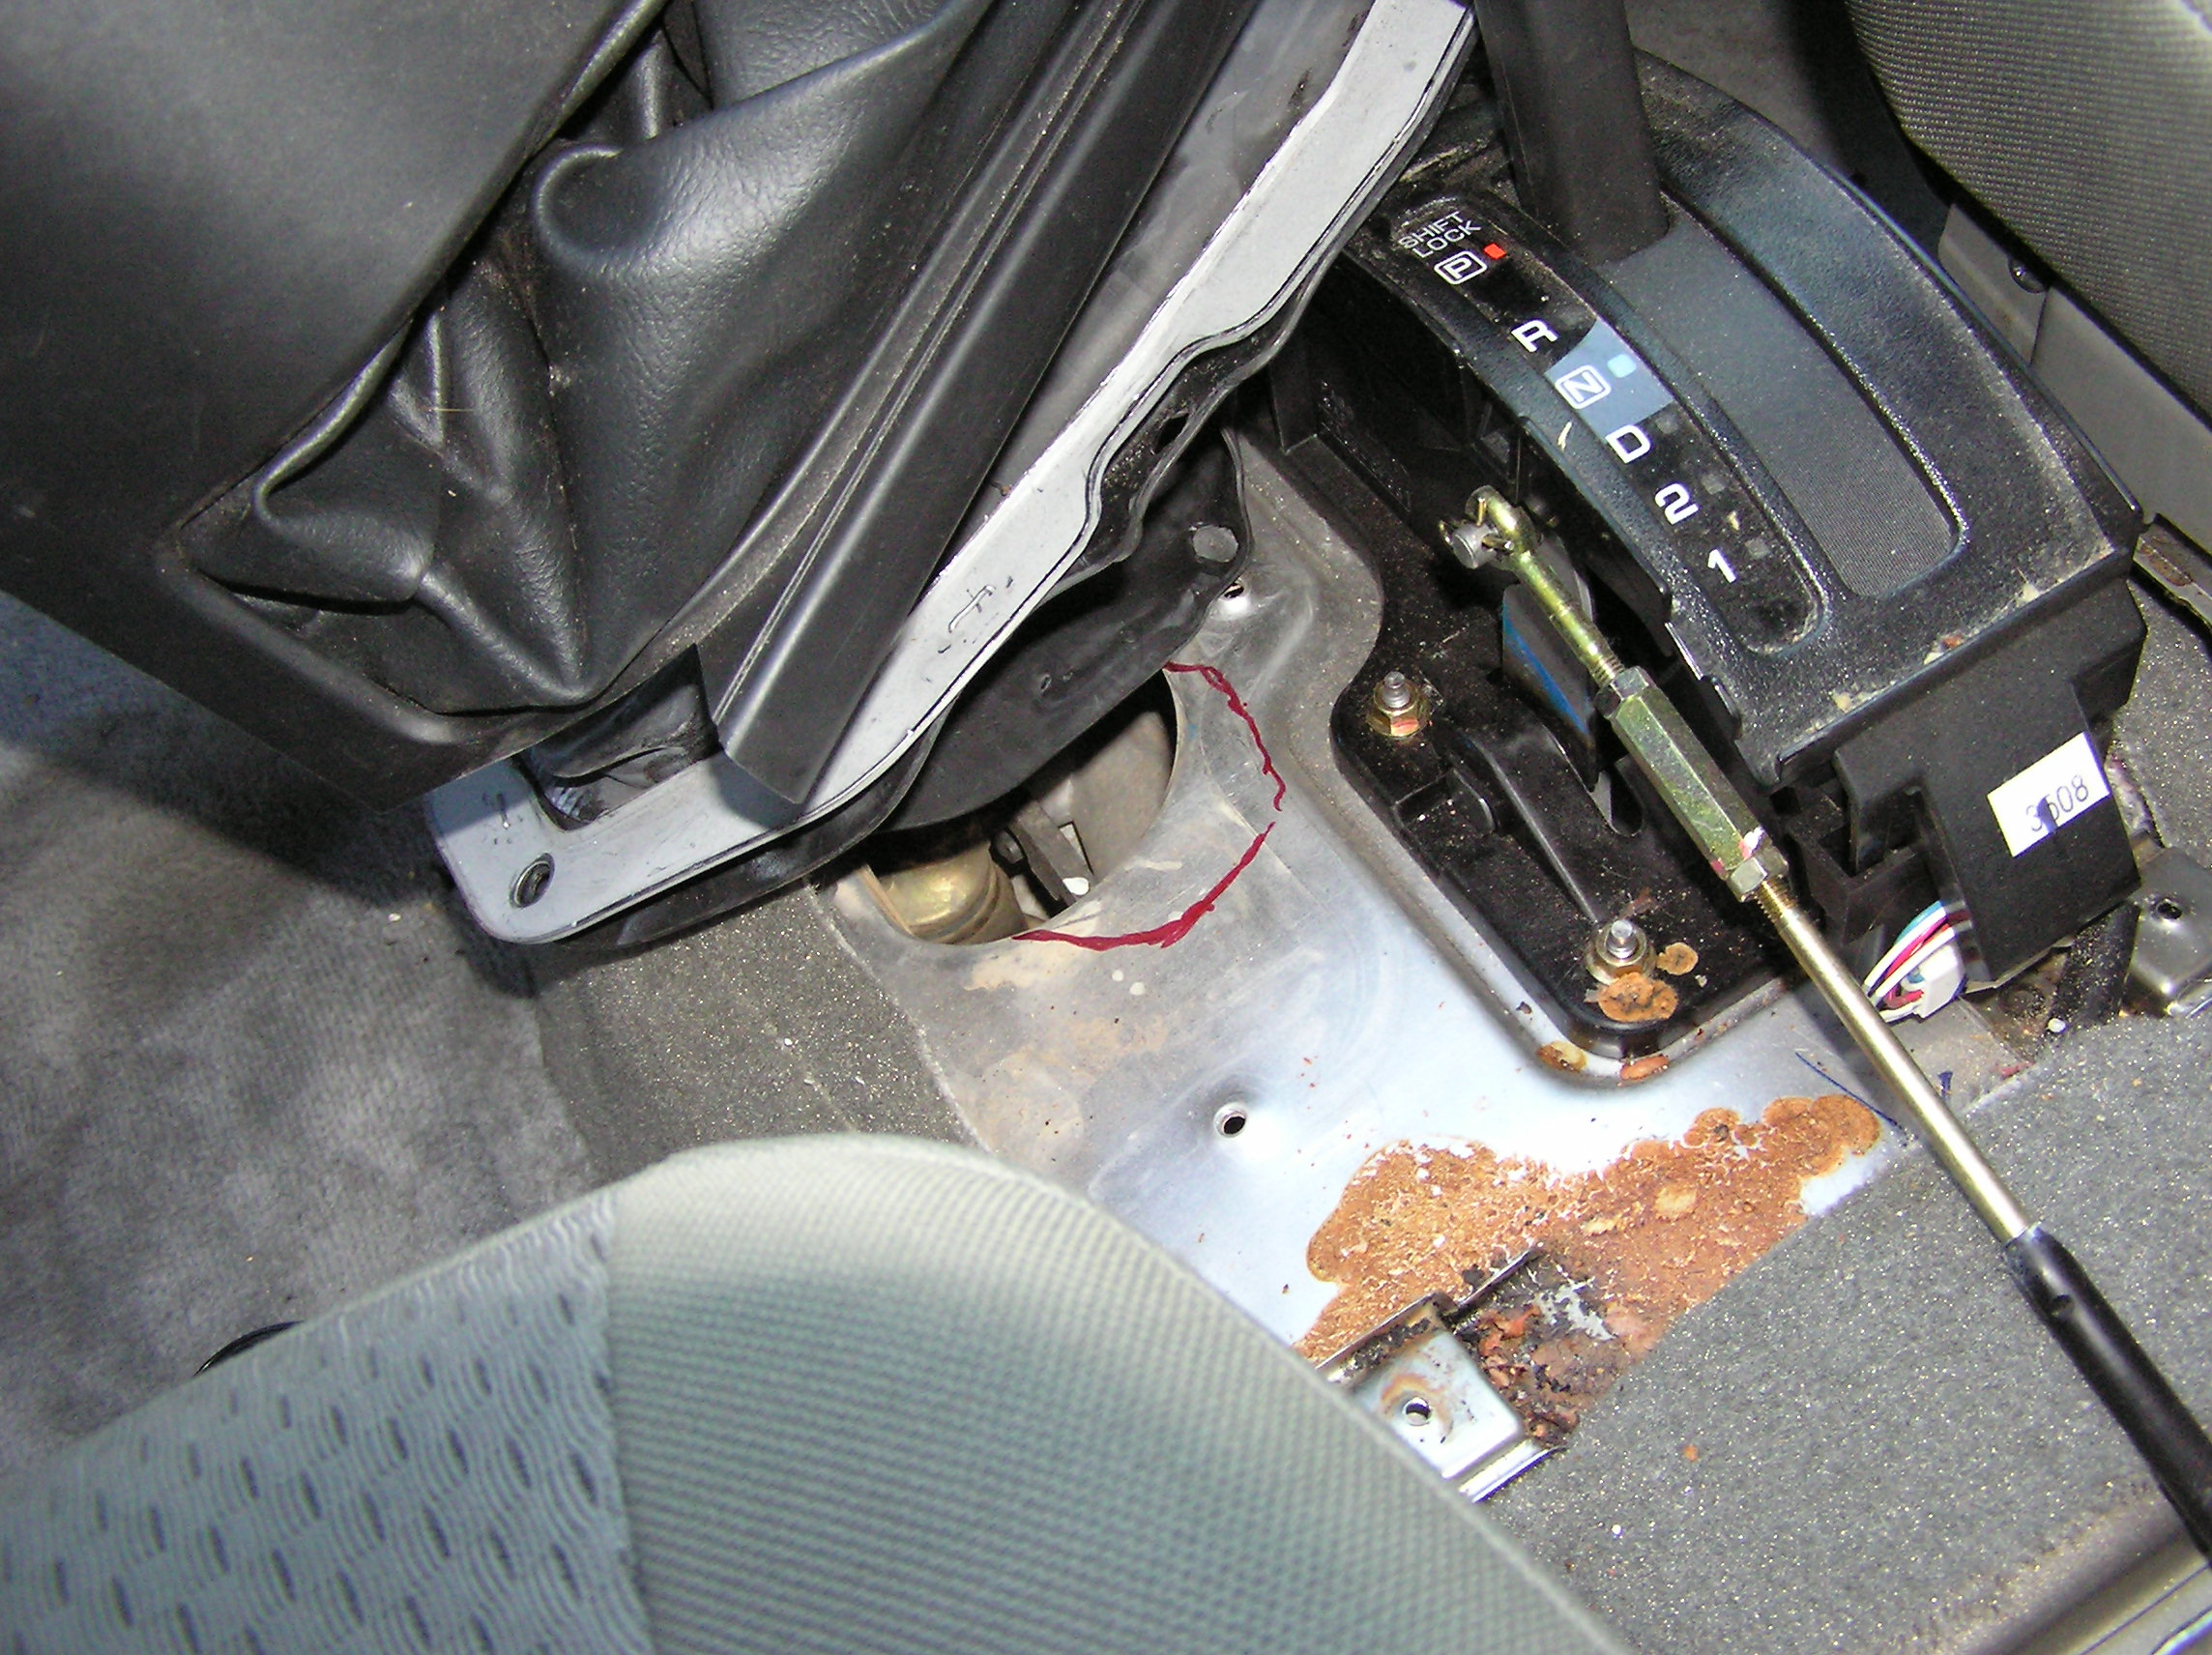
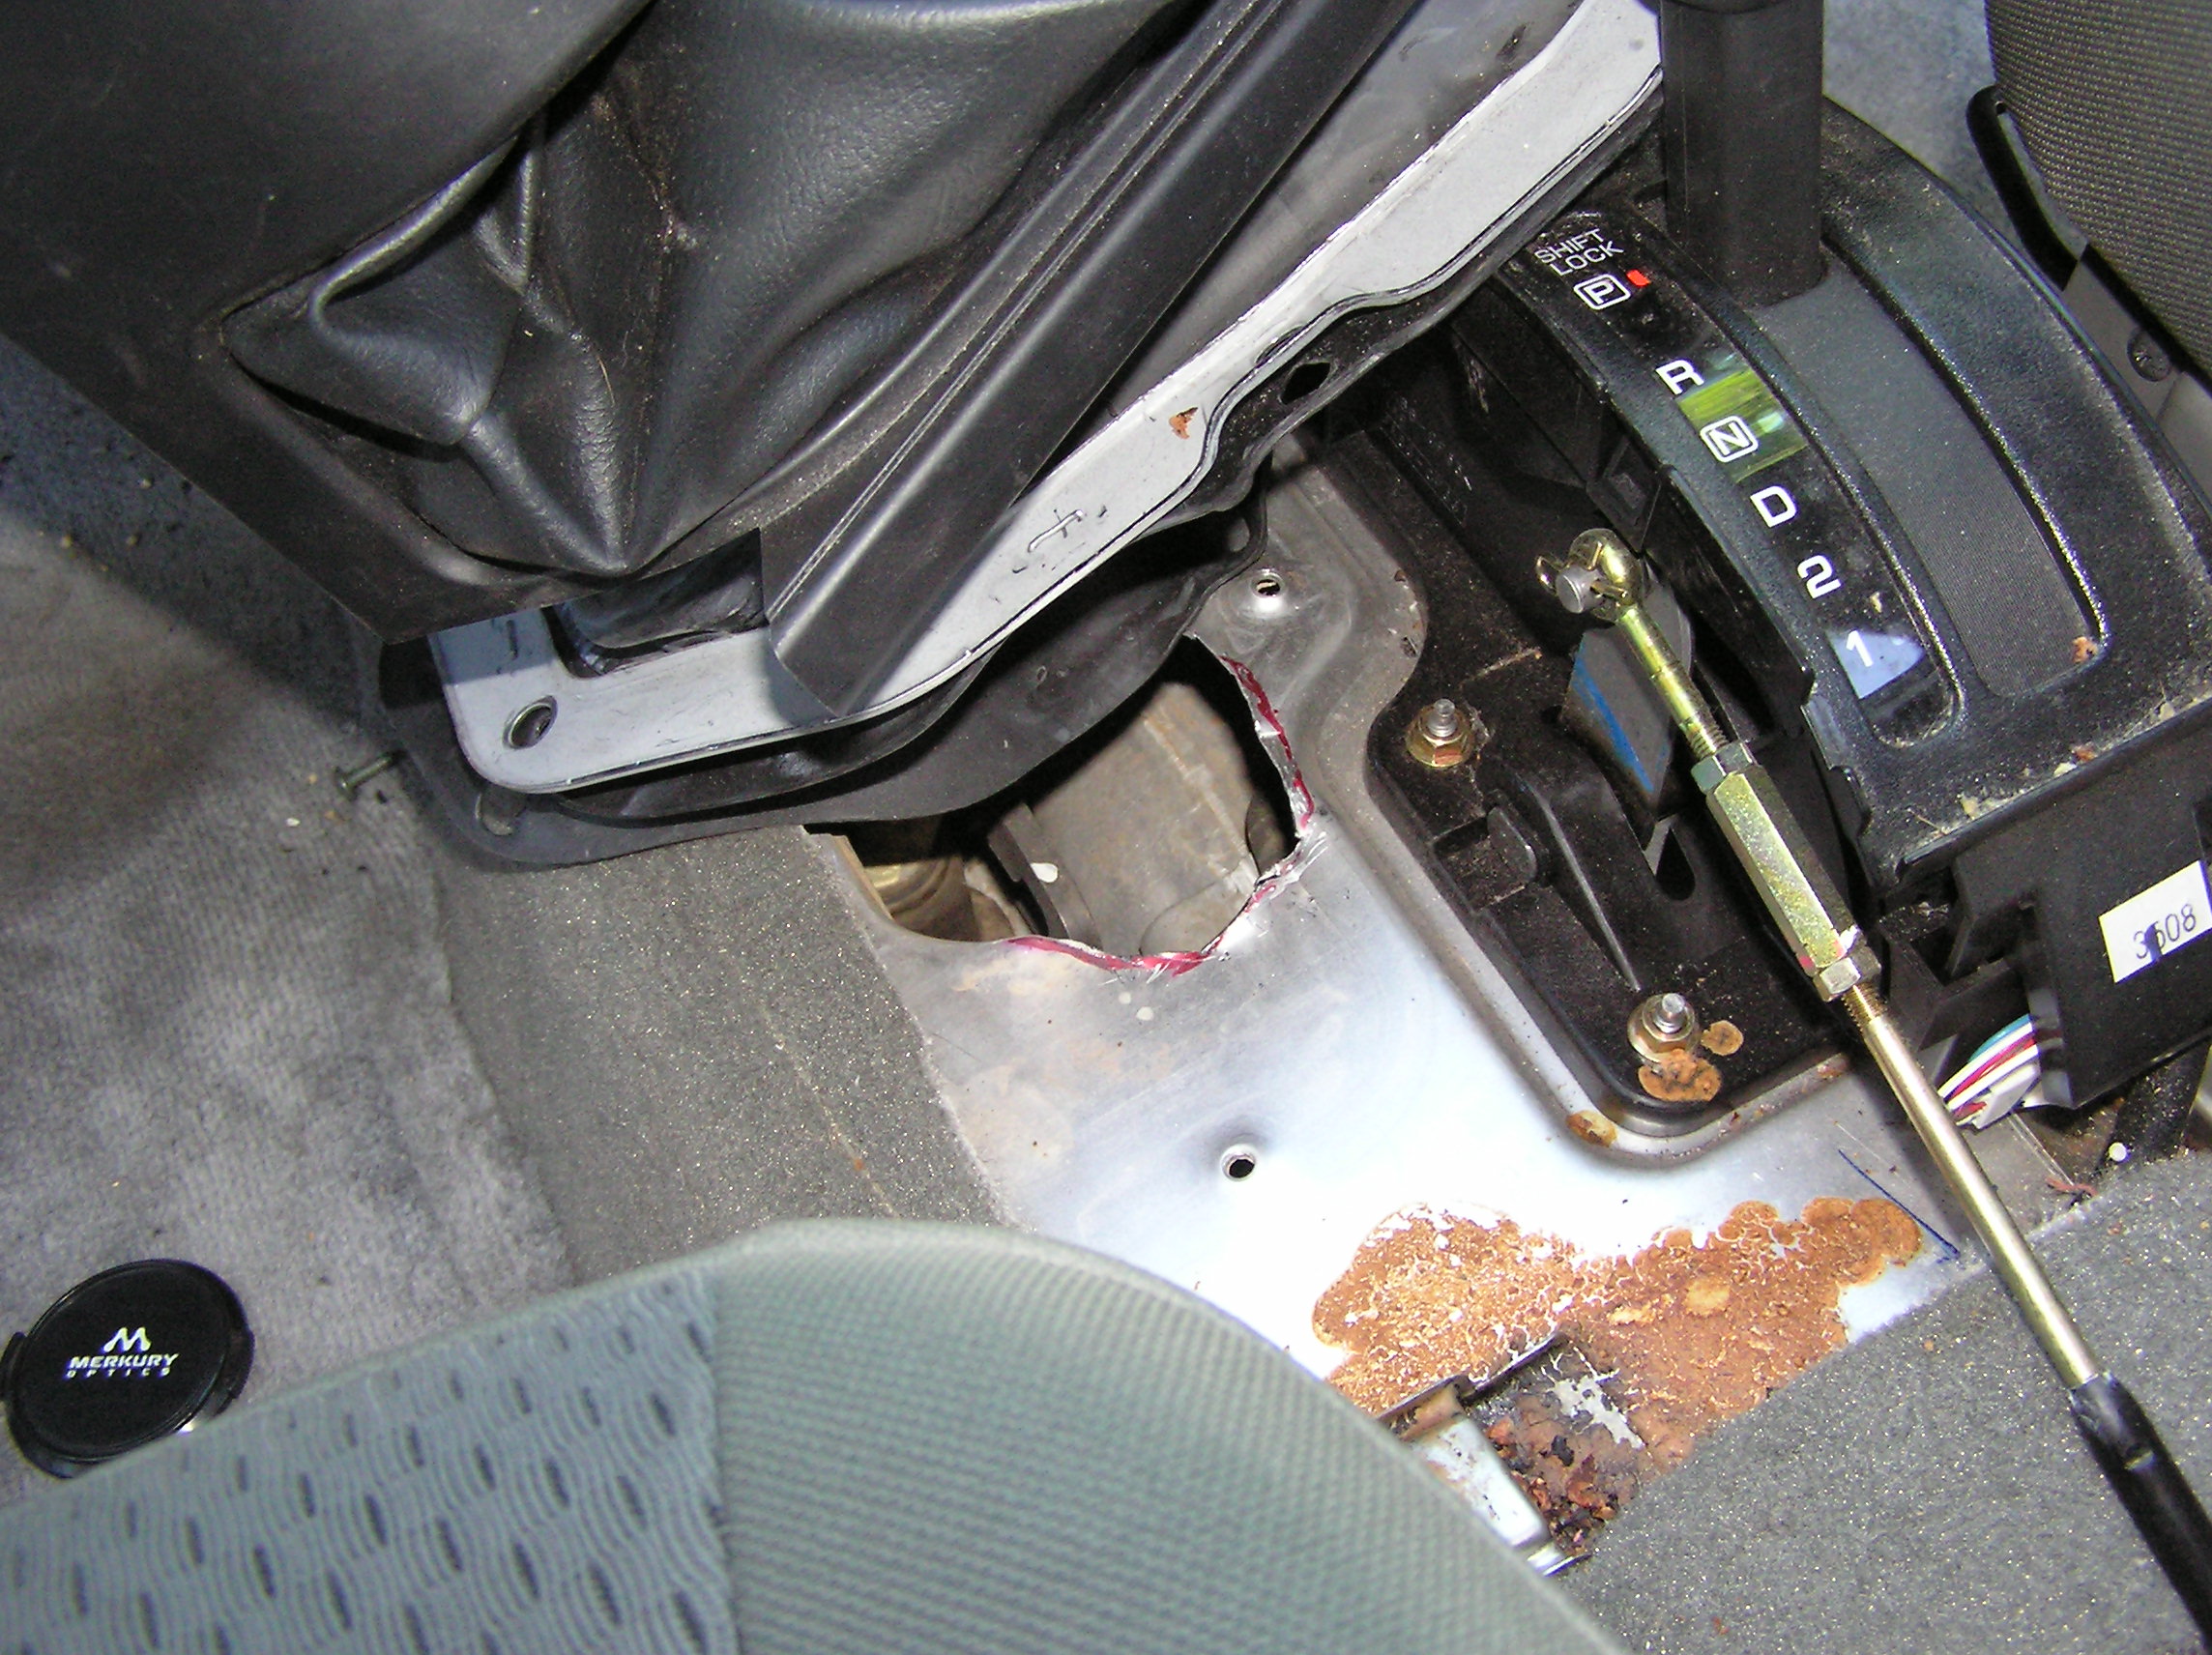
| 19. Here's pretty much the last step, and it's the one that's going to make a few of you quiver, but trust me it's not bad at all. Unless you feel like getting your welder out and adding an extension onto your transfer case shifter, you'll need to do a little ghetto work around the shifter, but I assure you, it won't show so don't worry about it. Basically the shifter, because of the distance the t-case grew from where you sit, will most likely not stay engaged in 4LO. It all has to do with the floorboard hole and the rubber boots that keep you from seeing and hearing the ground (plus the engine heat). The same thing happened when I dropped an Atlas II in Chris's Jeep. Easiest way, instead of fighting the dash and console pieces, is just to take the time to unscrew a few of their mounting screws. The black plastic surround of the shifters pops up with a little pry but will be kept from fully removing due to a ring on the shifter and boot. Then you have a screw per side near your feet, a couple securing the radio face located under the climate controls, 4 more at the bottom tying in the console, and then that pops off, and then by scooting the seat forward, the last 2 console screws are revealed on the sides. A few times I found myself shifting the dead engine into 1st gear to get room to finagle the console around. It's like a jigsaw puzzle under there, but all this plastic shuffling is to get to the metal ring around the t-case shifter access hole. Once there, you can remove the screws that secure it and the boots to the floor. Remember you're trying to make more room for everything when the shifter is thrown back. I decided to make plenty of room by cutting open the rear of the hole to make it a little longer. Choose your cutting tool of preference, but the laziest no fire hazard way to do it was just some everyday tin snips. I marked the area I wanted to get rid of for more shifter play and cut away. I cleaned the cut up a little with my dremel, but whatever, remember none of this will show. I found there was still some resistance from the lower boot, and since it already had a tear, I just tore it a little more along the shifter path to ensure it would not be a hindrance. I then tested it in the driveway (with the engine on off course) and then down the street to make sure nothing would bind while out on the trail. It turned out that it shifted cleanly, so I went about piecing it all back together. One step I decided to add was the removal of the Calmini rear bumpstop extensions. The day after I had added the body lift, I went down to Discount and had them throw on some 285/75R 17's (33x11.50ish equivalent), and even with the larger size, I wasn't going to be crashing up into the wheel well with the body lift. I also ended up hacking off the wings that came off the stock front metal bumper that not only looked stupid but could possibly cause some rubbage. So, the body lift is completely done, 4LO works just fine, the steering kit is on, wheels realigned, got the new tires on, so how does it freakin' look already? |
|
|
|
|
|
|
|
|