|
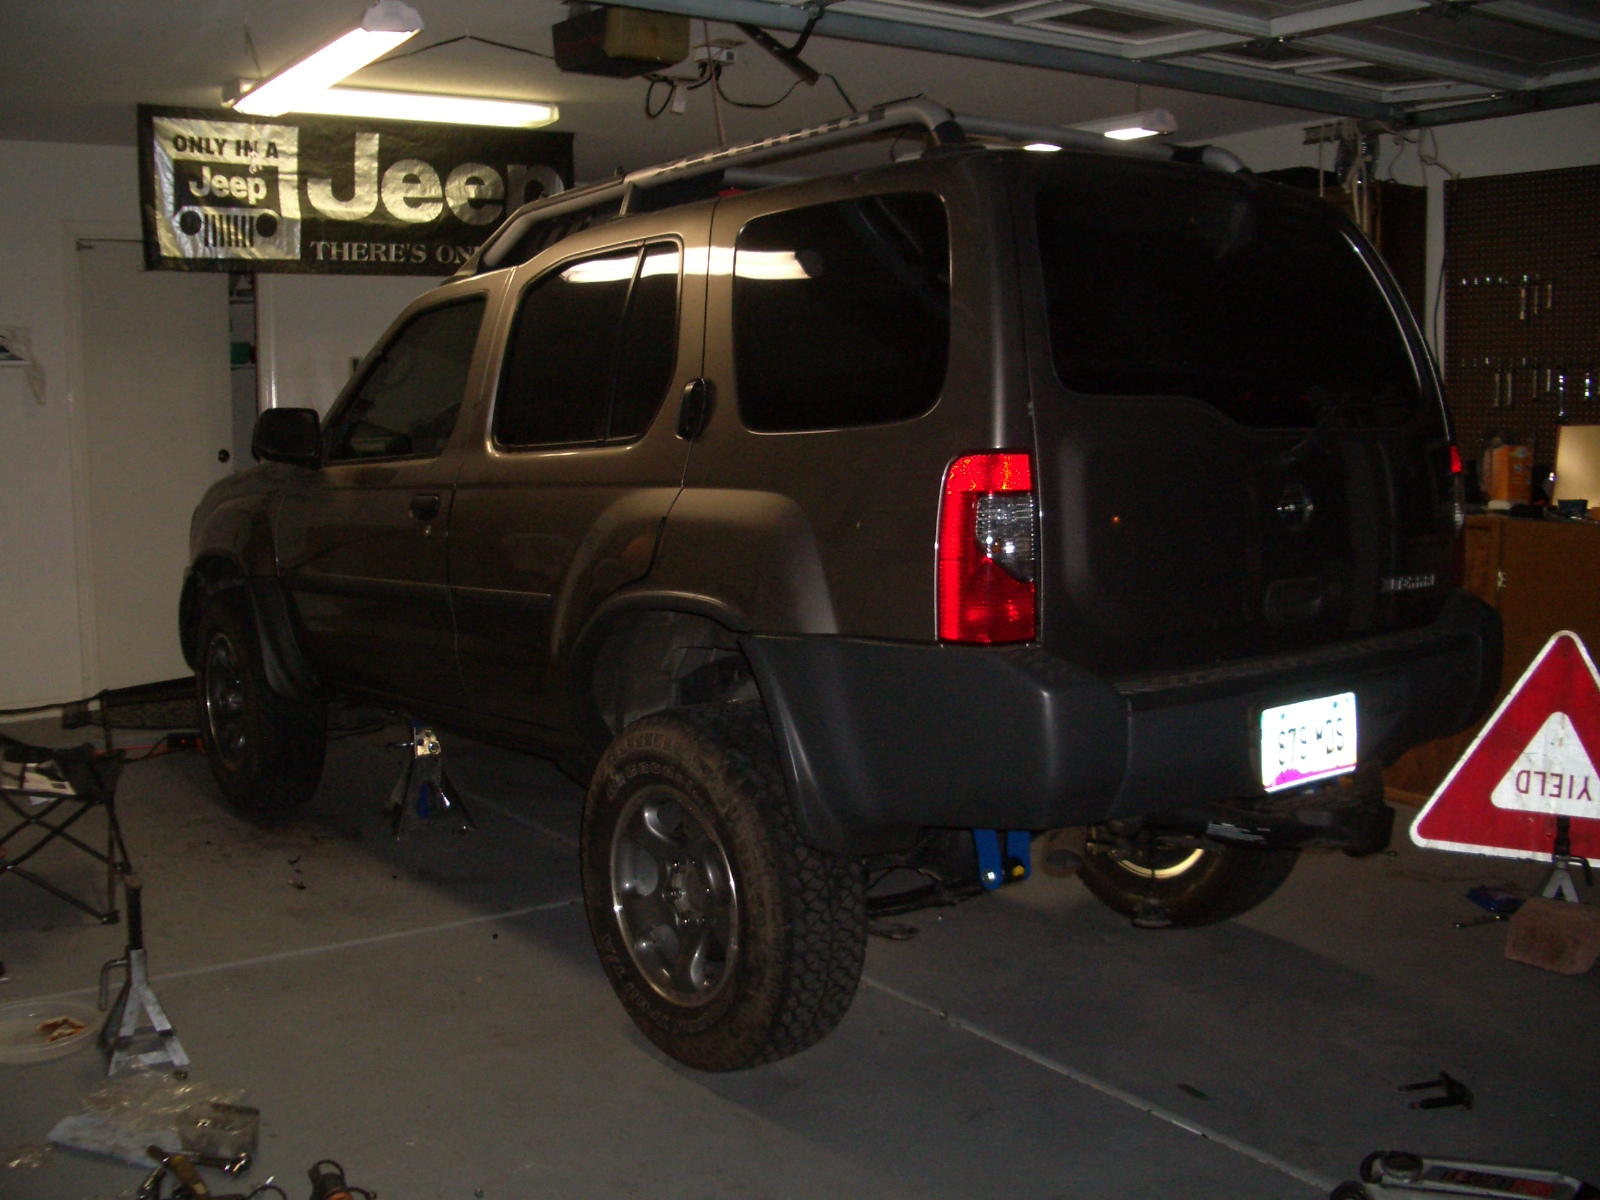
You can lug on the wheels now and drop the front. Don't freak out if it's way lower than you think it should be- it is. The torsion bars haven't been tightened and cranked up. We're saving that until we can match the rear's new ride height. So let's get on with it.
It helps to have at least one more than one set of jack stands and jack for the rear install as you'll be essentially disconnecting the axle from the vehicle. Jack the rear up just enough to get your rear wheels off.
Remove the Rear Sway Bar and Shocks:
The instructions say to just remove the sway bar links, because the kit comes with some new longer ones, but because I got the 20% stiffer shocks, I get to toss the whole assembly altogether. This will keep a big hindrance factor out of my rear susp droop factor when flexing. Yank off the old shocks as well, and we'll put the new ones up later.
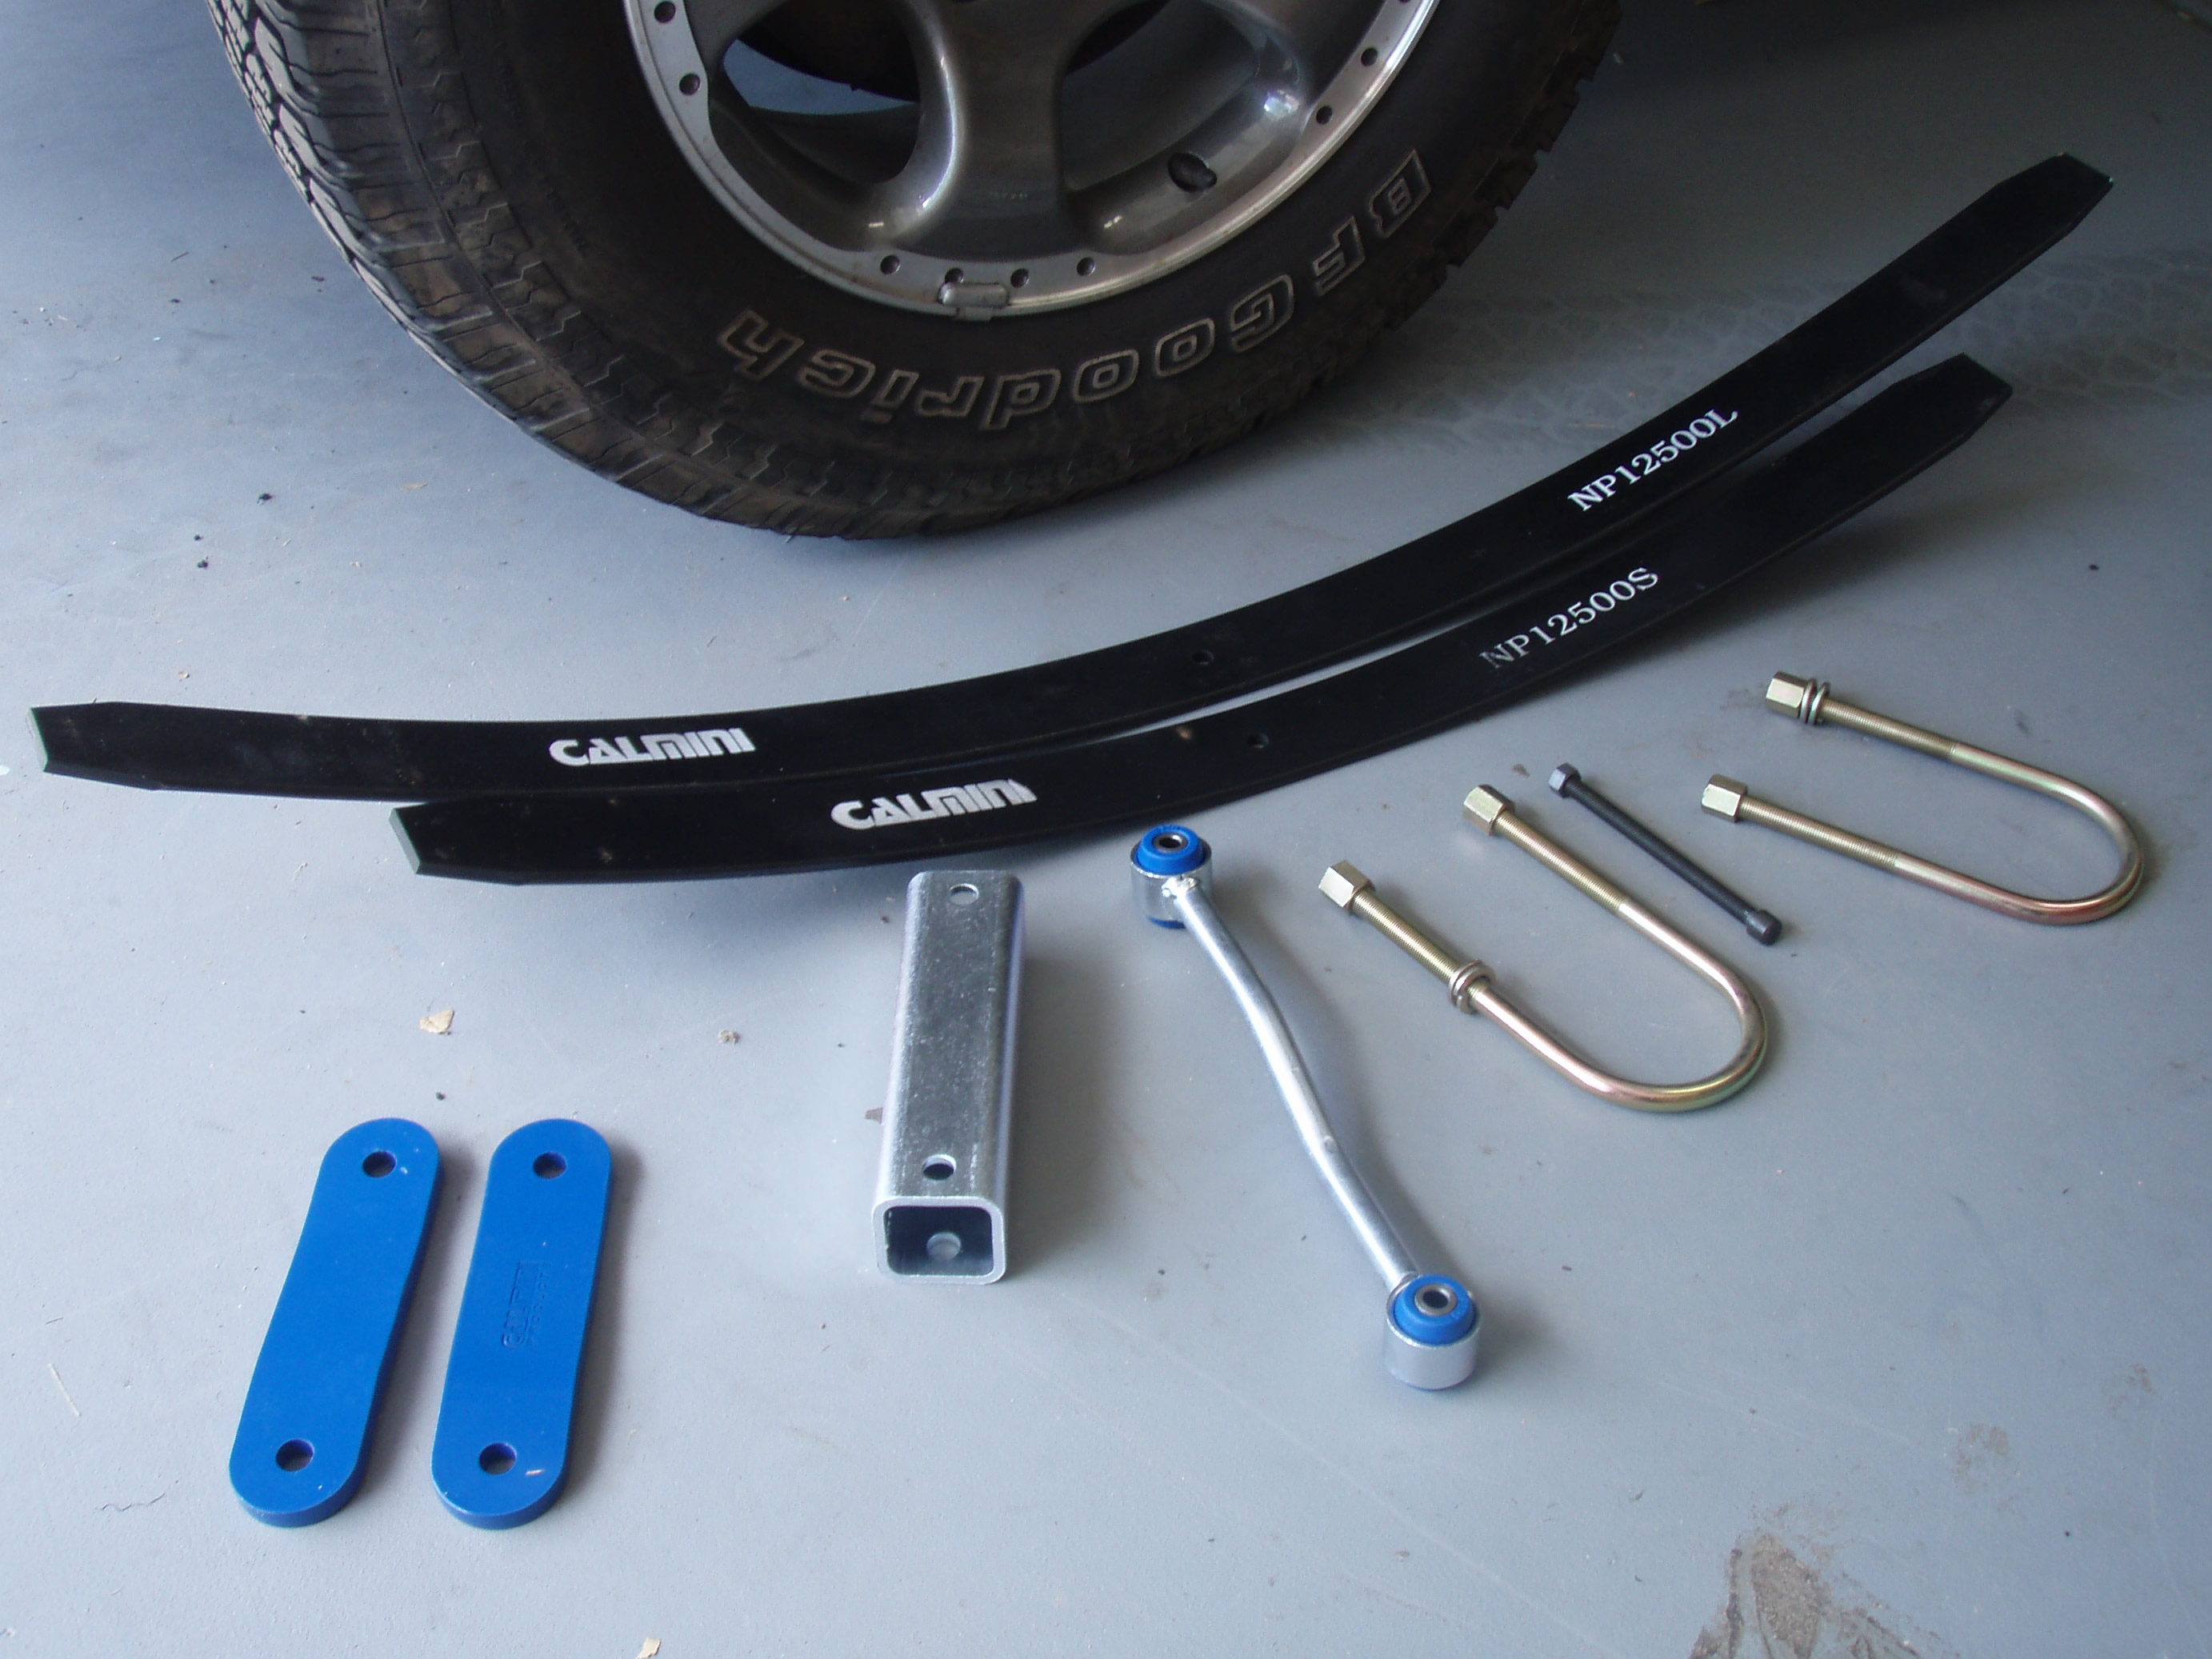
Remove/Install the Spring Pack Leaves:
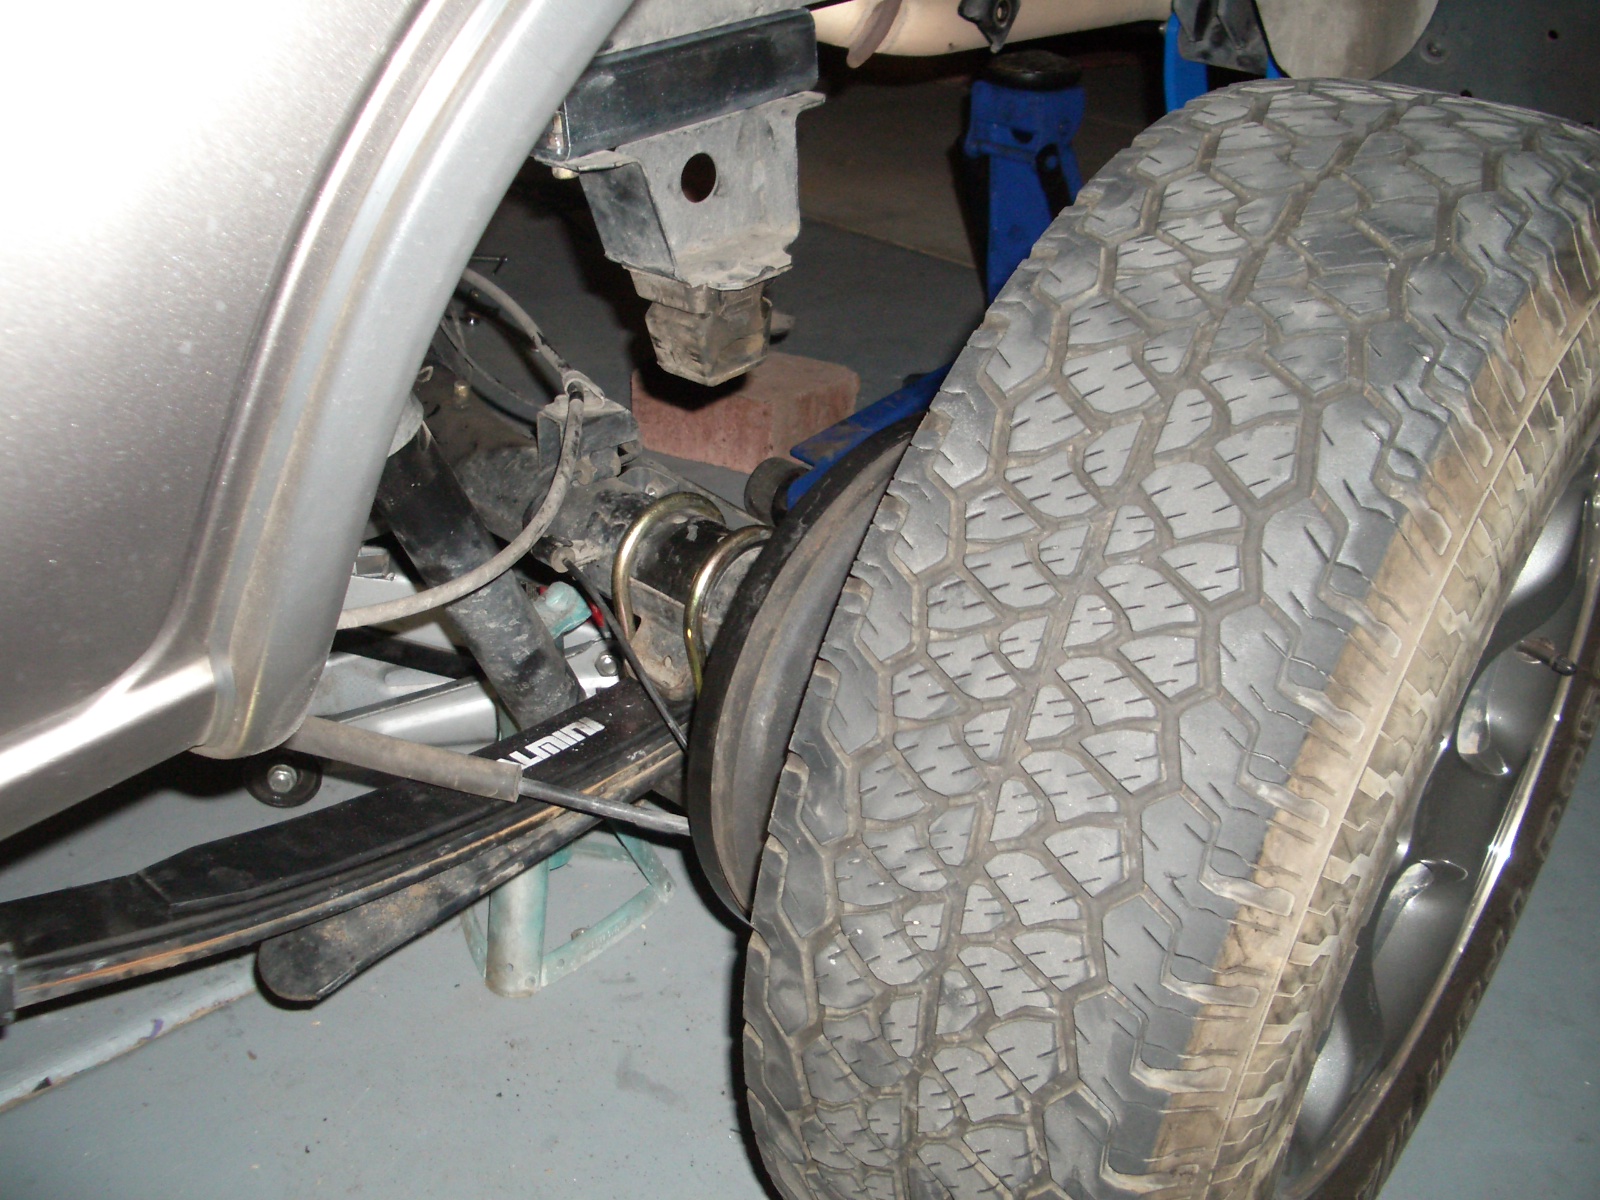
Now the axle is only being held secure by the leaf springs and it's their turn to come off since the Calmini kits includes a couple extra leaves to match the 1.5" lift the new shackles will give to equal the big final 3 inches. This is where the extra stands come into play. Your axle is about to be free, so you need the frame supports or blam, and you need stands for the axle itself. It also helps to have a smaller jack to keep the axle pumpkin from rotating downwards causing your driveline to fall out of the t-case. You also might as well drop or remove the spare, b/c the stock shackles were installed for some reason with the bolts facing outward, causing the spare (and exhaust) to keep them from completely sliding out.
With the frame supported, you ought to be able to jack up the axle to where it needs to be to take the spring out of the leaves. The easiest way is to remove the nuts on the shack outside and jack the axle up until the outside shackle hanger feels loose like it could conceivably slide off. This should mean that the spring has flattened out enough to lack the pressure to break your arm off.
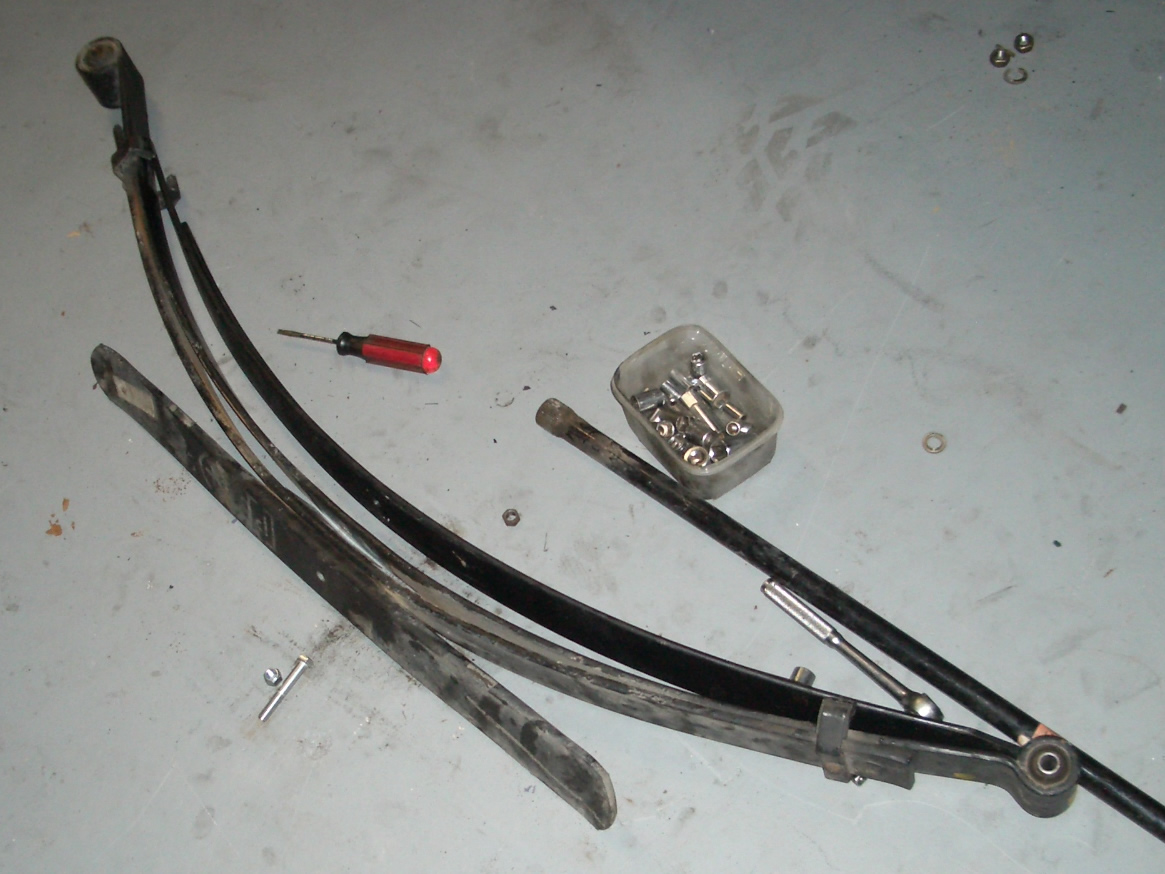
You can lower the axle back down onto the stands and then remove u-bolted spring perches and the front spring bolts and then take the spring off for its modification.
Remove the center pin first (vise grips on the round bolt will help), Then you can take a pry bar to the clips that keep the spring pack together so the new Calmini's can be added (remember to keep track of where everything goes including the nylon slide spacer).
Add the new leaves on top of the old ones keeping the long to short theme going. Line up all the center holes and install the new center pin, and then close the clips back over the whole "new improved" spring pack. A hammer works well for this.
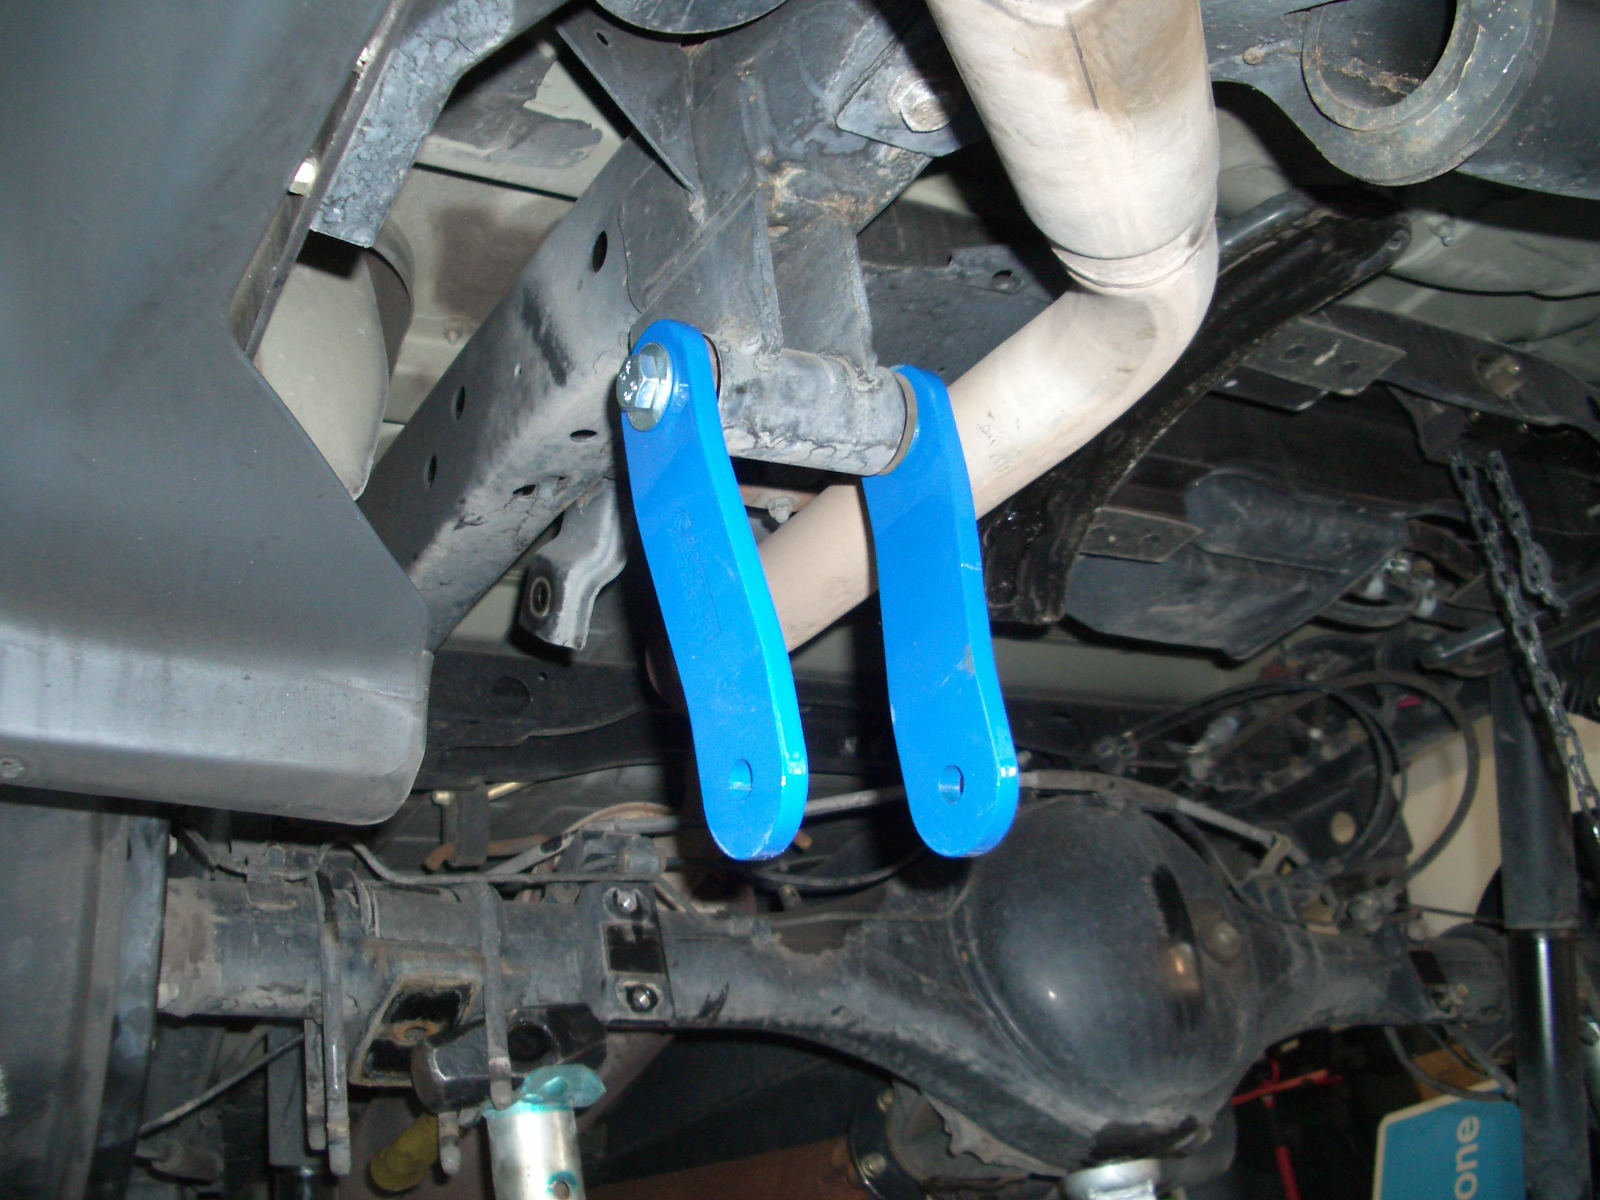
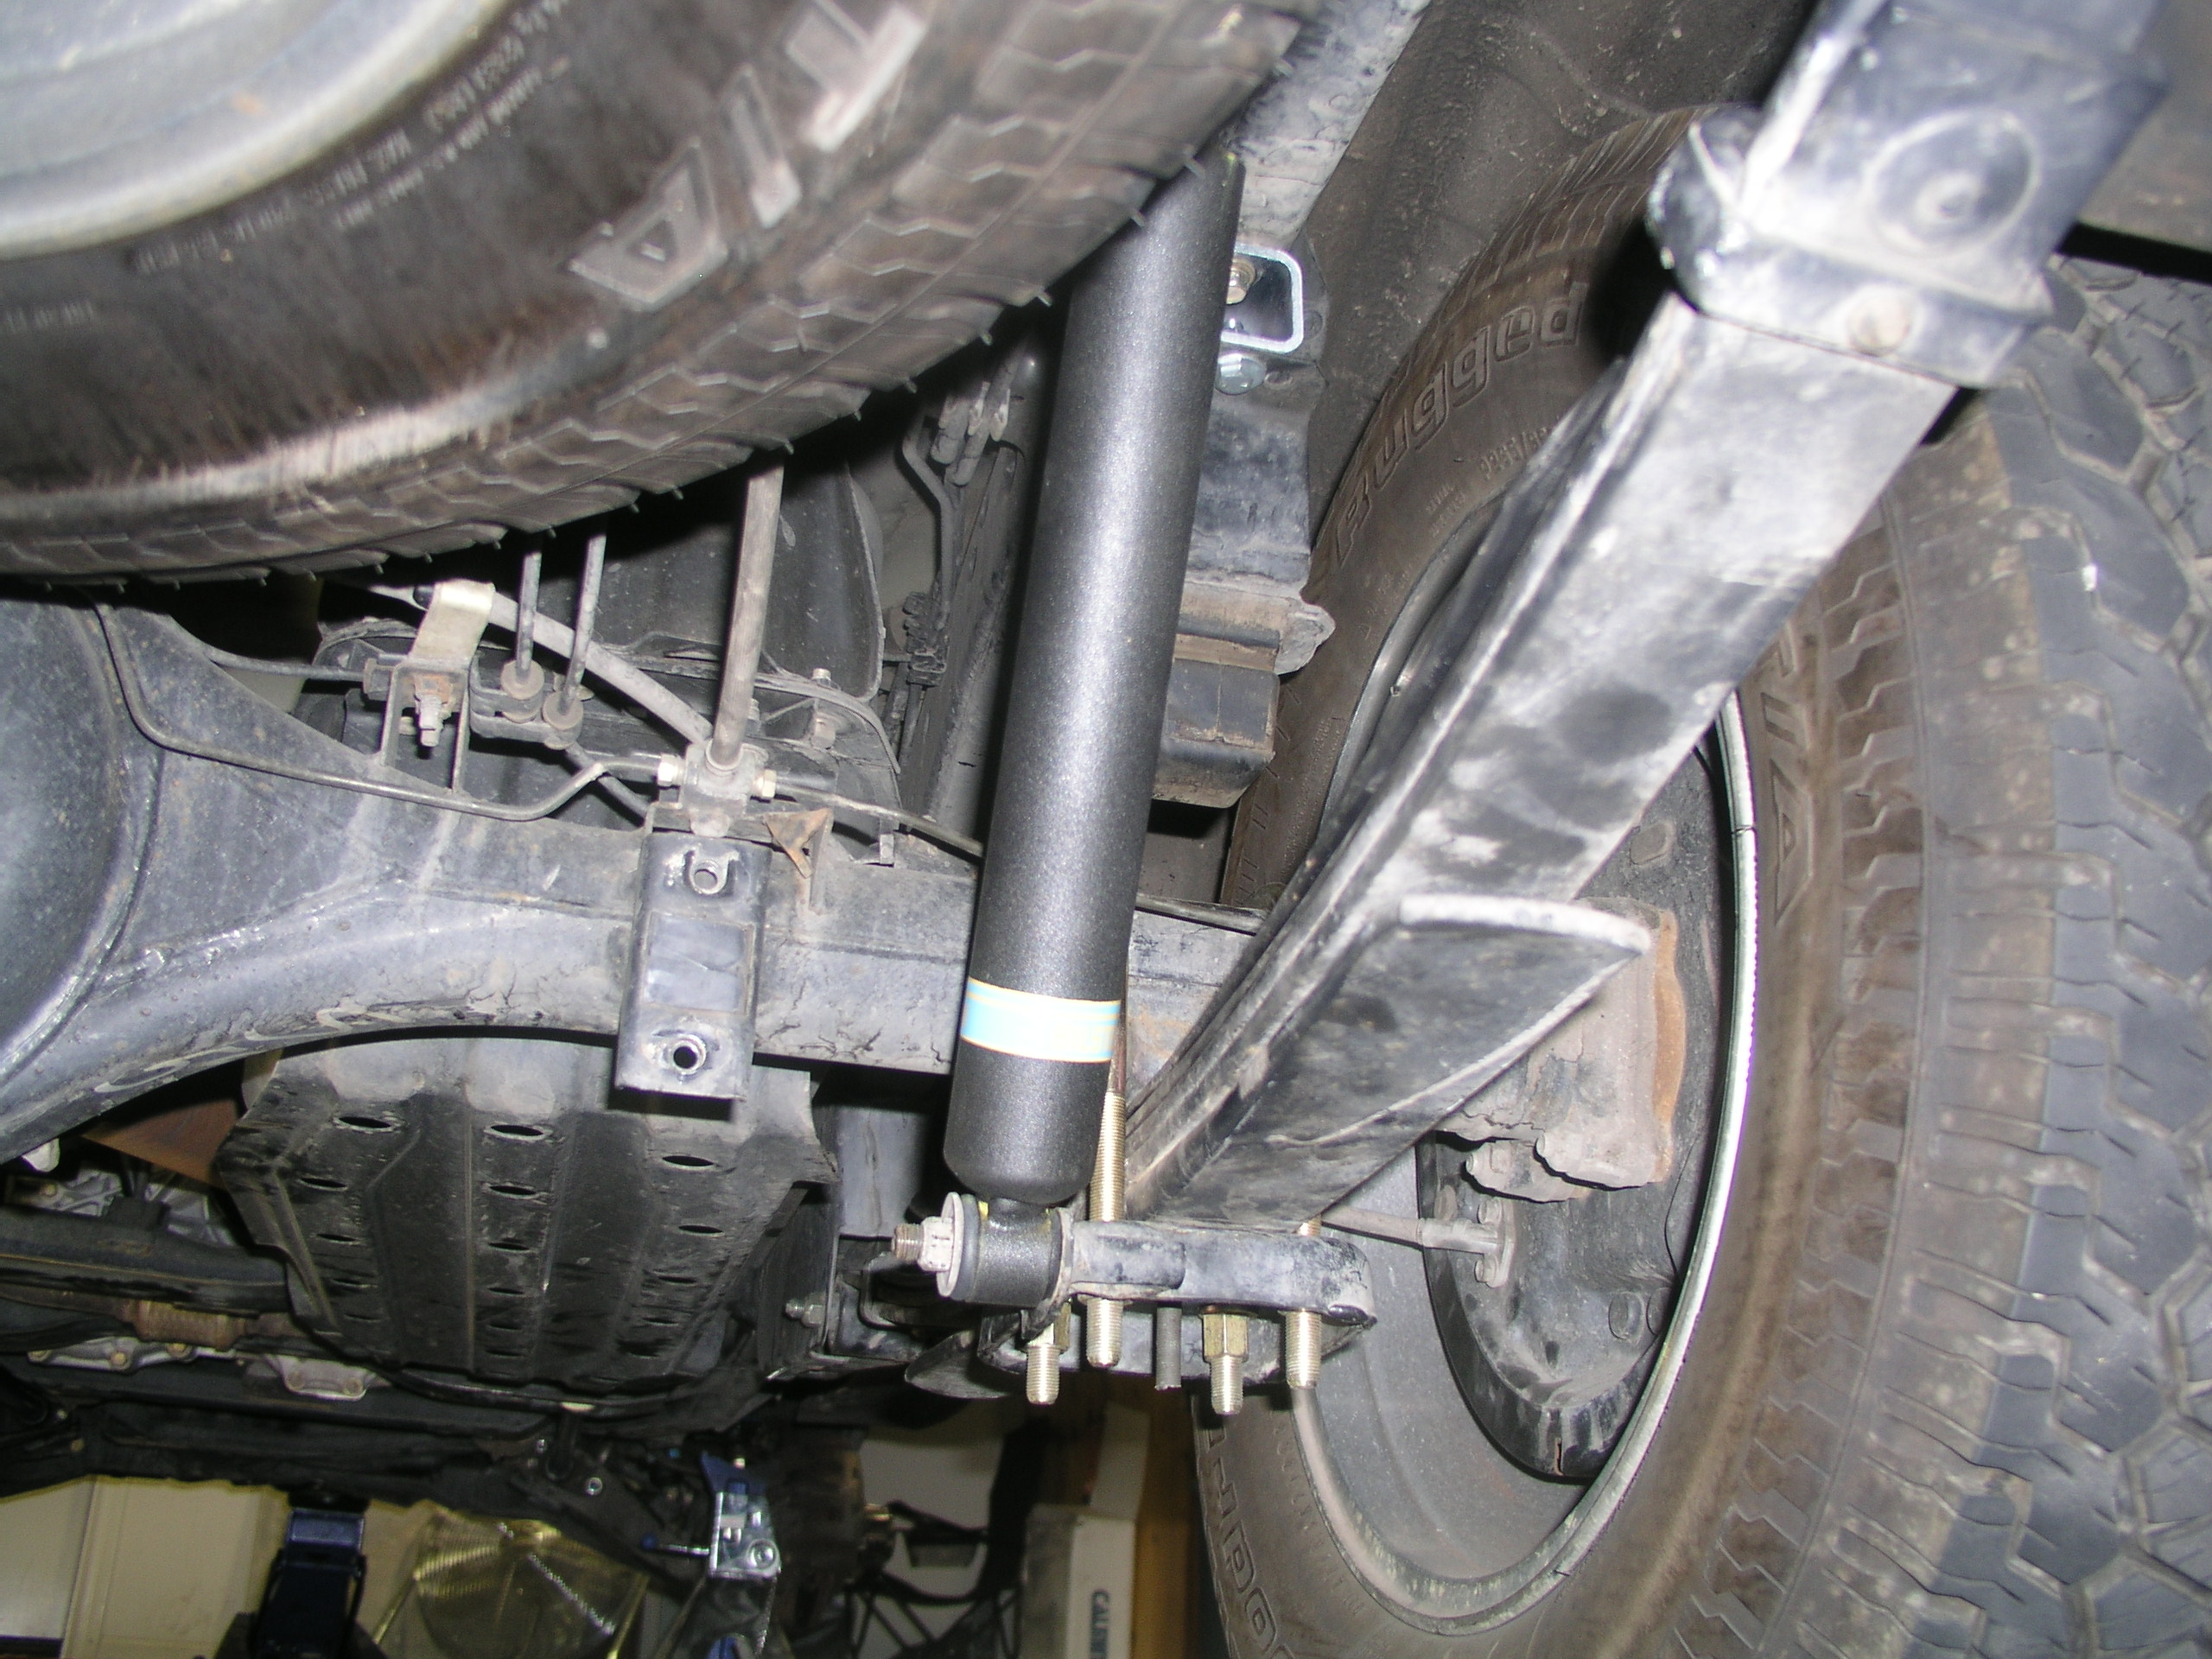
While installing the front spring eyes with the old hardware, have someone set up the new shackles. Then it's a matter of playing with the axle again to get the rear eye installed. After the springs are hanging where they need to be. The axle can be lowered, and the frame heightened (jack on the hitch works) so the new U-bolts and old spring perches can meld the axle and springs back together. The pumpkin jack can help with this to rotate and line the axle up to where it needs to be. Torque the U-bolt nuts to 50 lb/ft
If everything lines up and the rear axle doesn't fall off, you can put on the shocks that you chose. Also if for some reason you wanted to keep your sway bar now's the time to bolt it back on with the new links.
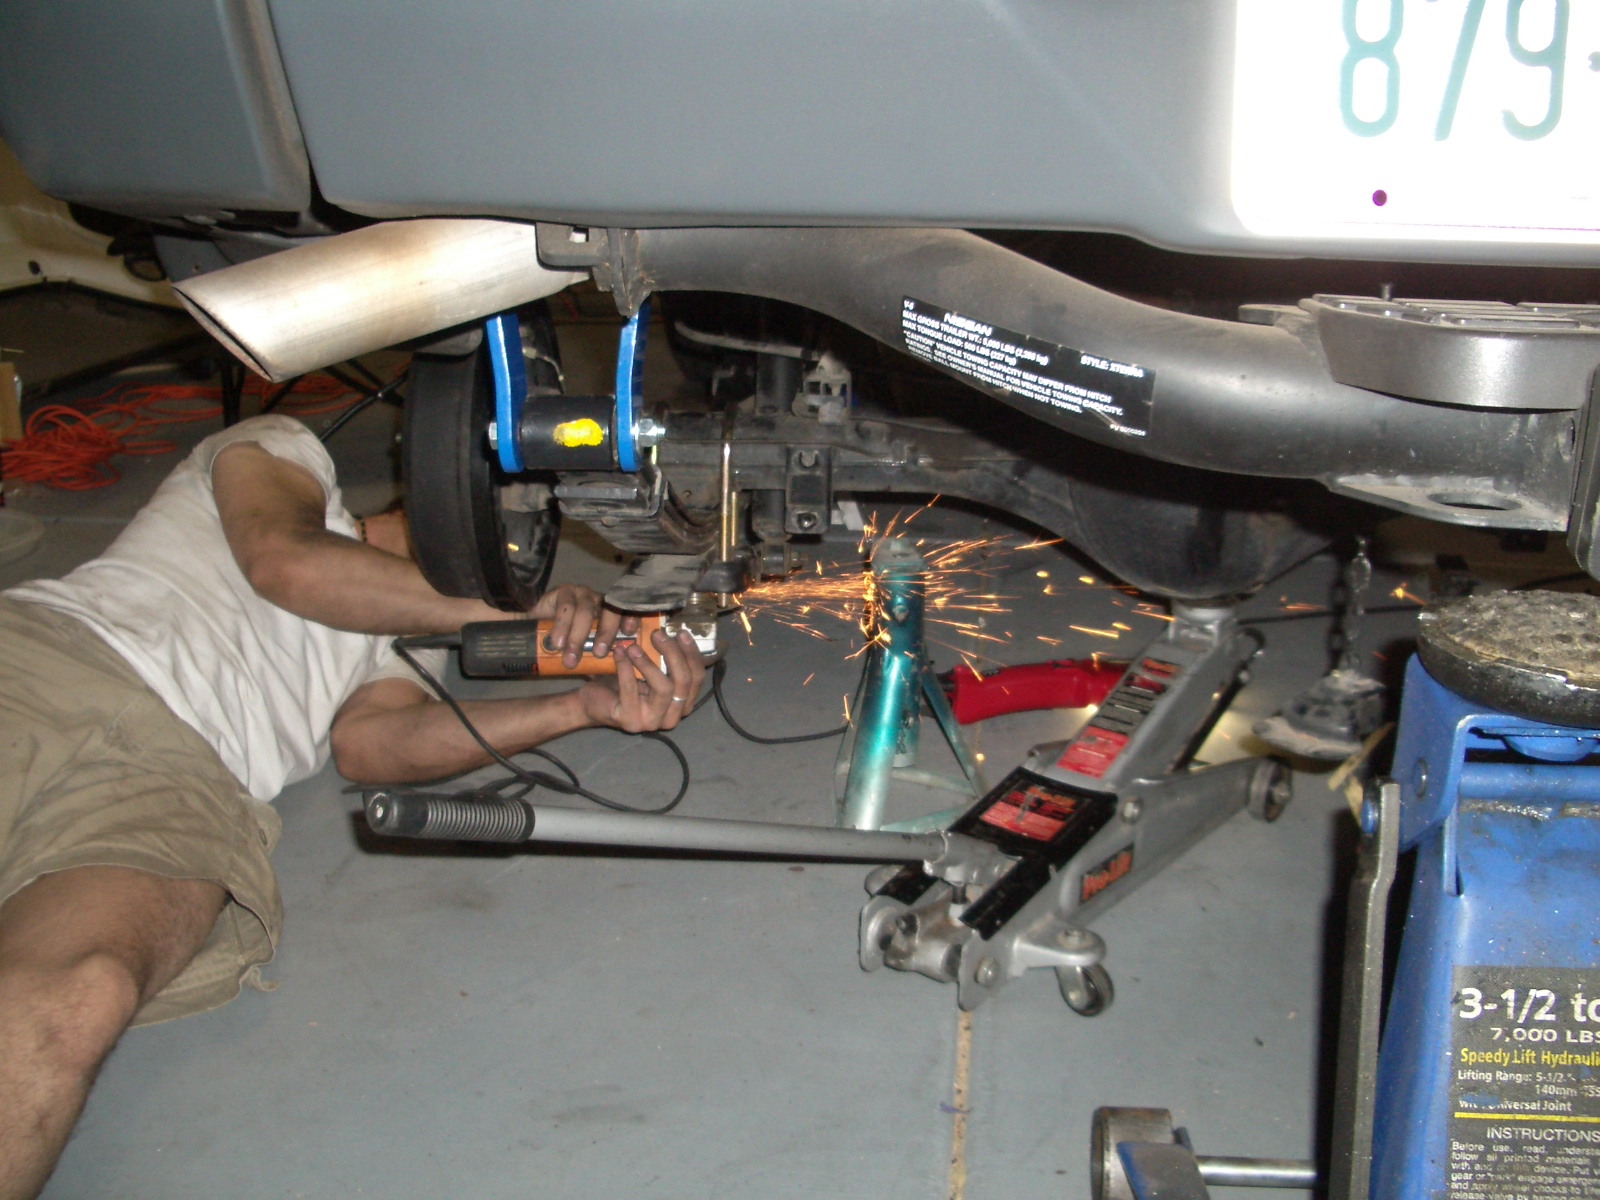
You also must trim the longer than necessary spring pack center pin. We use a grinder and just shortened it on up 'till it was tucked up higher.
Bump Stop Extensions:
Like with any other straight axle lift, bump stop extensions must be incorporated to keep the axle from articulating too much, causing too much stuffage. Calmini provides some large metal blocks to insert between the frame and the stop drops. You must reuse the frame bolts where they were to install the block to the frame, and use the new 3/8" x 1-1/4" bolts, washers, and nuts for the stop to block connection. I can toss them later when I get my body lift on.
Now you can put the rear wheels back on and lower it on down. Now again, don't get excited! When we put the back end down it looked like a 8in lift and wouldn't have even fit out the driveway. It was just that the shackles hadn't settled to where they were supposed to ride. When we went back to the front and jacked on it, the rear collapsed down to where it wanted to be (kinda disappointing after seeing the roof scrape). |