|
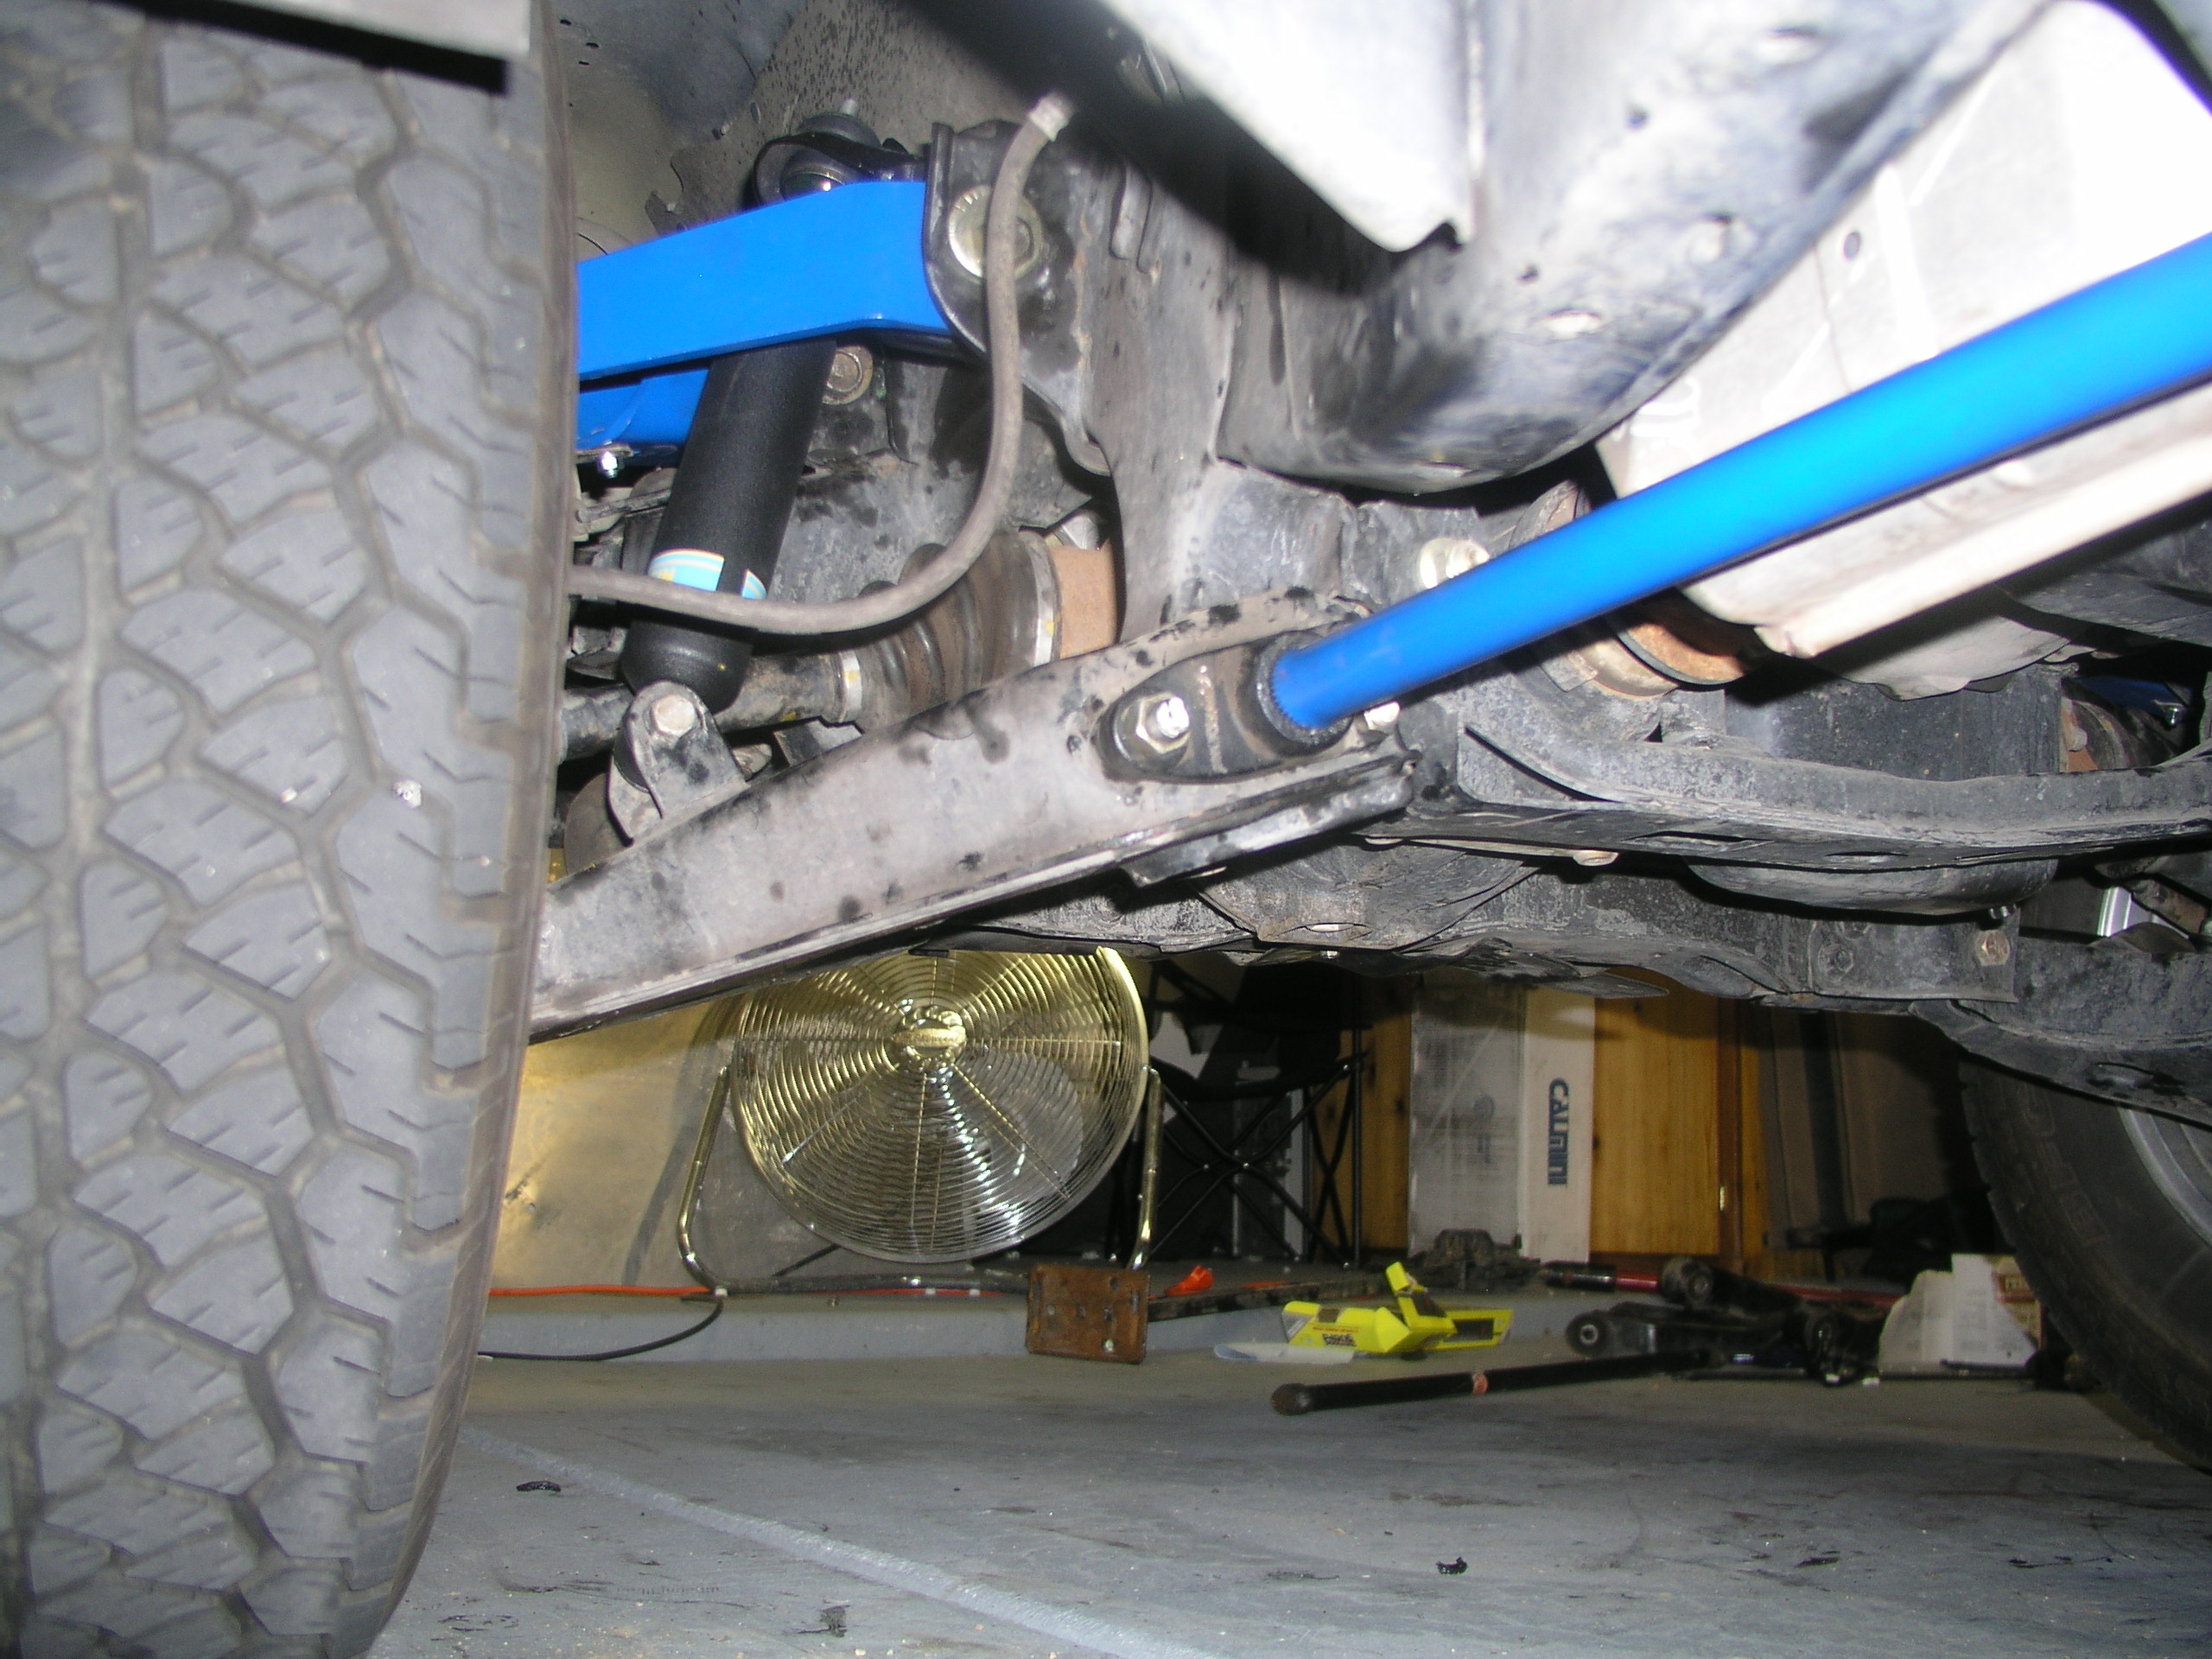
So now we're back at the front since, at its current height, it looks like it was actually lowered. We get to tighten the torsion bars on up now to tune the front suspension up to where it matches.
Torsion Bar Adjustment:
There are differing opinions on whether the front of the vehicle must be jacked up for this procedure. The up is argued that it puts less stress on the components and it makes the wrench slinging easier. But the down approach does allow you to watch what the front is doing and keeps you from having to jack up/down/up/down to see your tuning work and evaluate the accomplished height. We went with both and left the tires up until the small fine tuning came into play.
Just remember "Tight is Tall," and go to town tightening the rear t-bar anchor bolt upwards (with one of the nuts on of course). To keep both sides equal, some people mark each side's bolt, but it's too hard to count all the turns and chances are, when you're done, measurements taken from the frame will help getting you closer to getting the sides even. So you should just about get to the end of the threads of that bolt before you're height will be where it should. It's important to have someone checking out the space between your front bump stop nubbins and the control arm. There should be no less than 1/2 to 3/4" of space between the two. Remember this affects your ride comfort and sadly means to expect only that much flex or articulation downward on your new suspension (which hurts Jeep people's heads to even think about, I might add).
You should also remember that before you started the rear height was a good inch taller than the front so don't be surprised if you can't seem to get the front up enough to be even. My pre-measurements did confirm that the back had risen it's 3 inches and after a lot of adjusting, the front was pretty close to a match (The X suspension still sat a little forward like mentioned). It may take a while to get the left and right to line up to your liking. This process may have not taken me so long if not for my short term memory and lack of constant trouble on what to call little lines on the tape measurer. Anyway rolling back and forth in the driveway every so often during your adjustments will also help things settle so you can get more accurate mea-surements. And remember measure at a common point on the frame, or even the door sill works. After getting it all sorted out, tighten down the double nut and you're done.
**Note- I can't state this more seriously: make sure that the bars are properly seated on both sides. It would help if the anchors were made a little bit longer, but make sure that you can't see too much spline (especially unpainted spline) at the rear anchors. If you see too much on one side like the bar is too short, your need to play with your front alignment or the bar can strip its mount while driving, causing your front susp to become unsupported and bottom out. Apparently one side of ours wasn't seated all the way back because the alignment was too far off, and we had to loosen the Cal arms and move things around to take from the other side to give to the short one. Cost of new anchor: $60 at dealer. The new stronger T-bar won the battle and was fine. |